Overview
There are many types of online submissions that you can create. The majority of the setup process is the same for each type of online submission, there will just be a specific section in each that will be different.
You can set up:
- Individual submission points (shown below)
- Group submission points
- Empty submission points used as assessment placeholders to upload grades but not allowing students to submit files
You can also use different configurations for these submission points, such as:
- Numerical values for marking strategy in the range from 0 to 100% (shown below)
- Pass/Fail marking strategy
- Moodle Rubric marking strategy
- Turnitin marking tools
- Media features, e.g. for students to submit video/audio files
- Marker allocations, so that each marker has a specific group of students to mark
- Restrictions to restrict access to the submission points (e.g. for referrals or alternative assessments)
How to set up an Assignment in a Moodle course
To add a ‘Assignment’ activity to your course, please follow the steps below:
- Sign in to your Moodle account and select the course where you would like to add the ‘Assignment’ activity.
- Click on the ‘Edit mode’ button and then select a section where you would like it to be located.
- Click on the ‘Add an activity or resource’ button and then select ‘Assignment’ from the popping-up window.
- You will be directed to the settings of the activity where you can change the following things.
General
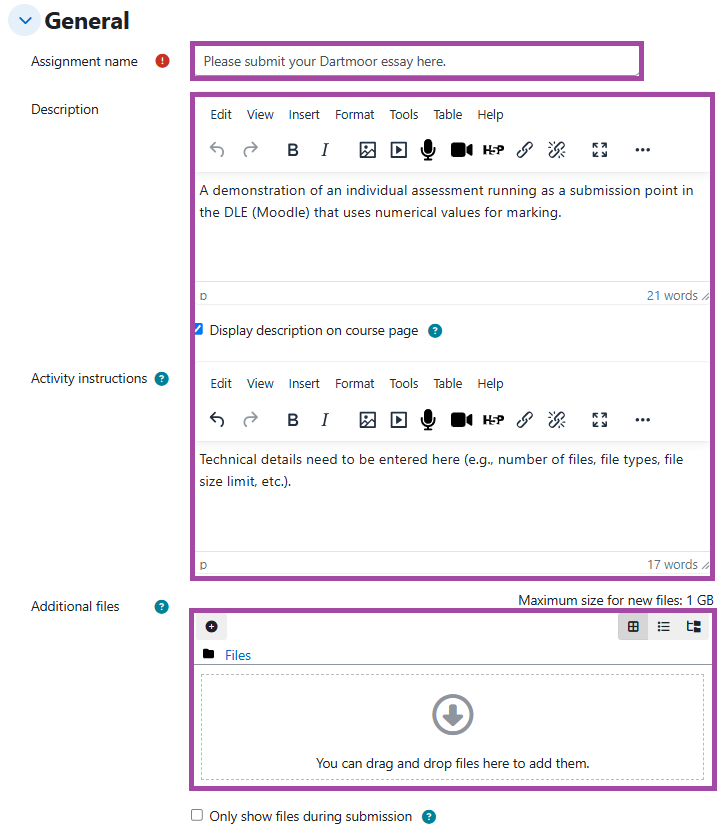
- ‘Assignment name’: This will be what the students see as the link to the online submission point. Please enter a useful title for it. Please do not use the module code in the submission point’s title.
- ‘Description’: Please keep this brief; you can enter details such as permitted file size limit, number of files, file types; deadline for the assessment, date to publish results, etc. If you have the assessment details in a module handbook, you can use this space to remind students to look there for the information. If you add a description to the assessment, please tick the box below this field, so that it will be displayed on the course page.
- ‘Activity instructions’: The actions you would like the student to complete for this assignment, similar to the ‘Description’ field but this is only shown in the submission page where a student edits and submits their assignment. If you wish to use both features, use the ‘Description’ field for generic information regarding the assessment and this field for the technical information (e.g. permitted number of files, file types, etc).
- ‘Additional files’: We recommend using this for the 24/48-hour timed assessments as this field can be used to upload and share exam papers with the students.
Availability
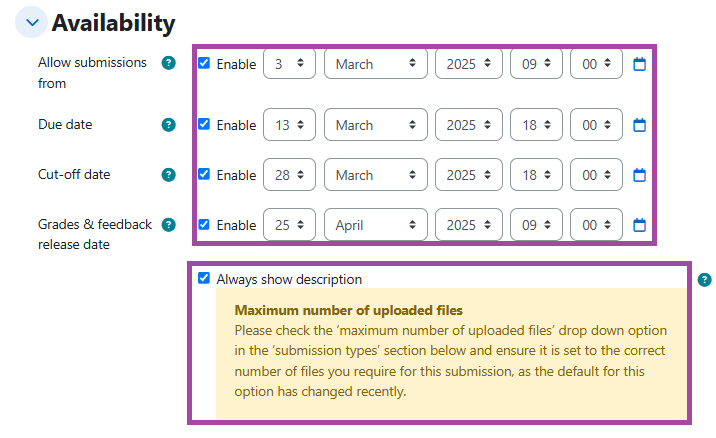
- ‘Allow submissions from’: The earliest date students can start submitting from.
- ‘Due date’: The deadline of the assessment. Please note, any submissions made after the deadline will be tagged as ‘late submissions’ in the DLE.
- ‘Cut-off date’: Similar to the ‘Due date’, it is used to set up a deadline but after this date, students cannot make submissions.
- ‘Grades & feedback release date’: The date when you will release the feedback and grades to the students. Please note, this information is hidden from students and can be only used to receive a reminder e-mail from the DLE that you are expected to release the results.
- ‘Always show description’: Please keep this box enabled at all times as the DLE will then remind your students about the technical details (e.g. permitted number of files) when they are about to make a submission.
Submission types
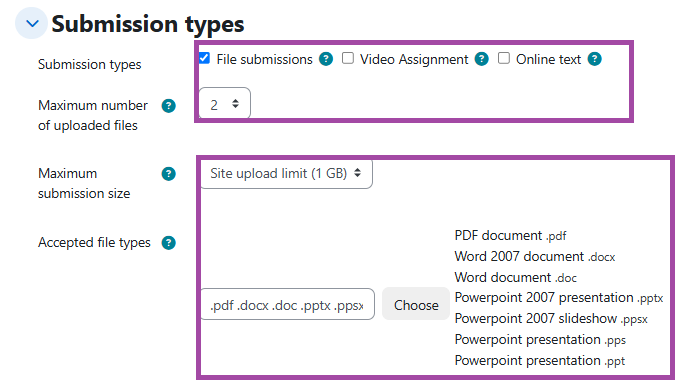
- ‘Submission types’ which can be:
- ‘File submissions’ for regular files (e.g. documents, PDFs, presentations, etc)
- ‘Video Assignment’ for media files (e.g. videos)
- ‘Online text’ which can be used for students to type their work in the DLE (we recommend allowing ‘File submissions’ for this instead)
- Combination of all (if all are expected, e.g. a PowerPoint presentation, a video file and a brief description of the submission)
- ‘Maximum number of uploaded files’: We highly recommend restricting this from 20 to the appropriate maximum files we can expect students to submit. Please note, this setting only refers to the ‘File submissions’ box. If ‘Video Assignment’ is ticked, this is by default restricted to 1 video file only.
- ‘Maximum submission size’: You only need to increase this from default up to 1 GB if heavier file sizes are expected to be submitted, e.g. PowerPoint presentations, Adobe files, AutoCAD files, etc.
- ‘Accepted file types’: We highly recommend using this feature and restricting the accepted file types for the ‘File submissions’ box to the appropriate file types (via the ‘Choose’ button) to ensure assessors can access the files regardless of the operational system they use (e.g. Windows, iOS or Linux).
| Documents | .pdf, .doc and .docx |
| Presentations | .ppt, .pptx, .pps and .ppsx |
| Spreadsheets | .csv, .xls and .xlsx |
| Images | .jpg, .jpeg and .png (if they cannot be part of other files (e.g. documents) |
| Archives | .rar and .zip |
| Audios | .mp3 |
Feedback types
- ‘Feedback comments’: Allows you to type directly into a text box on the screen and is good for quick feedback comments.
- ‘Feedback files’: Allows allow you to attach a feedback file or an annotated version of the submission.
- ‘Offline grading worksheet’: You can find more information here about marking offline here.
- ‘Comment inline’: If enabled, the submission text will be copied into the feedback comment field during grading.

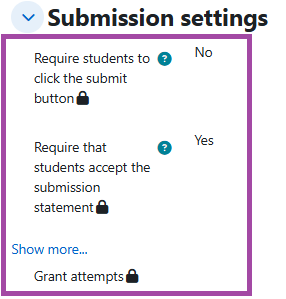
Submission settings
Submissions setting are set globally under UoP guidelines, as below.
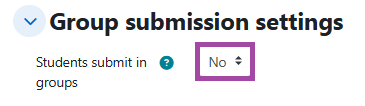
Group submission settings
Please only use this section if you expect your students to submit their work in groups.
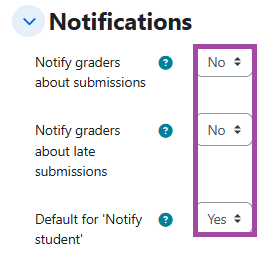
Notifications
Please leave these settings with the default values. With these settings, notifications can be enabled or disabled, for example, should graders receive e-mails about on-time or late submissions.
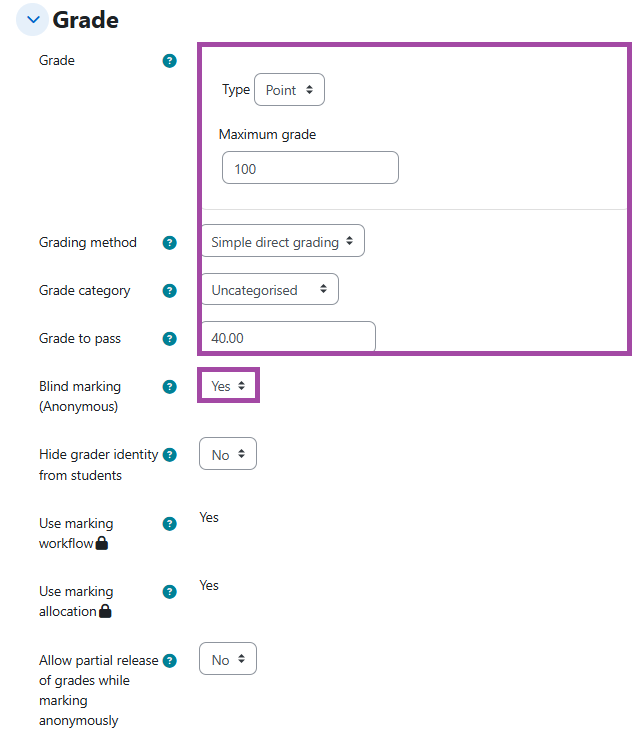
Grade
- ‘Grade’: You can define the grading strategy here (e.g. ‘Point’ for numerical values in the range from 0 to 100%, ‘Scale’ for ‘Pass/Fails’ or other scales)
- ‘Grade to pass’: You can define here the grade students need to achieve for passing the assessment.
- ‘Grading method’: You can use this if you wish to mark submissions using a DLE/Moodle Rubric.
- ‘Blind marking (Anonymous)’: You can decide here whether the submissions:
- Should be anonymised for marking so that you will not see the student names but only the participant IDs generated by the DLE which later you can reveal when you are about to release the results
- Should be not anonymised so that you see the student names in advance
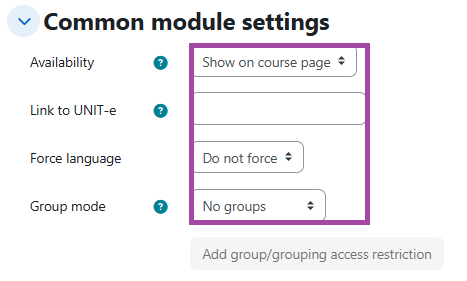
Common module settings
- ‘Availability’: You can control the visibility of the assessment with this setting. Please note, if the activity is shown to students, they can only make submissions from the date set up for the ‘Allow submissions from’ setting.
- ‘Link to UNIT-e’: You need to use this setting if it is a summative assessment where the final grades need to be transferred across UNIT-e. For more information, please visit the following help material. If you configured this option but the grades are not visible in the other system, please follow the troubleshooting steps outlined here.
- The ‘Group mode’ can be useful for you if you would like to allocate the students to different lecturers for marking.
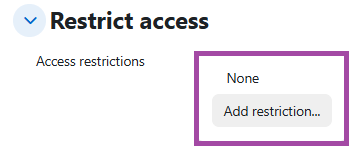
Restrict access
In the ‘Restrict access’ section, you can apply conditions students need to meet in order to see and access the assessment. This feature can be useful for referral/alternative or timed-assessments.
Turnitin settings
If you wish to use Turnitin to produce the Originality/Similarity reports upon submissions or to use the tool for marking, please check out the following help material.