Overview
Moodle allows you to ask for student submissions (such as essays, presentations, or projects) by using the ‘Assignment’ activity. It also allows you to grade inside or outside of Moodle and to use different feedback types which can also include rubrics as part of your grading form.
In this article, we will show you how to create a rubric in Moodle.
Adding a Rubric to an Assignment
The first step is to add the rubric within the settings of the submission point. To do this, please follow the steps below.
- Sign in to your Moodle account and select the course where you will create the submission point and the rubric.
- Please click on the ‘Edit mode’ toggle switch at the top-right corner and then add an ‘Assignment’ activity to your course as per the usual setup instructions.
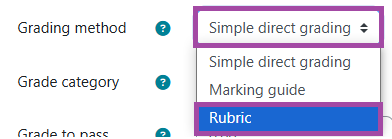
- During the setup stage, please scroll down to the ‘Grade’ section and then select the ‘Rubric’ option from the ‘Grading category’ drop-down list.
- Once you selected it, you can then continue setting up your submission point as per usual. Please make sure you click on the ‘Save and display’ button to finalise your action.
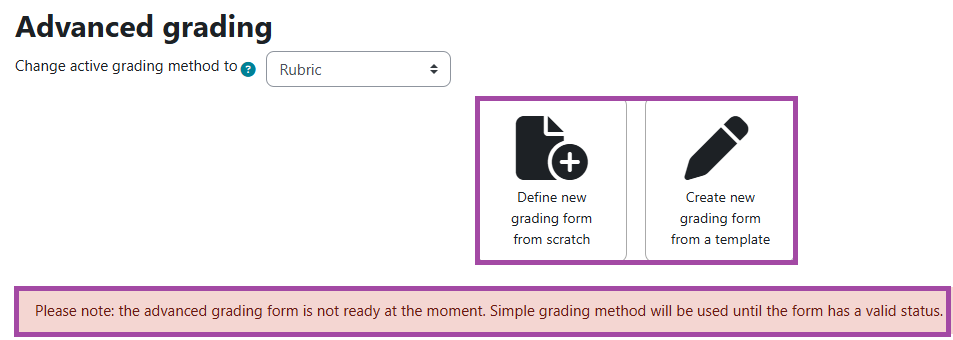
- Once you saved the process, a new page will open where you can select between two options, depending on the fact whether you would like to create a rubric from scratch or use a template. In this case, we will build a rubric form from scratch. Please note, until your rubric is ready to be used, the simple grading strategy will take place for the submission point which means your students can receive numerical values as their marks in the range of 0 to 100 as per usual.
Setting up a Rubric in the Assignment
The second step is to set up the rubric under the submission point. To do this, please follow the steps below.
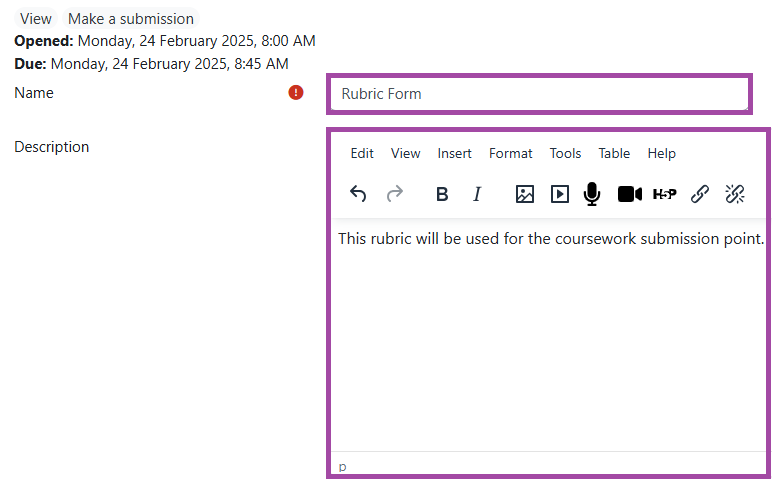
- Please add a userful name and description to the rubrics. We recommend using a title and instructions which reflects the purpose of usage.
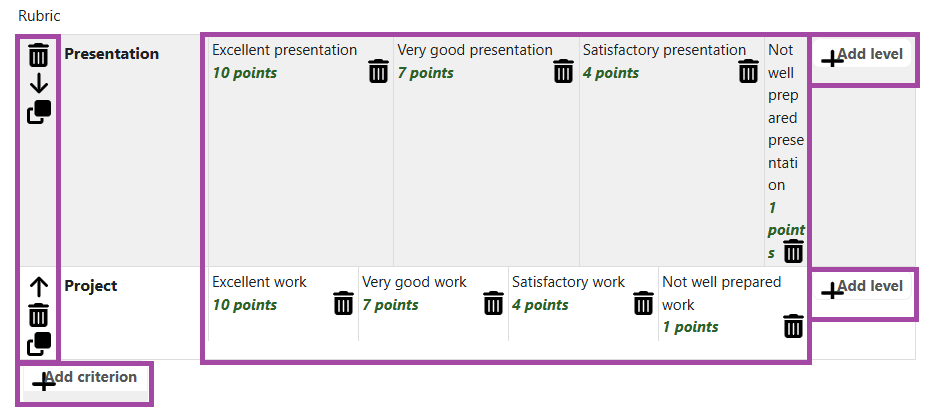
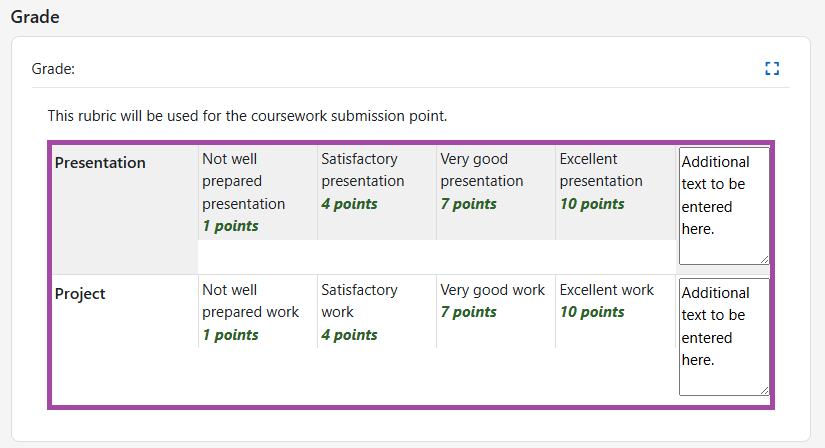
- The next step is to add your criteria and scales (also known as levels) to your rubric form. As such, you will be able to:
- Add as many criteria and levels as you would like to with titles and descriptions as preferred or remove them by using the ‘X’ buttons
- Add points to each level as preferred
- Re-organise the order of the criteria or create duplicates
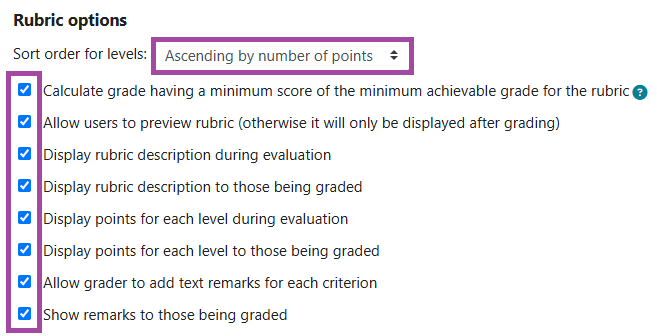
- Additionally, you will also be able to tick or untick the following boxes and decide the order of levels (ascending or descending based on the given points) – we recommend leaving all these boxes ticked.
- Calculate grades for the rubric which can be based on the minimum grade defined in the settings of the submission point (if ticked) or the minimum grade achieved by your students (if unticked)
- Visibility of the rubric (including its description, points, and any additional text remarks for each criterion)
- Once you configured the rubric form, please make sure you click on the ‘Save’ button in order to finalise your action. You can also save it as a draft and return back to it at a later stage to continue editing it.
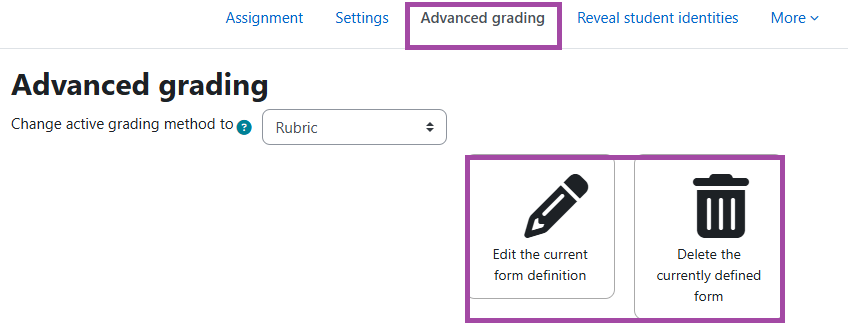
- You will be directed back to the dashboard of the submission point. To review, edit or remove the rubric form, please click on the ‘Advanced grading’ menu.
Using the Rubric for marking
Once you received student submissions and you are ready to mark the uploaded files, you will be able to use the created rubric form. To do this, please follow the steps below.
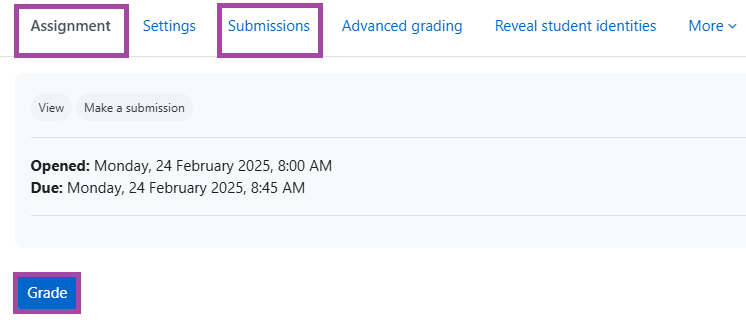
- Please navigate to the Grading table by clicking on the ‘Submissions’ menu in the secondary navigation bar under the dashboard of the submission point. This will display all the submissions made by students. Alternatively, you can click on the ‘Grade’ blue button (under the ‘Assignment’ menu) but please note, this will bring you to the first submission listed in the Grading table.
- Please select a student submission from the list. You can either search for the student or manually try to find them on the list. If you wish to mark the submissions in the same order as displayed in the table, you can simply click on the ‘Grade’ blue button located at the top-right corner.

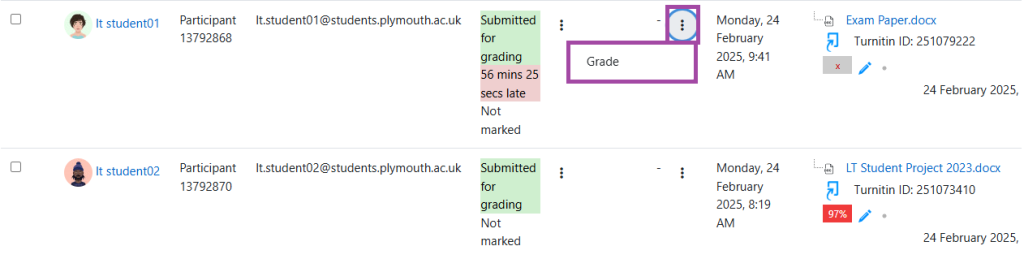
- To select the submission, you can click on the three dots next to them (under the ‘Grade’ column) and then click ‘Grade’.
- Once you are in the Grading window of a student submission, please select the appropriate levels under each criterion and add any additional comments to the last column/rows as needed. The rest of the grading process will remain the same as per usual.
- Once you graded the student submission, please click on the ‘Save changes’ button to finalise your action.