Overview
Course content may be imported from any other course that the teacher has editing permissions in. This will allow teachers to re-use instead of re-creating existing courses.
Preparing for import
Scenario A. Copying content and structure into a new Moodle course from the previous year (if your current course is a shared content course with _X in the title see scenario B)
- Open the previous year’s version of the course where original content is held
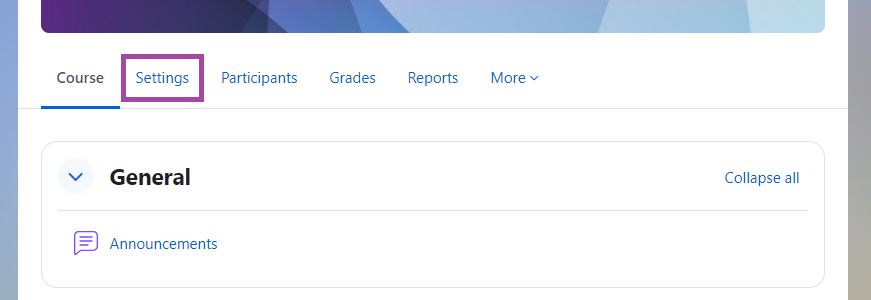
- Go to the secondary menu and click on ‘Settings’

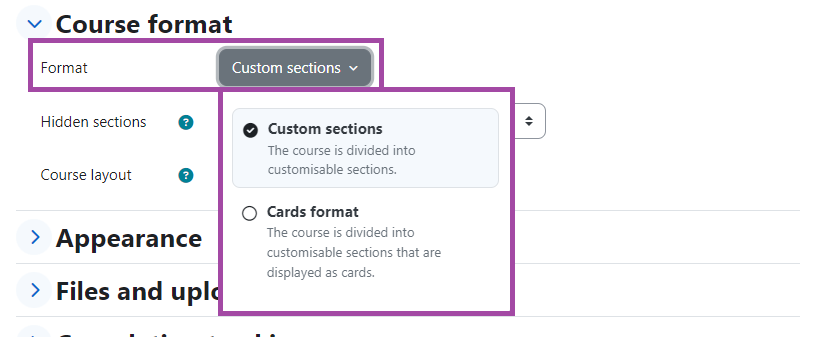
- Make a note within the ‘Course format’ which format you have (i.e. Custom Sections, Grid (disabled) etc.)
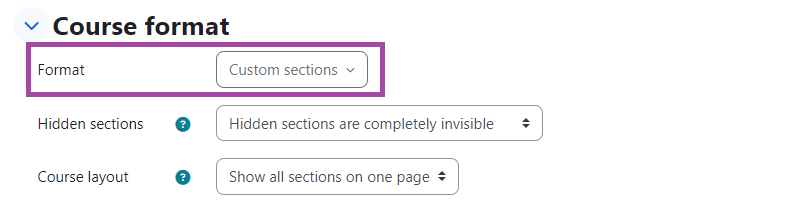
- If you have ‘Custom Sections’ you can close the previous year’s course (continue to step 7).
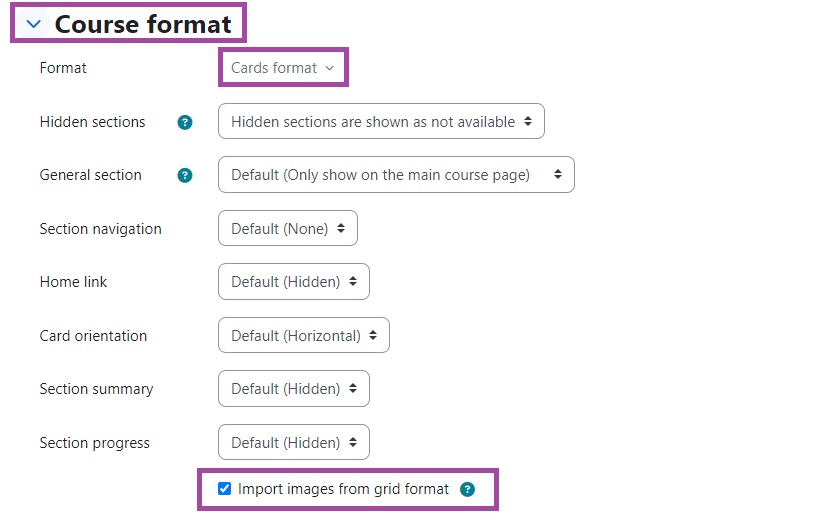
- If you are using ‘Grid (disabled)’ and want to keep your original imagery, you will need to convert your course to ‘Cards Format’ before importing.
- Select ‘Cards format’ and ensure that the ‘Import images from grid format’ is selected.
- Open this year’s new empty Moodle course
- Go to the secondary menu and click on ‘Settings’
- Amend the course format, number of sections and structure to match previous course (if you previously used ‘Topics’ select ‘Custom Sections’ and if you used ‘Grid’ select ‘Cards Format’
- Follow the ‘importing content’ instructions shown in ‘Importing Content’.
Scenario B. Copying content and structure into a shared content course for a new academic year (courses identified by _X)
Before undertaking the instructions above, undertake the following:
- If you already have a shared content course where you have linked multiple module cohorts to one Moodle course (identified by _X) then the support desk will email you towards the end of the current academic year to ask if you require a new copy for next year.
- Once you have confirmation that your new course has been created. Follow the steps above in scenario A.
- Remember you must link the cohorts for the new academic year to the new shared content course.
Importing content
NOTE: remember to make sure at this point you are in the course that will receive the content from the previous year. The course image and course summary will not included when importing and will have to be added after the import.
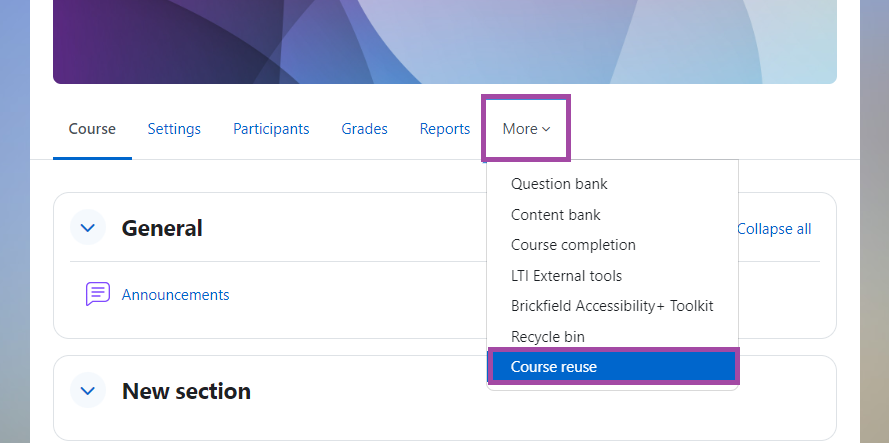
- Go to the secondary menu and click on ‘More’
- Then select ‘Course reuse’
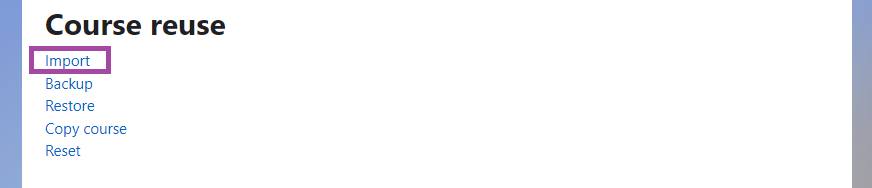
- Then select ‘Import’
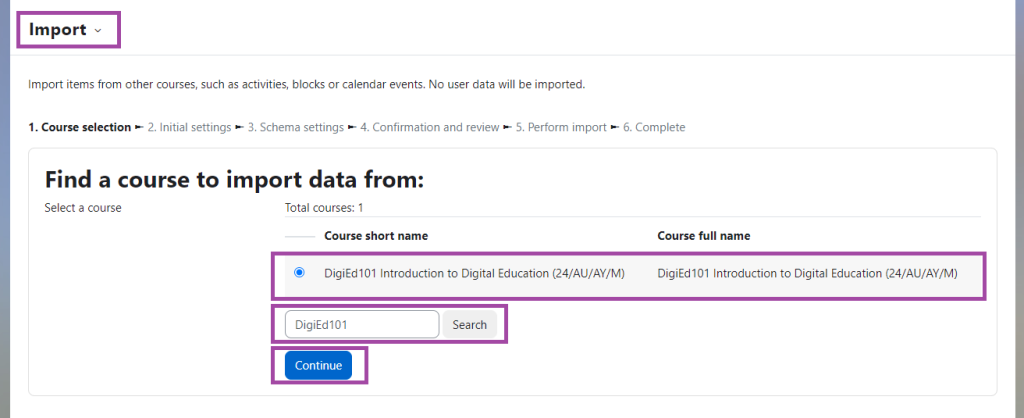
- Now type the name or code in the search-bar to find the course you wish to import content from
- In the drop down menu on the left ensure ‘Import’ is selected
- Click the radio button to select the course
- Click continue
- You can now select the types of content to include in the import, by ticking the relevant boxes and then when finished click on ‘Next’.
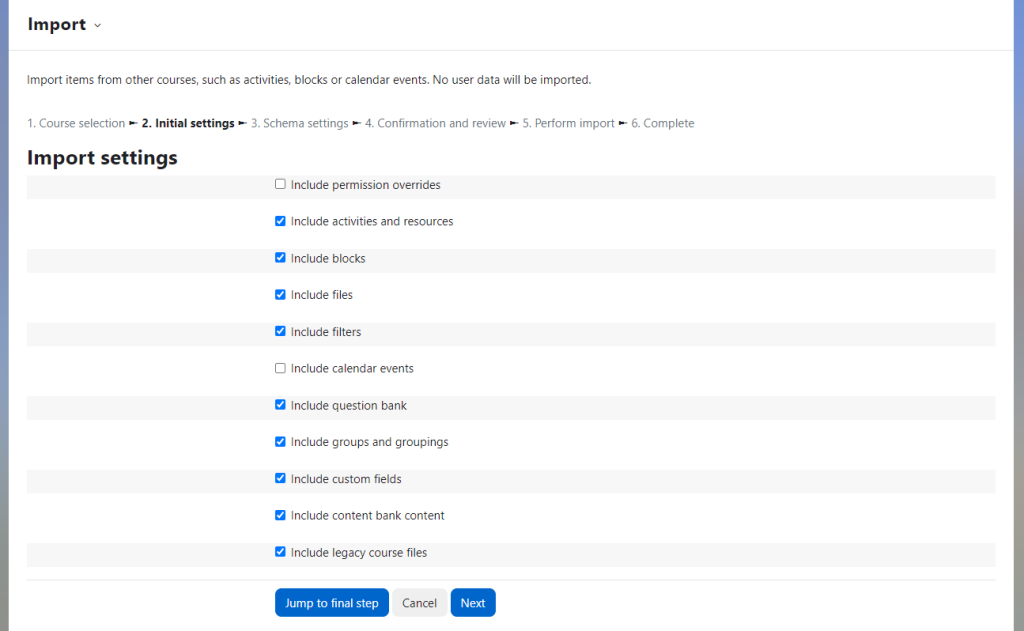
The Import settings offer to include nine types of content:
- Activities and Resources: Core Content – Always leave ticked
- Blocks: Custom blocks created in the Right hand column – Tick if you have any you wish to retain
- Files: This includes any PDF’s, Word docs or Powerpoints you may have uploaded to the module. Leave this ticked.
- Filters: We do not use filters – you can untick this
- Question Bank: Any question banks or quiz questions – Tick if you have used quizzes
- Groups and Groupings: Any groups and groupings used in the course – Tick if you have established groups in the Course. This will not copy over the student-names
- Custom fields: We do not use this – You can untick this.
- Content bank content: The content bank will include any H5P objects you may have created. If you have or not it is best to leave this ticked.
- Legacy course files: This includes any course files created using older versions of Moodle. Leave this ticked.
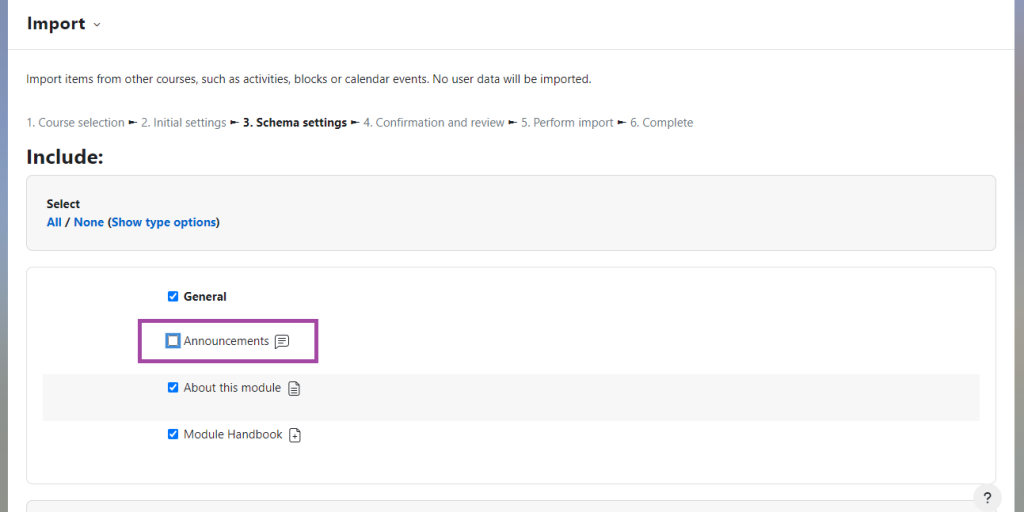
Depending on the selection you made in the previous step, you can now view individual items and deselect anything you don’t want to copy across. This is ideal if there is only certain content you want to take into your module:
Items to not copy when re-creating a Module Course
The following items should not be copied over when a new module course is created by importing from a previous year’s course and should therefore be unticked:
- Announcements Forum: This is not required as the new course will already have one and if imported you will have two and need to delete one. It is impossible to delete both, although the last one may be ‘hidden’.
- Moodle Assignments: It is always considered best practice to not import any Moodle Assignments as this can cause issues with the Binding to UNIT-e. It is also important to remove any ‘bindings’ on the old assignment before re-creating them in the new assignment.
- Online Module Boxes: If the earlier course still has an ‘Online Module Box’ in the bottom section, it should not be imported into the new course.
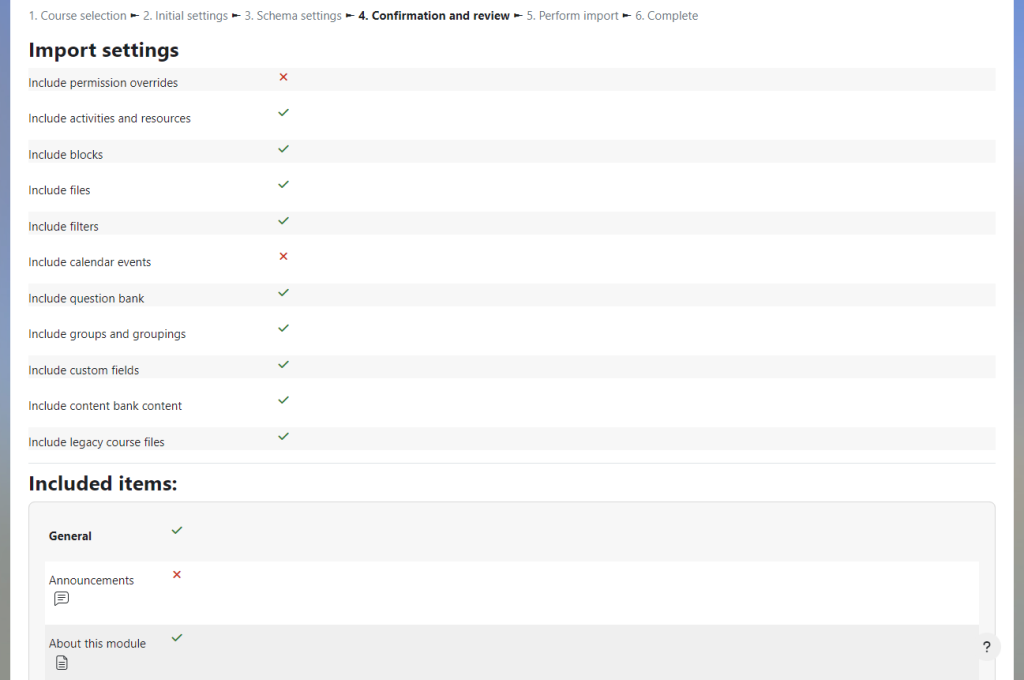
- Once you have selected or deselected the items you wish to copy to the new course, click ‘Next’. You’ll then see a confirmation screen showing a list of what will be copied over to the new course.
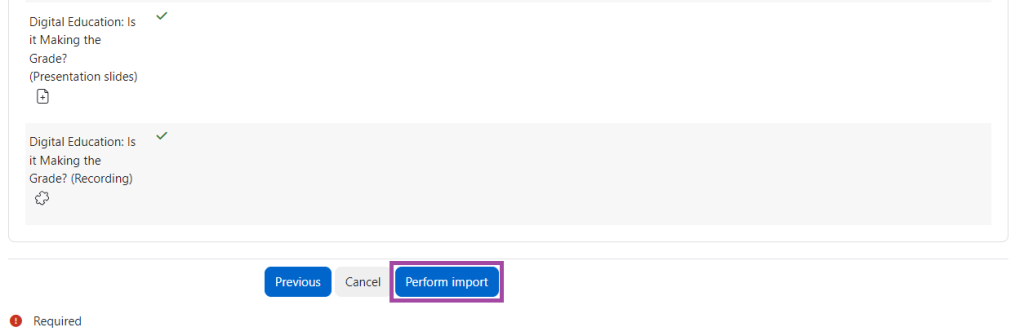
- Scroll to the bottom of the page and click the ‘Perform Import’ button.
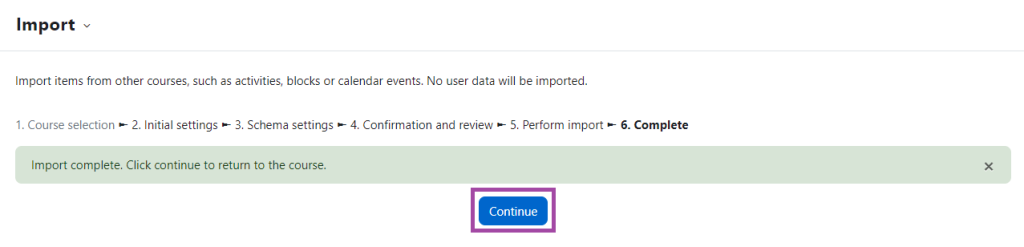
- After a short period, you should get message saying ‘Import complete. Click continue to return to the course.
- Click ‘Continue’ and you will see your content in your new course.
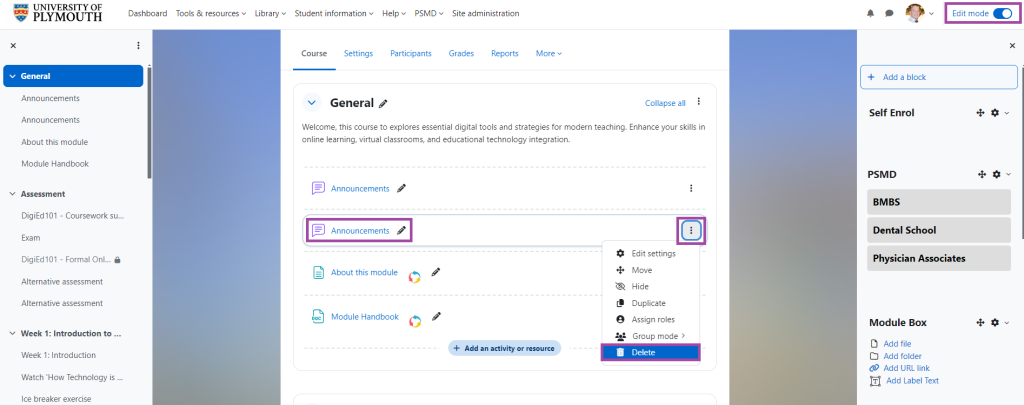
- If there are items that have been duplicated as in this example (i.e. Announcements), you can simply delete them as follows.
- With Edit mode on, click the 3 vertical dots to the right of the resource
- Select delete