Manage sections
Once you have chosen the layout for your course, you can edit the individual sections for each week or topic. For this action, please turn on the editor mode by using the ‘Edit mode’ toggle switch at the top-right corner.
Add a section to your course
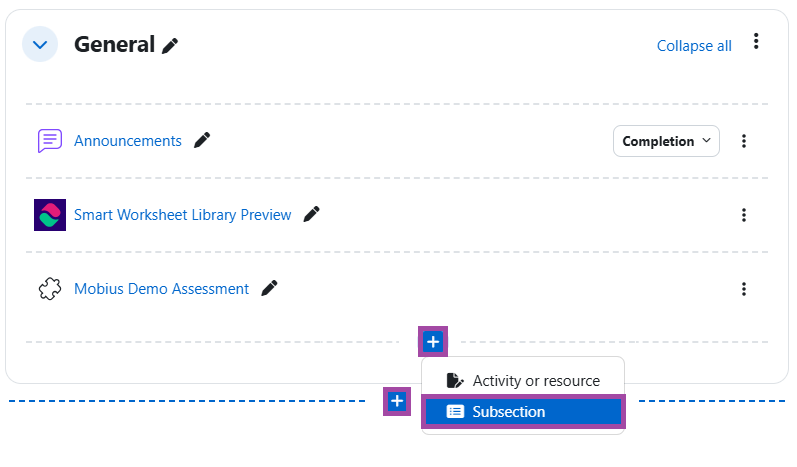
To add a section, simply click the ‘plus’ icon under an already existing topic. Even if you created a section at the wrong place, you will be move it around/re-organise the order of the sections (please see below for further information). You will also be able to add sub-sections (also with a ‘plus’ icon).
Change section names
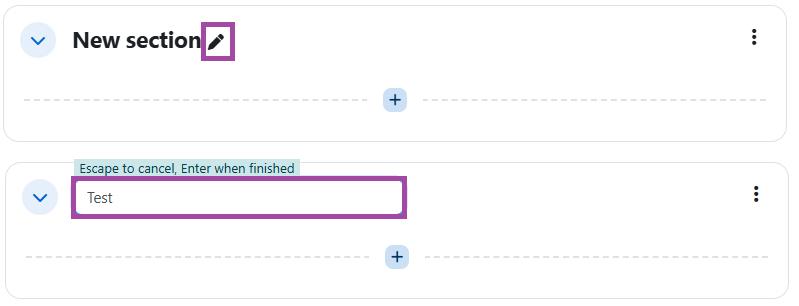
If you want to change the section name, please click on the pencil icon next to the title. Once the new title is entered in the box, please ensure you press the ‘ENTER’ keyboard on your machine, otherwise the title will not be saved.
Edit the section settings
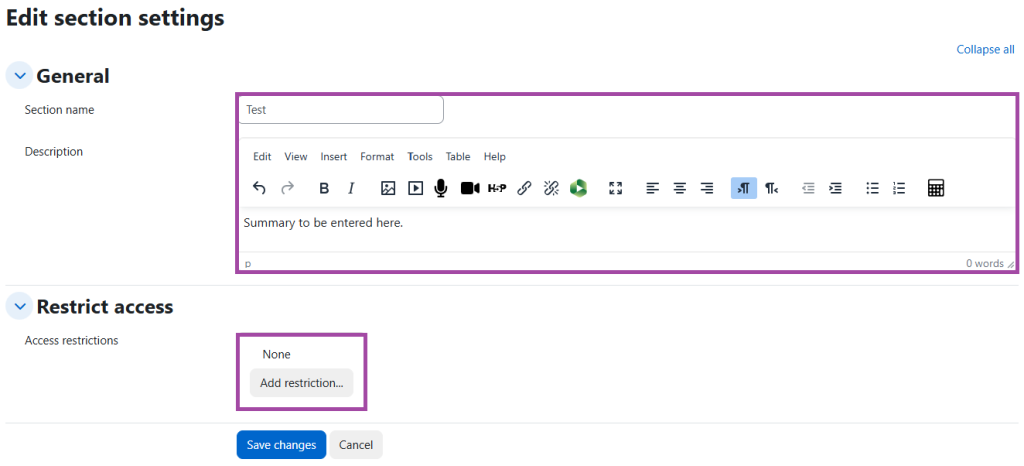
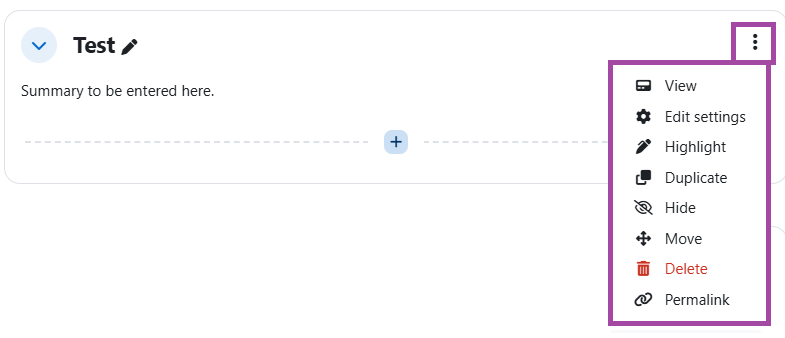
With the ‘Edit settings’ button under the three-dot button, you will be directed to the section settings where you can:
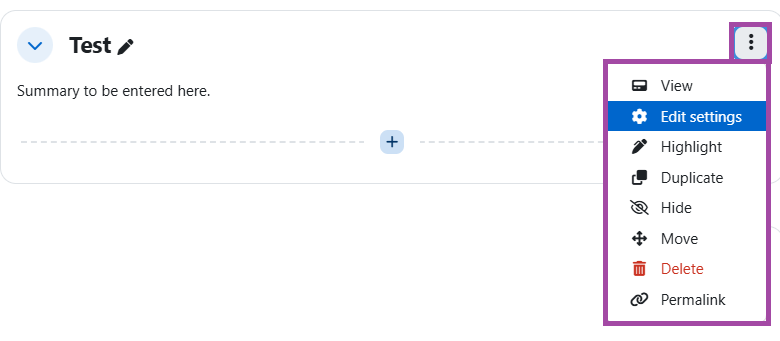
- Change the section name (the same way you can do with the pencil icon as explained above)
- Add additional text in the ‘Description’ box to explain the content to students
- Add restriction ****(for example, you could add dates here to restrict student access to the section for a defined period of time). For more information about restrictions, please visit the following help material.
Move a section
You can simply move a section by clicking, holding and dragging the section to the new location. If your course is long, you may find it easier to collapse all the topics, and then drag the topic to its new location.
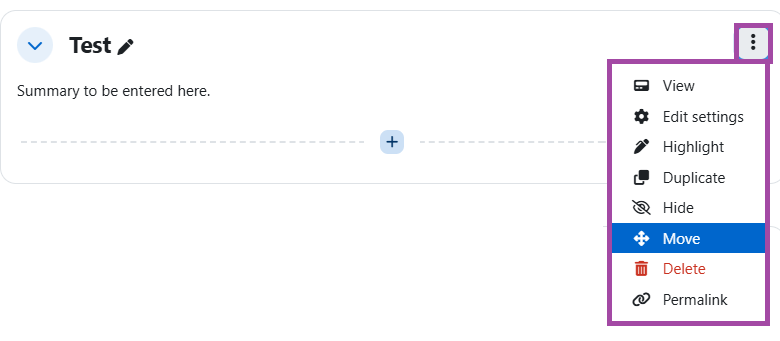
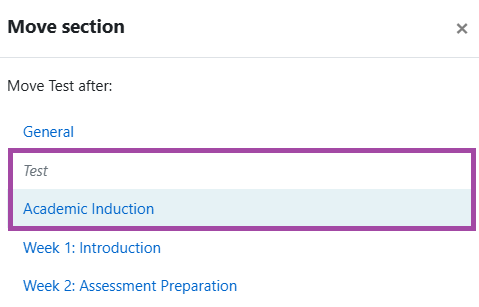
Alternatively, you can click on the three-dot button, select ‘Move’ and then select the section where you wish to move the section (after another section).
Delete a section
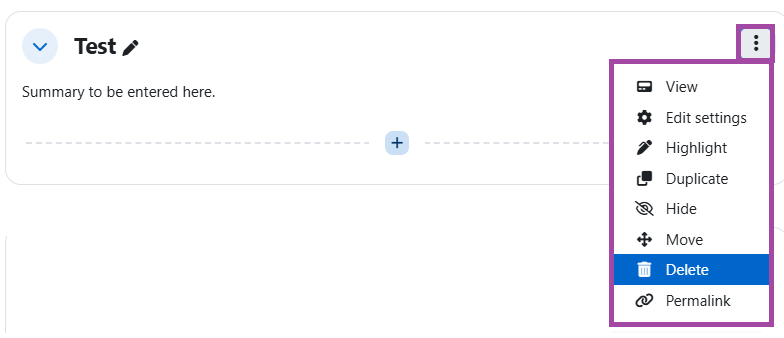
You can delete a section by clicking on the three-dot button next to the section name and choosing the ‘Delete’ option from the drop-down list. Be mindful that this will delete all resources and activities within that section.
Hide or highlight a section
You can use the three-dot button to the right of the section name to either highlight a section or to hide it for your students. If you hide a section, you will be able to change the visibility back and show the section again with the ‘Show’ button (this will replace the ‘Hide’ button when a section is hidden).
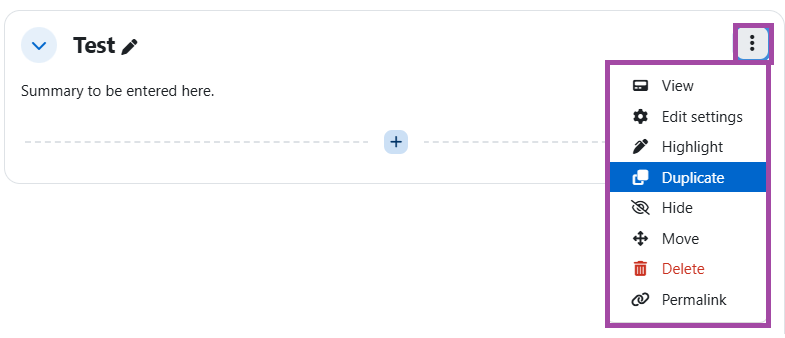
Duplicate a section
Lastly, you can use the three-dot button to the right of the section name to duplicate a section. This means that your section will be duplicated, including any resource or activity added under it.