PebblePad allows you to create workbooks or e-portfolios for the students so they can shape and develop their skill sets, while PebblePad (ATLAS) is developed as an institutional space to support learning activities such as PebblePad resources which are organised into workspaces.
In this article, we will show how to move a workbook or an e-portfolio between workspaces in PebblePad (ATLAS).
How to move a workbook or an e-portfolio between workspaces in PebblePad (ATLAS)
To move a workbook or an e-portfolio between workspaces in PebblePad (ATLAS), please follow the steps below:
- Sign in to your Moodle account.
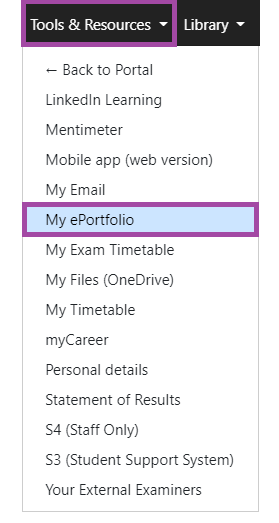
- You will see a navigation bar appearing on the top left side of the screen. Click on ‘Tools and Resources’ and then select ‘My e-portfolio’ from the drop-down menu.
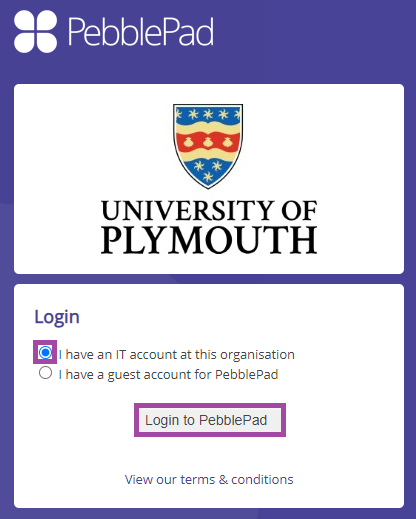
- You will be directed to the PebblePad website where you need to log in with your academic IT account.
- You will see a navigation bar appearing on the top left side of your screen. Click on the blue ball icon to be directed to PebblePad (ATLAS).

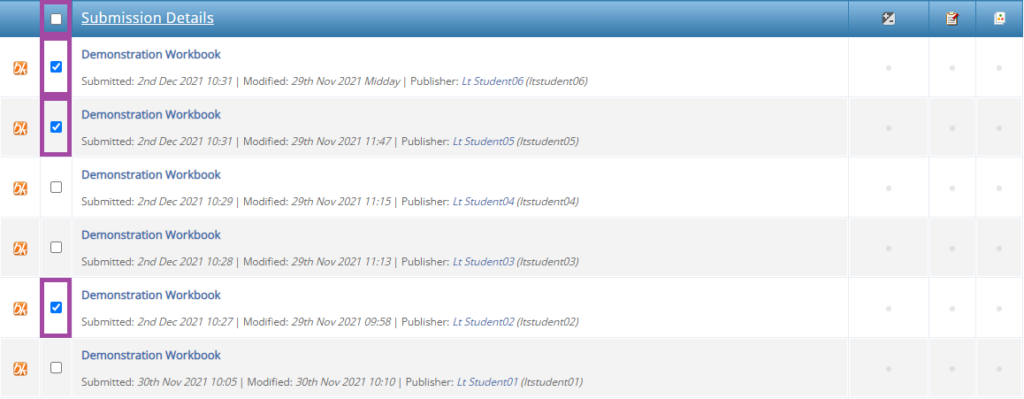
- You will see the dashboard of your PebblePad (ATLAS) account. Please select the workspace on the list from where you would like to move a workbook or e-portfolio.

- If you would like to move all of them, then alternatively, you can tick the box where it says ‘Submission Details’.
- Click on the ‘Manage submissions’ menu in the sub-navigation bar that appears under the main navigation bar.

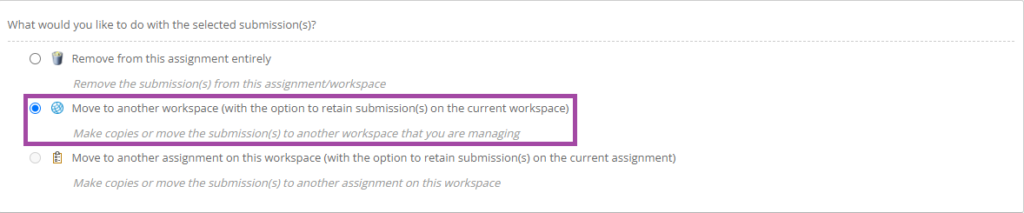
- A new page will open where you need to select the second option where it says ‘Move to another workspace (with the option to retain submission(s) on the current workspace)’.
- As you have chosen the second option, a new section will appear where you need to select a workspace from the drop-down list. This is going to be the workspace where the workbook or the e-portfolio will be stored.

- If you would like to save a copy in the original location, then you need to tick the following box, otherwise, keep it unticked.

- Click on the ‘Continue’ button to finalise your action.

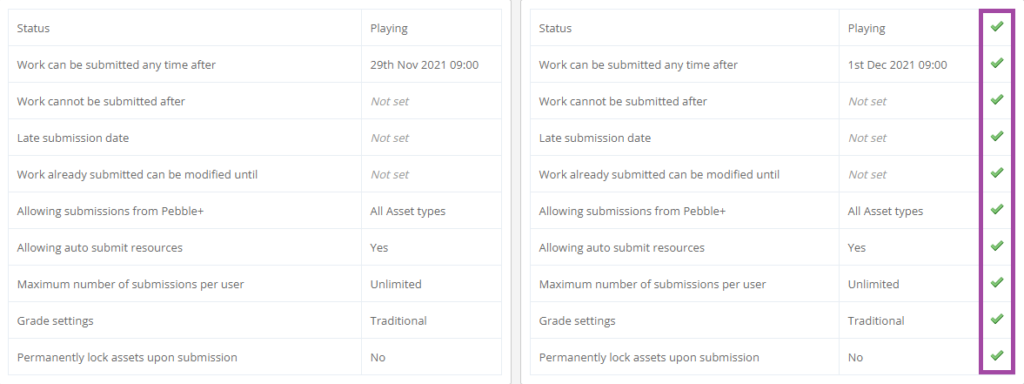
- A new page will open up where you will be able to get additional information about the status of your workbooks or e-portfolios. Please make sure that all of the fields are ticked (green checkmark), otherwise, you will not be able to move them. In this case, please contact the Digital Education team.
- You will see a yellow window appearing below this table. Please make sure you tick the box where it says ‘I have read this information and wish to continue’.

- Click on the ‘Continue’ button to finalise your action.

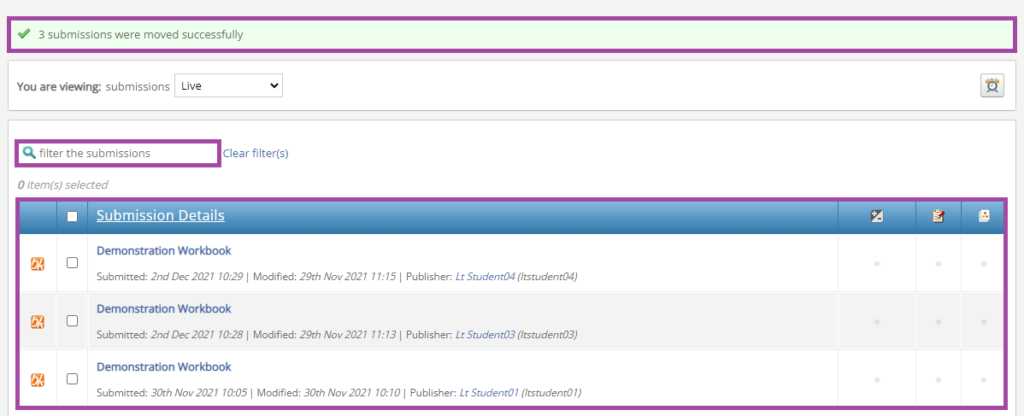
- You will be directed to the dashboard of the student submissions. You will see a confirmation notification in a green line appearing above the list, where it says ‘3 submissions were moved successfully’ as in this case, we moved 3 workbooks/e-portfolios to another workspace. You can also double-check the success of the process if you use the search bar to search for these submissions as they should no longer appear on the list.
Who can move a workbook or an e-portfolio between workspaces
Please keep in mind that only ‘Lead Tutors’ are able to move a workbook or an e-portfolio between workspaces. To check the ‘Lead Tutors’ in PebblePad (ATLAS), please follow the steps below:
- Click on the ‘Managers’ menu in the navigation bar that appears on the top left side of the screen.

- A new page will open up with a sub-navigation bar. Click on the ‘Manager’s menu.

- You will see the list of members. Please make sure ‘Lead Tutor’ is highlighted.

Please visit the following article if you would like to add a new manager to your workspace.