Overview
PebblePad is the University provided web-based ePortfolio and Personal Learning system. The system is available to all staff and students and can be used independently for Personal and Professional Development, or as part of assessed activities within the curriculum.
With the feedback settings, you can configure how and when you would like to release the grades and feedback to the students in terms of their submissions.
In this article, we will show how to manage feedback in a PebblePad (ATLAS) workspace.
How to manage feedback in a PebblePad (ATLAS) workspace
To manage feedback in a PebblePad (ATLAS) workspace, please follow the steps below:
- Sign in to your Moodle account.
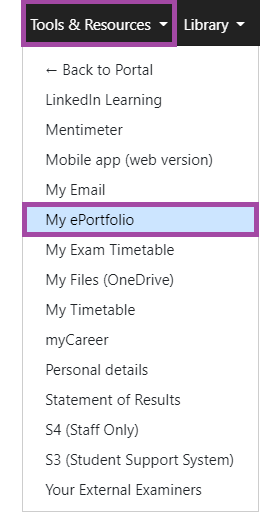
- Through the navigation bar appearing on the top left side of the screen, select ‘Tools and Resources’, and then select ‘My e-portfolio’ from the drop-down menu.
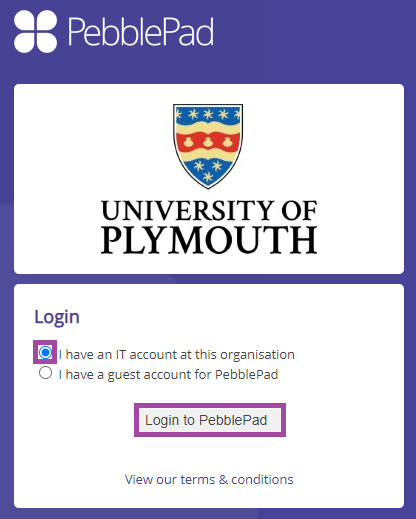
- You will then be directed to the PebblePad website and required to log in with your academic IT account.
- After logging in, select the blue ball icon (on the top left side of your screen) to be directed to PebblePad ATLAS.

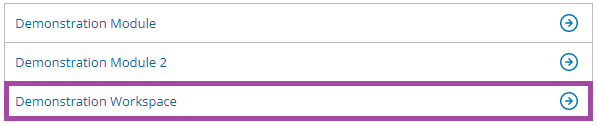
- A list of the workspaces you have access to should then appear on your ATLAS homepage. Please select the one to which you intend to manage feedback.
- Please click on the ‘Management’ menu and then select the ‘Feedback’ sub-menu in the navigation bar.

- A new page will then open with the following options.
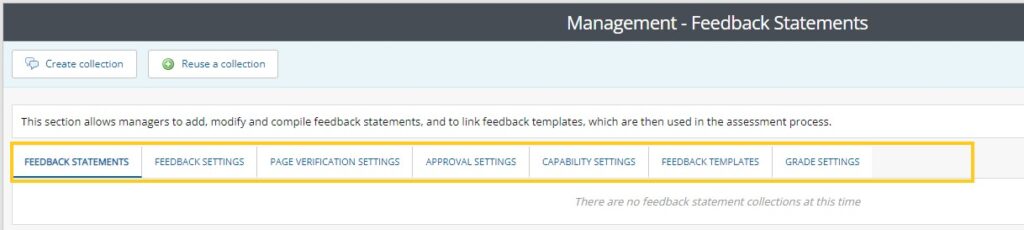
- ‘Create collection’ – This allows you create a new grading form or rubric (just like in Turnitin) which will include different criteria.
- First, select ‘Create collection’
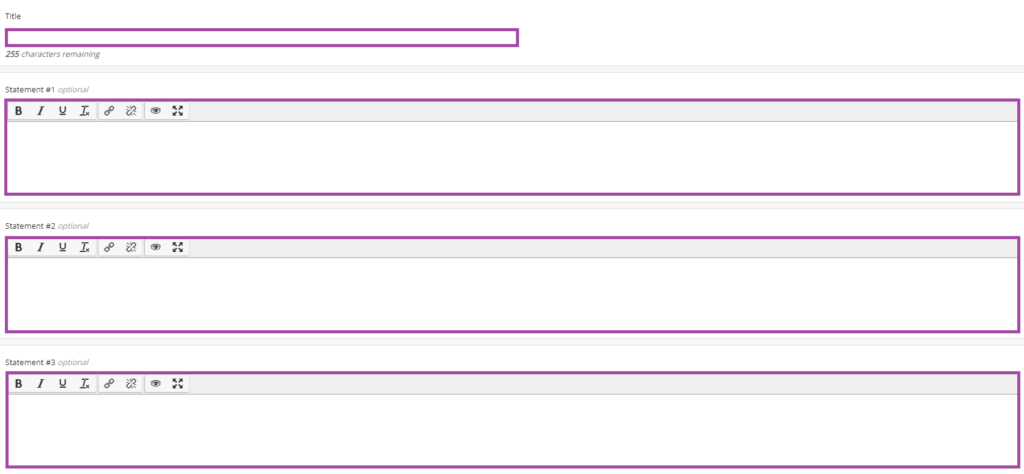
- Enter a title and then define the criteria. If you wish to add new labels, please click on the ‘Add another statement’ button.
- ◦ Click on the ‘Save’ button to finalize your action.
- ‘Reuse collection’ – Existing collections in workspaces can be used for other assignments or projects.
- To do this, first, please click on ‘Reuse collection’, which will direct you to the editing workspace of the collection
- Edit/modify the title and statements as required.
- Click on the ‘Save’ button to finalize your action.
- ‘Feedback statements’ – Under this tab, you will be able to find the collections you have created within the workspace.
- ‘Feedback settings’ – Through this, you can define:
- the time the feedback should be released, and if it should done automatically or through a manual process. (N.B please ensure not to pre-select the ‘Release grade now’ option)
- if and by whom the feedback can be recalled.
- whether feedback comments and block-level feedback should be enabled.
- whether to include feedback instructions for assessors.
- anonymity settings for peer and assessor feedback.


- ‘Page verification settings’ – under this tab, you can define whether to release the additional pages attached to an assignment for feedback purposes immediately, or only the ‘Lead tutor’ would be able to do it manually.

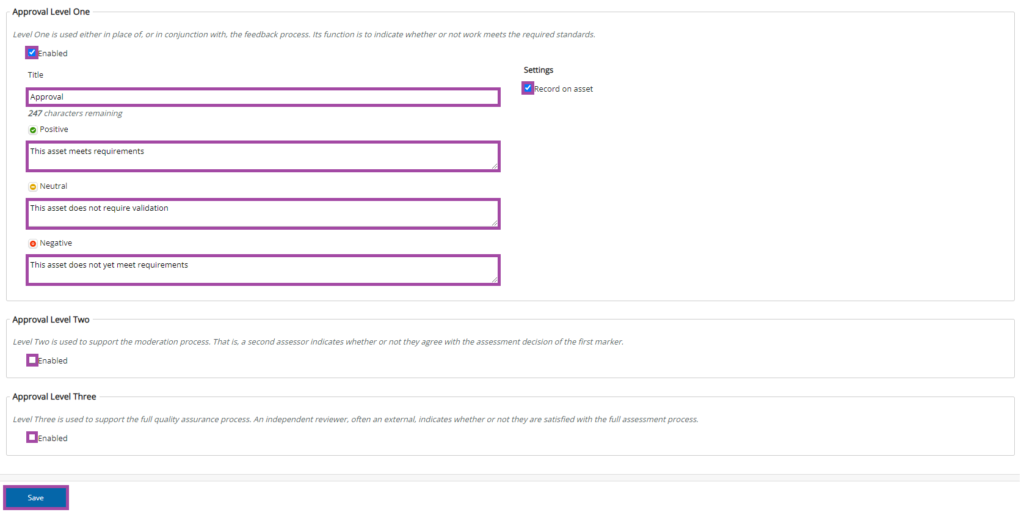
- ‘Approval settings’ – the levels of the approval feedback from other assessors (including external examiners) to be attached to a submission can be define through this function. You can also enter a title and feedback template for each level. Please make sure you click on the ‘Save’ button to finalize your actions.
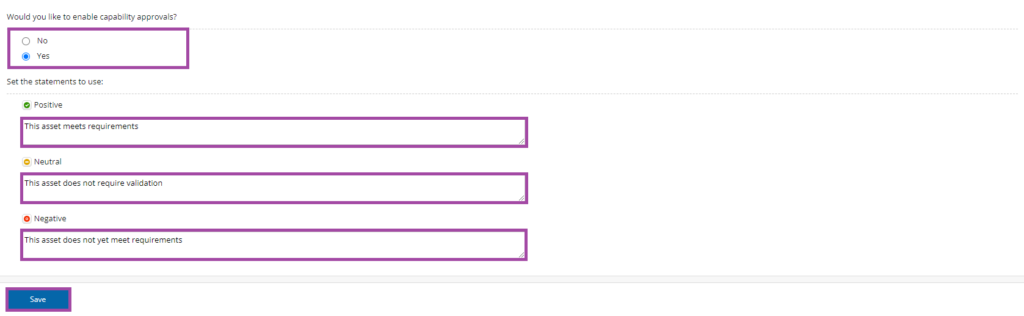
- ‘Capability settings’ – The use of capability approval feedback can be defined under this tab. A template statement for each scenario can then be created as required, whether it is positive, neutral, or negative. Please make sure you click on the ‘Save’ button to finalize your actions.
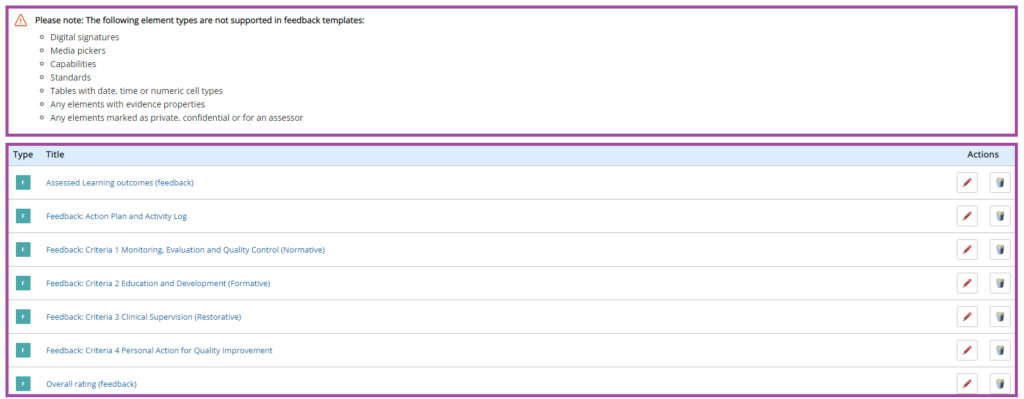
- ‘Feedback templates’ – under this tab, you can create a feedback template for all assignments or only for specific ones (pencil icon). Please note that not all content types are supported by templates. All templates listed here have to be directly created in PebblePad. They can also be removed using the ‘bin’ icon.
- ‘Grade settings’ – under this tab, you can define the grading strategy to be used for an assignment. Ensure you click on the ‘Save’ button to finalize your actions.
