Overview
Moodle allows you to ask for student submissions (such as audio, videos, or narrated presentations) by using the ‘Assignment’ activity. It also allows you to grade inside or outside of Moodle and to use different feedback types.
In this article, we will show you how to mark media submissions in Moodle by using the ‘Grade’ button.
Using the Grade button
Once you received student submissions, you will then need to use the ‘Grade’ button in the Grading table in order to mark the uploaded media files. To do this, please follow the steps below.
- Sign into your Moodle account, search for the relevant course, navigate to the submission point, and then click on the ‘Submissions’ button in order to access the Grading table.
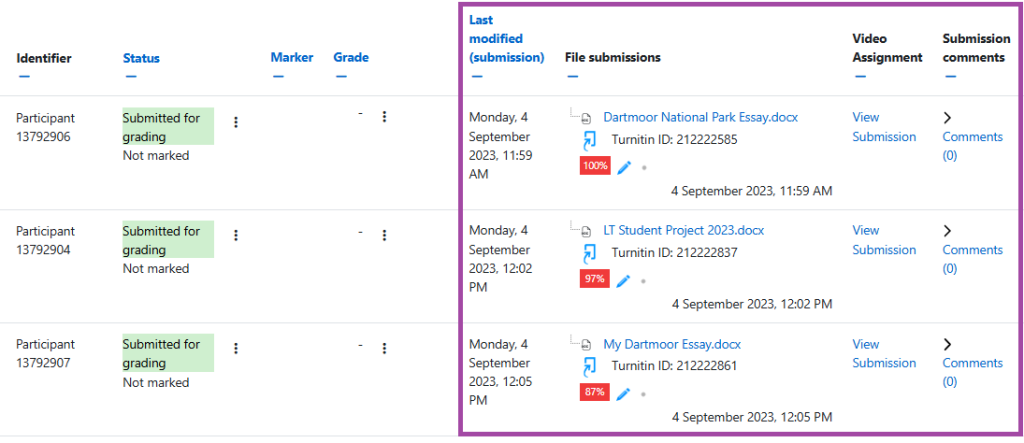
- Once you are there, you will be able to access the student submissions including the media files and any supplementary files (for example, presentations, PDF files, Word documents) you asked your students to upload to Moodle.
- As per usual, you will need to click on the three-dot and then on the ‘Grade’ button next to a student submission in order to access the Grading window where you can:
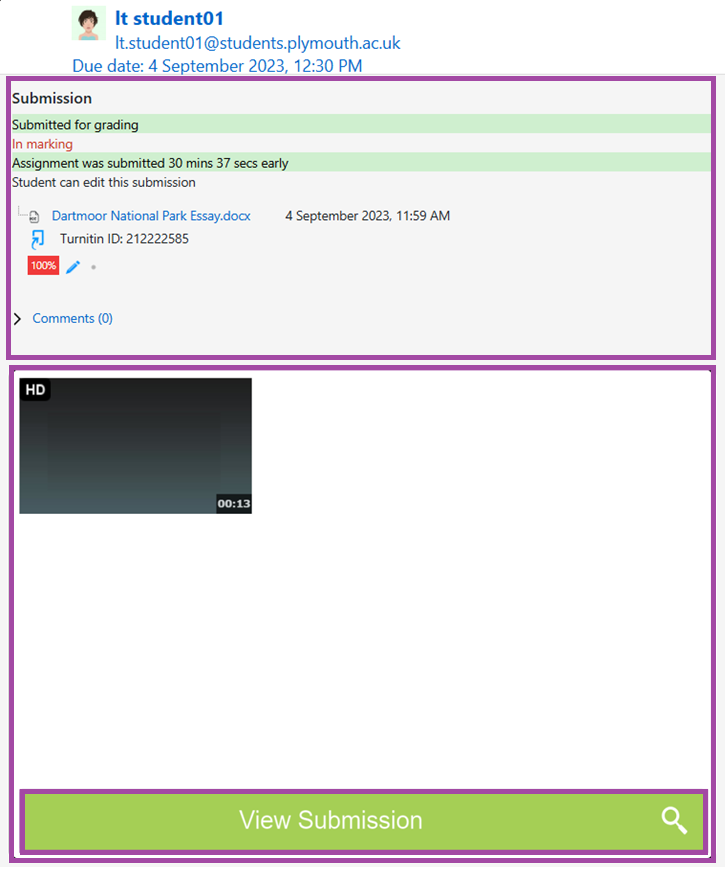
- Access information regarding the uploaded files (including accessing the media files by clicking on the green ‘View submission’ button)
- Add your grade, grading status, and the marker
- Provide feedback as comments or as uploaded files
For more information about the elements of the Grading window, please visit the following supporting material. You will need to mark and provide feedback on the submission as if it was a regular file, not a media file.
Alternatively, you can also access the media files directly from the Grading table by clicking on the ‘View submission’ button under the ‘Video Assignment’ column as shown below. The supplementary files can be also downloaded directly from the Grading table where all submissions are displayed in a table list format.

Saving and releasing grades/feedback
Once you have completed the marking process, and you are ready to share the results with your students, you can then release the grades and feedback for the submission point as per usual. For more information about the process, please visit the following supporting material.