Overview
Moodle allows you to ask for student submissions (such as essays, presentations, or projects) by using the ‘Assignment’ activity. Once the deadline for the submission point has passed and you are ready to mark the uploaded files, you can then select between two main methods to add your grades and feedback:
- Online, using the ‘Grade’ button
- Offline, downloading all the student submissions and the grading worksheet
In this article, we will show you how to grade student submissions online by using the ‘Grade’ button in Moodle. This is the button that will navigate you to the Grading window.
Using the Grade button
To grade submissions by using the ‘Grade’ button, please follow the steps below.
- Please navigate to the Grading table via the ‘Submissions’ menu within the secondary navigation bar of the submission point and then select a student submission you wish to grade. Please select ‘Grade’ via the three-dot button next to them.

- You will be directed to the Grading window where you will need to get familiar with the following sections.
- Submission
- Grade
- Feedback
On this page, you will also be able to navigate back to the:
- Main course/DLE page
- Dashboard or the settings of the submission point
- Grading table to view all the submissions
- Participant ID or student name (depending on whether the assessment is set to anonymous submissions)
- Next submission or a specific submission by selecting a user (‘Change user’ drop-down list)

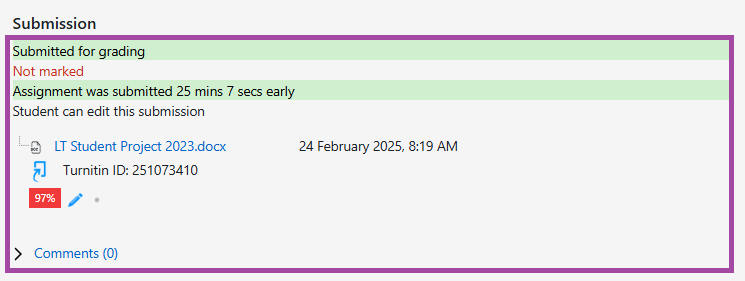
Submission
In this section, you will be able to find information regarding the student submission, such as:
- Submission status which indicates the time of the submission
- Marking workflow status which indicates the status of the grading process
- Editing permission which indicates whether the submissions are locked or can be still updated by students (if the deadline passed and the uploaded files get updated, they will be captured as late submissions in Moodle)
- Name and date of the submission
- Turnitin Originality/Similarity report
- Any comment added by the student
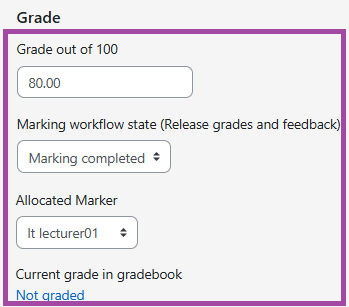
Grade
In this section, you will be able to:
- Add your mark to the submission (depending on the grading strategy you selected to be used in the settings of the submission point, such as points, scales, or none)
- Set the marking workflow for the submission (please note, the status will always be visible to your students, but the grade only at the stage of releasing the grades and feedback)
- Allocated Marker (if you used the ‘Marker’ filter for submission point)
- Current grade in the Gradebook if there is (also known as the ‘Grades’ menu which is invisible to your students and is not the identical with UNIT-e)
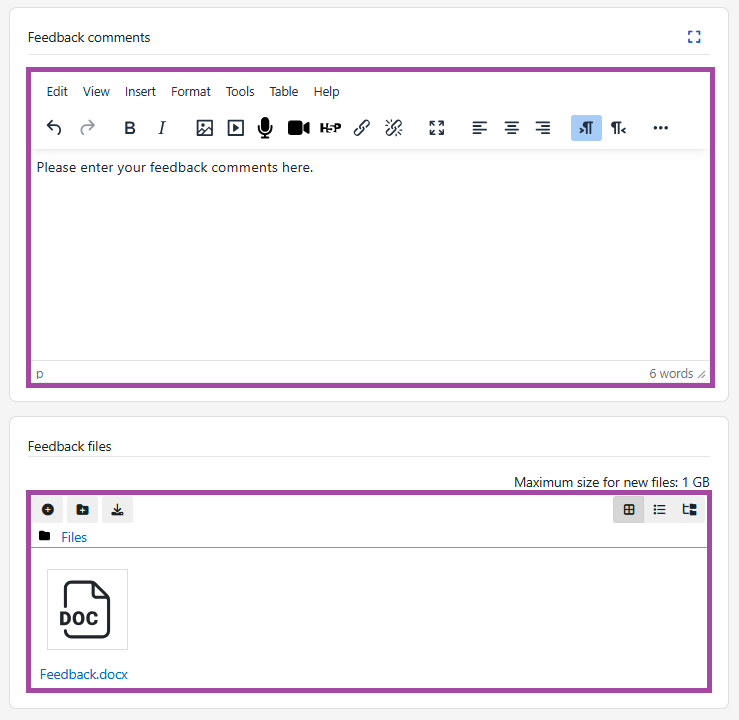
Feedback
In this section, you will be able to provide feedback in various ways, such as:
- Feedback comments (such as textual information, images, audio, and videos)
- Feedback files (such as documents, images, presentations, audio, videos, and many more)
Final step
Once you added the grade and feedback to the submission, you will need to click on the ‘Save changes’ button. Please note, we do not recommend using the ‘Save and show next’ button. If you have already added a grade or it was an accident, you can also reset it to default.

Once you saved the process, you can navigate back to the Grading table via the ‘View all submissions’ button (top-left corner) where you can view all the submissions. To grade the next student paperwork, you will need to repeat the same steps above.