Overview
Adding resources to an ATLAS workspace allows students to access them within their Resource store in PebblePad. Then depending on the setup of the workspace, those same resources can be submitted back to the workspace to be assessed.
Adding resources
To add a resource, you first need to have the resource within your PebblePad. E.g. it either needs to be something that you have created, or something that a colleague has shared with you as a collaborator which provides access to add as a resource in ATLAS.
- Go to the ATLAS workspace you would like to assign a resource to.
- Select the Resources tab.
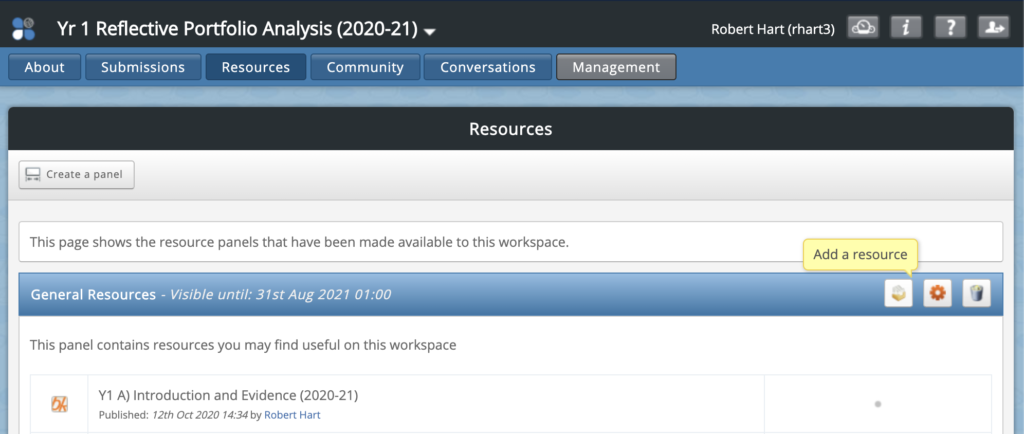
- Select the Add a resource button as shown in the screenshot.
- Find and select the resource you would like to include.There are various tabs to help find what you want to include. Where ‘My ATLAS resources‘ shows everything, ‘My Templates‘ shows single page templates and ‘My Workbooks‘ shows all multi page templates (aka workbooks).
- You will then be taken to a page where you can define certain settings for the resource.
Resource settings
When adding a resource, you will be asked to review some settings which for some, are fine by default. However, you should review these to make sure they are as required.
Few settings in particular to pay careful attention to are:
- How would you like to refer to this in the resource panel?If you are linking a resource called something like ‘Student Portfolio Analysis Final FINAL 2020 v106’, you might want to have it titled something else for your students. You can do that from this setting and update the title and description.
- Would you like to prompt the user to auto-submit the workbook when saved?If you want to setup you resource to auto-submit then select yes for this. Note that you will then be offered to select which assignment in the workspace it will auto-submit to. If you only need one submission point in this workspace, you can leave the default setting of ‘assignment 1’ that is given. If you If you haven’t yet setup the assignment for this auto-submitted resource, you can select no for now, then create the new assignment and update this setting after.
When you have finished reviewing these settings, scroll to the bottom of the page, select the checkbox before selecting Continue to save the settings.
How to update resource settings
After adding a resource, you may want to double check or update its settings. To do this, first go to the Resources page for the workspace. Then:
- Select the cog/Edit button to the right.
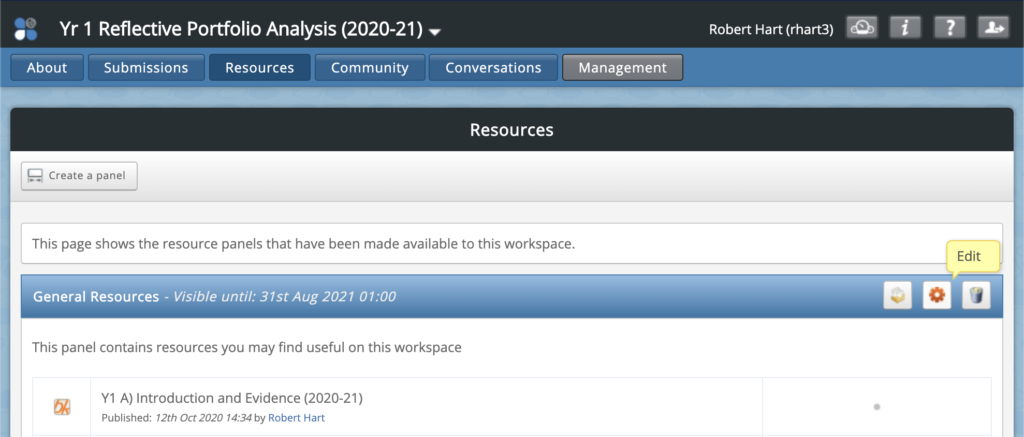
- You will be taken to another page where you can update the date range for when the resources will be made available. You can update this and select the Save button to apply any changes.
- Select the cog/Edit button again to the right, alongside the resources title.
- Update any settings here, then scroll to the bottom of the page, select the checkbox before selecting Continue to save the settings.
Further information
For further information about managing resources in a workspace, view the ATLAS Help page by PebblePad.