How to add members to the ATLAS workspace.
Individually; by batches and by synchronising to a module.
Adding a member
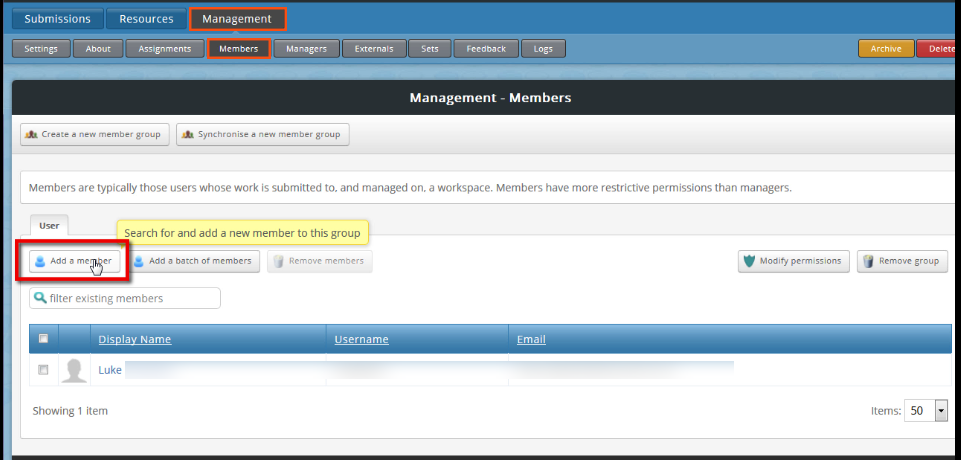
- Once in ATLAS, Click Management.
- Click, Members.
- Click the “Add a member” option.
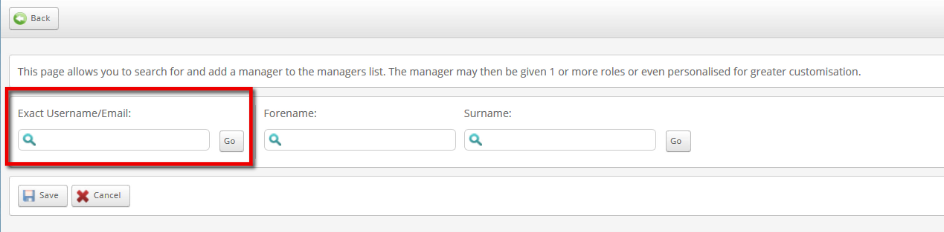
- Search for the student by their email address or username.
- Click Go.
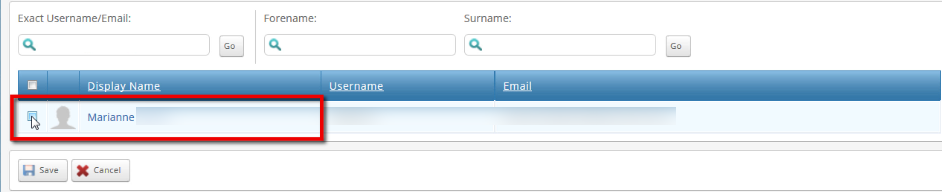
- Find the student you wish to add.
- Click the check box next to the student’s name.
- Click Save.
Adding members in a batch
If you have more than one member to be added, you can add them in a batch.
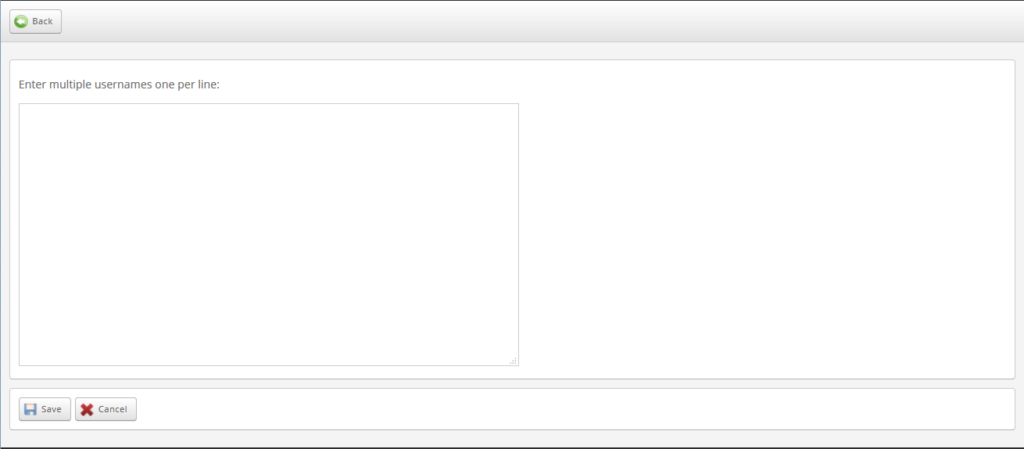
- Click the “Add a batch of members” option.
You will need to place each member on a separate line.
You can use their username or email address. - Once finished, click Save.
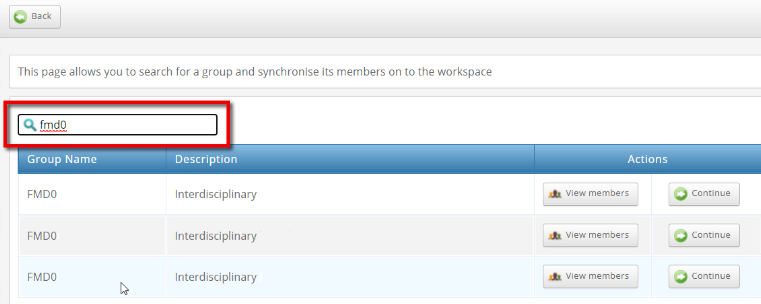
Adding members by module codes
You can add groups of students by synchronising to a module code.
- Click Management.
- Click, Members.
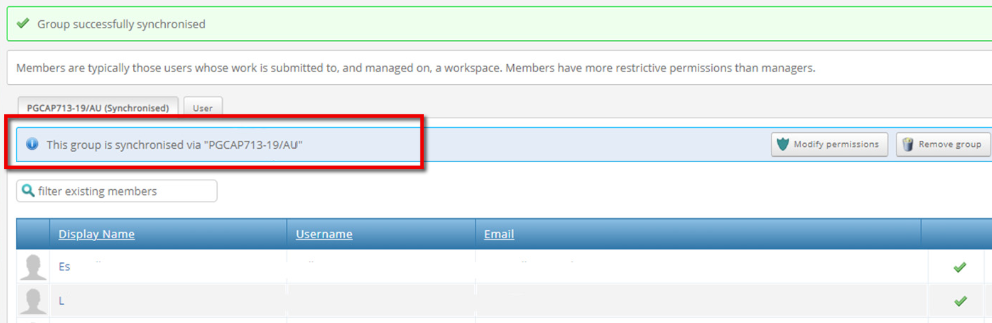
- Click the “Synchronise a new member group” option. ATLAS:
A popup box will confirm the group is linked, it will also show the module code.
Additional Notes
Once you have synchronised students by a module code, you can still add individual members at a later date, if required.