Check accessibility within Word.
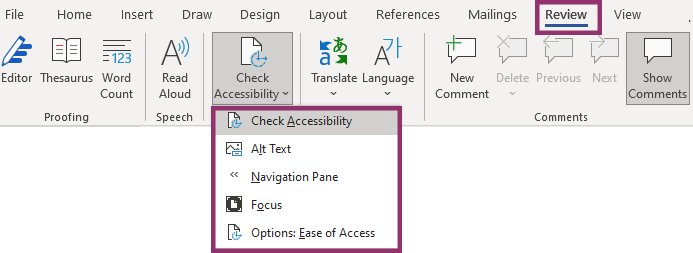
- Click ‘Review’.
- Click, ‘Check Accessibility’.
- The ‘Accessibility checker’ will show on the right-hand side of the document. It will provide you with a list of errors that need to be corrected.
- It will also sometimes give you a warning which will allow you to increase accessibility. This isn’t as high a priority as an error but is good practice to fix.
- You can click into each of these errors and the accessibility checker will suggest a ‘recommended action’ and you will be able to fix each error.
- In this example, the first error is indicating there is a “Missing Alt Text”. Under this, it provides a list of pictures that require action.
- The second error highlights that the logo is not inline. It then gives you possible actions within this.

Common errors found by the Accessibility Checker include:
- Images with Alt text (description)
- Text with poor colour contrast
- No use of ‘heading styles’
- No use of headings within table’s
- Image formatting issues i.e. not inline