Why it matters
- When a screen reader reads a table, it will say: “Table with 54 rows and four columns.” Then, as the user navigates through the table, the screen reader will provide information about their location in the table, “Row 2 check box unchecked.”
- If the table isn’t labelled appropriately the student will not be able to extract the data and information they need.
- Creating a great place to learn. Reducing barriers and creating a platform for all.
Add a ‘Table Style’
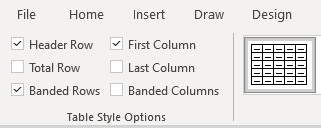
To keep consistency use Microsoft ‘Table Style’. A ‘Table Style’ is a pre-formatted table design that does lots of the accessibility for you.
This automatically allocates ‘Header Row’s’ which will make it readable by assistive technologies.
- You can access more ‘Table Styles’ by clicking on the down arrow in the bottom right of the window. A larger list of options will appear to choose from.

- To the left of the Table Styles box you can check that a header row has been added.
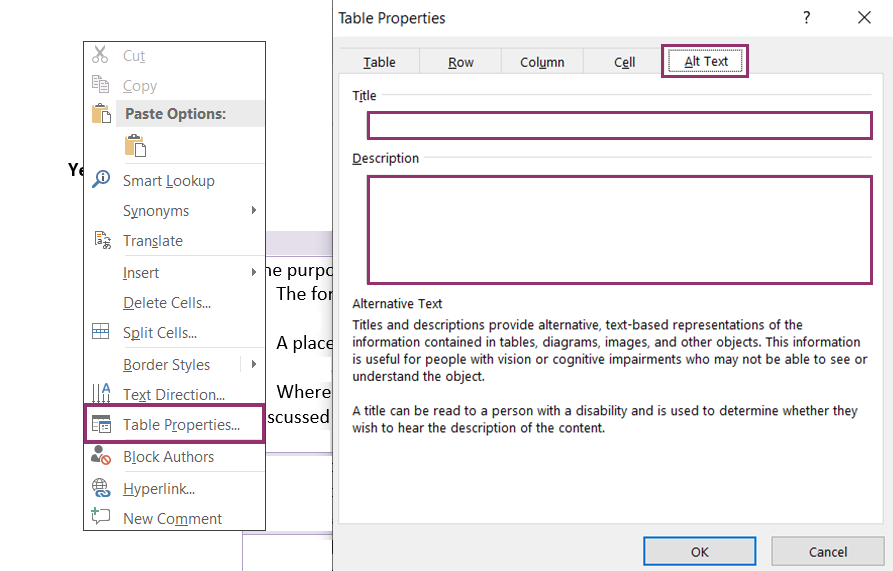
Tables will need ‘Alt Text’
- Select your table, right-click your mouse, choose ‘Table properties’, click ‘Alt Text’.
- Title the table and provide a description.
- Click ok.
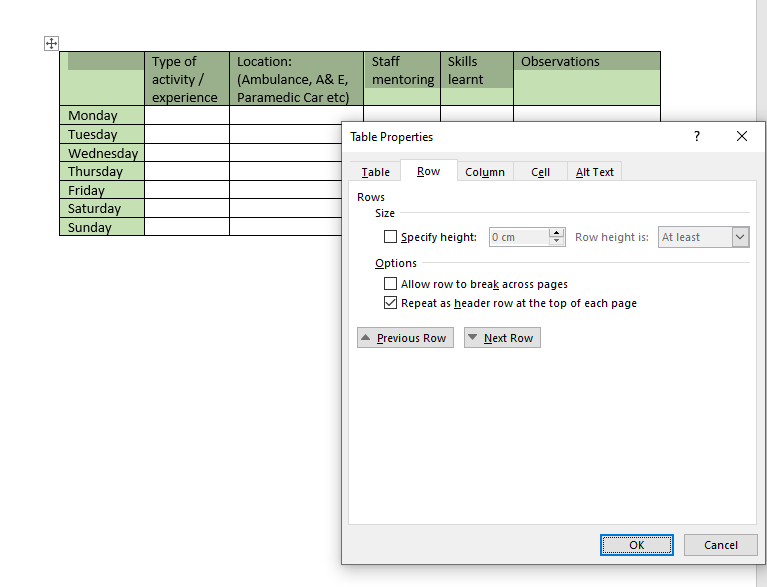
Tables will need to have a header (If not using table styles)
If you are not using ‘Table Styles’ you will need to add designated header rows manually to your table. Or you may wish to edit the header rows.
- Select the row or column you wish to label as a heading.
- Right-click your mouse and choose ‘Table properties’.
- Un-tick, ‘Allow row to break across pages’.
- Tick ‘Repeat as header row at the top of each page’.
- Click Ok
Avoid merged or split cells
- Screen readers struggle to read merged or split cells.
- If possible avoid using these.
- To test your table structure, start at Row 1 column 1 and use the tab button on the keyboard and see where the tab takes you.
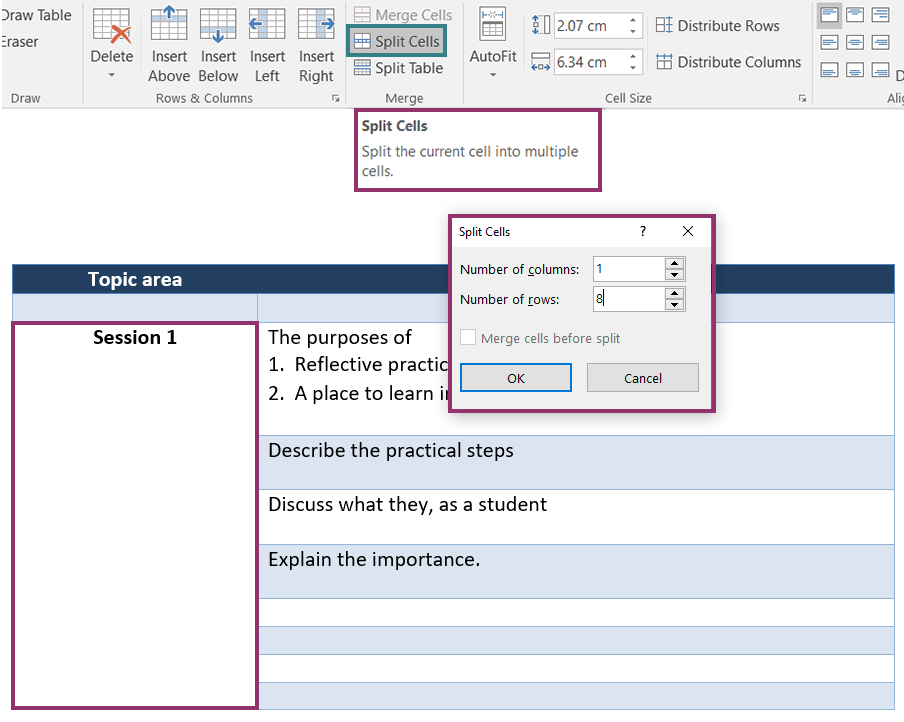
Removing merged and split cells
If possible you will need to remove merged and split cells to make your table more accessible.
- To remove the merged cell, highlight the cell/s. Click ‘Split Cells’.
- Number of Columns should be 1.
The number of rows should equal the number of rows the merged cell covers. For this, it is 8.