Overview
Moodle allows you to ask for student submissions (such as essays, presentations, or projects) by using the ‘Assignment’ activity. It also allows you to allocate these submissions to lecturers by creating groups and grouping, so that each lecturer will mark a group of submissions.
This feature might be useful if you have multiple markers involved in the grading process for reasons such as projects being based on multiple topics or have got different parts that belong to different lecturers.
Using groups for student allocations (recommended)
Allocating students to groups
To allocate student submissions to lecturers in Moodle, you will need to create groups under the ‘Participants’ menu and then allocate your students to these groups.
Setting up the Assignment activity
Once your groups and groupings are ready to be used, you will need to set up the submission point where you expect your students to submit their work. For more information about how to do this, please read the following article.
Once you are in the settings of the activity, you will also need to change the settings under the ‘Common module settings’ section. To do this, please follow the steps below.
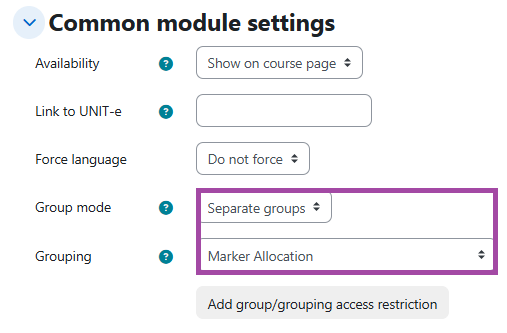
- Please navigate to the ‘Common module settings’ section and then select the ‘Group mode’ to ‘Separate groups’. If the ‘Visible groups’ has been selected, your students will have then the right to select between the groups where they would like to submit their individual work, while with the ‘Separate groups’ they will have a separate assignment area, therefore, they will not able to select between these groups.
- A new setting will appear where you will need to link the grouping (that contains the student allocations/groups) to the submission point. In this case, we will select the grouping named ‘Marking Allocation for Coursework Submissions’.
- To finalise your action, please click on the ‘Save and display’ or ‘Save and return to course’ button.
Filter the submissions
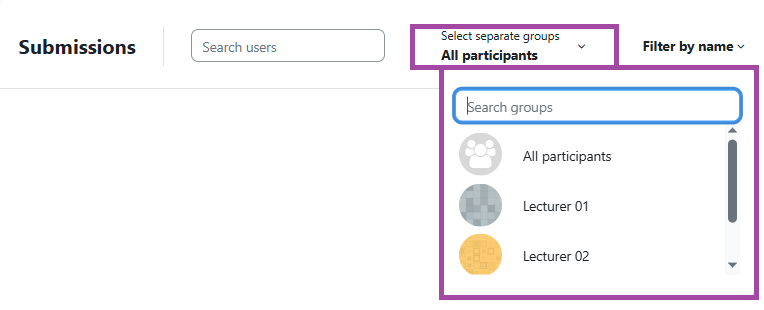
Once you completed the steps above, you can then navigate back to the Grading table (via the ‘Submissions’ menu in the secondary navigation bar) so that you can see the list of submissions. At the top of that page, you will be able to select the appropriate marker from the ‘Select separate groups’ drop-down list. This will filter out the submissions to that specific marker.
How to download allocated student submissions
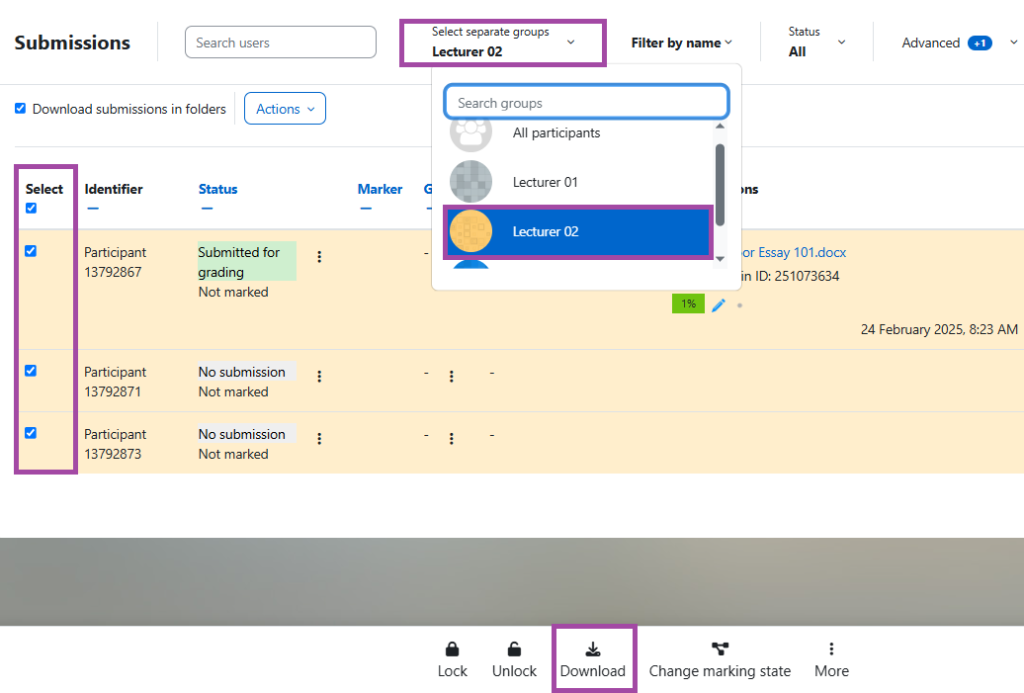
In case you will mark student submissions outside of Moodle, you will need to download them to your machine as per usual. Before you clicked on the ‘Download’ button (bottom of the page) once submissions are selected, you will need to select your group first at the top of the page by using the same filter (’Select separate groups’). Once the filter is activated, you can select the submissions and click on the ‘Download’ button.
Using the Marker filter for student allocations
It is also possible to use the Marker filter within the Grading table or Grading window to allocate student submissions to lecturers. This method can work adequately for small cohorts where you wish to allocate markers in an ‘ad hoc’ way, however, we do not normally recommend it for normal use as the ‘group’ method described in the previous chapters works better.
Using the Grading table
To set up the Marker filter for student allocations by using the Grading table, please follow the steps below.
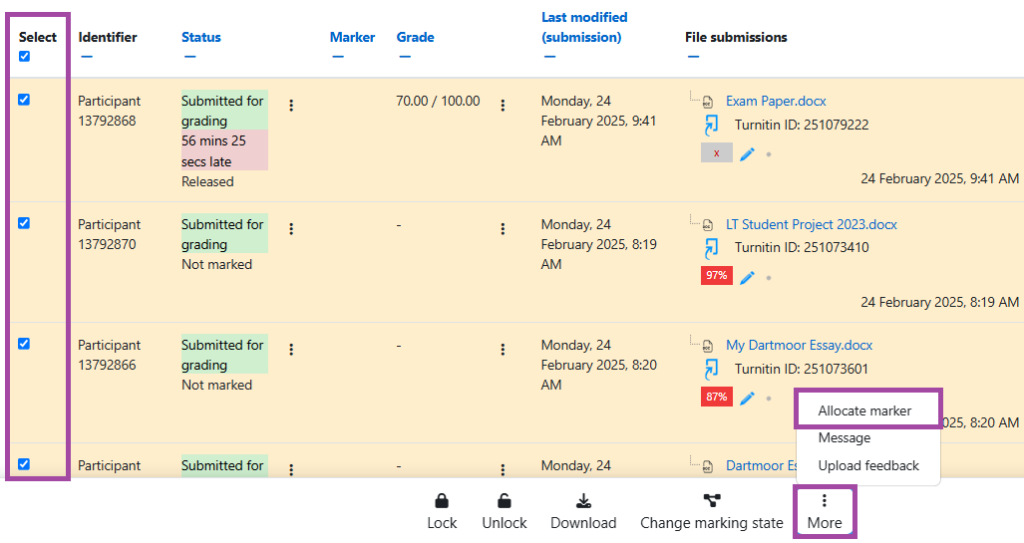
- Please navigate to the Grading table of the submission point via the ‘Submissions’ menu and then select the students you wish to allocate to a marker.
- Once selected, please click on the three-dot at the bottom of the page and select ‘Allocate marker’ from the drop-down list.
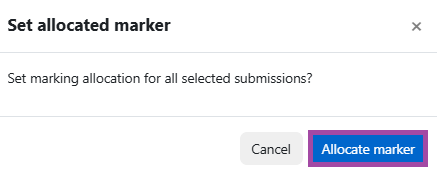
- A window will pop up where you will need to confirm your action about marker allocation.
- A new page will open with the selected students where next to the ‘Allocated Marker’ drop-down list, you will need to select the appropriate marker.
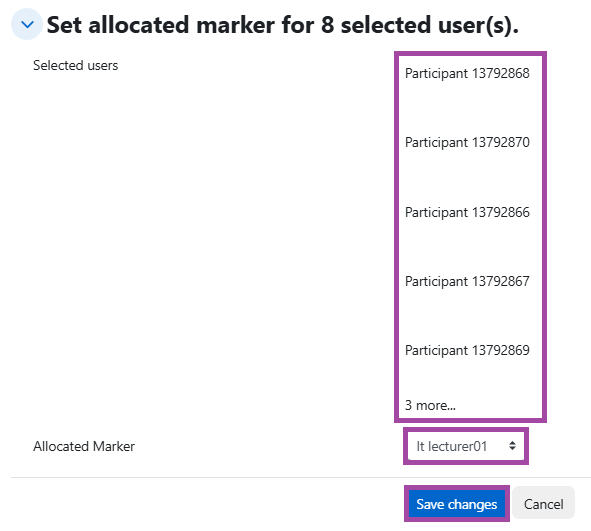
- To finalise your action, please click on the ‘Save changes’ button. Please note, you will need to repeat the same steps for each marker allocation.
Using the blue ‘Grade’ button
To set up the Marker filter for student allocations by using the blue ‘Grade’ button, please follow the steps below.
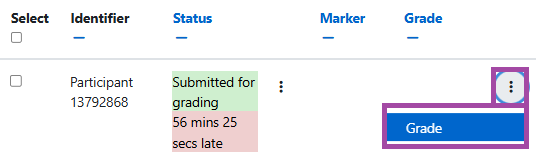
- Please navigate to the Grading table of the submission point via the ‘Submissions’ menu and then next to a student submission, please click on the ‘Grade’ option via the three-dot button.
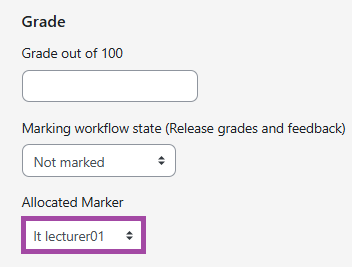
- The Grading window will open where in the ‘Grade’ section you will need to select the appropriate marker from the ‘Allocated Marker’ drop-down list. You will not need to provide a grade or change the marking workflow status at this stage.
- To finalise your action, please click on the ‘Save changes’ button. Please note, you will need to repeat the same steps for each student submission.
Filter the submissions
Once you allocated students to lecturers/markers, you can then navigate back to the Grading table to view all the submissions. At the top of the page, you will be able to use the ‘Marker’ filter under the ‘Advanced’ button.
