Overview
To manually upload a Zoom recording to your Panopto folder, please follow the steps below:
- Please locate your Zoom recording on your computer. The default destination should be ‘C\Users\[Username]\Documents\Zoom’ for Windows, while for Mac is ‘/Users/[Username]/Documents/Zoom’. If you are unsure about the name or the location of the folder, then please follow the steps below:
- Please open your Zoom application and navigate to the ‘Meetings’ menu.

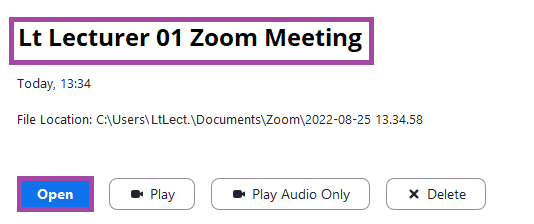
- Once you are there, please swap from the ‘Upcoming’ tab to the ‘Recorded’ tab where you will see a list of the recently recorded meetings. Please select the one you wish to upload to your Panopto – if you click on the ‘Open’ button, then the folder would be opened on your machine.
For more information about the process, please read the following Zoom help material.
- Once you located your Zoom recording, please open a browser and navigate to the Panopto Cloud. Please note that you will need to log in using the ‘Single Sign-On’ option.

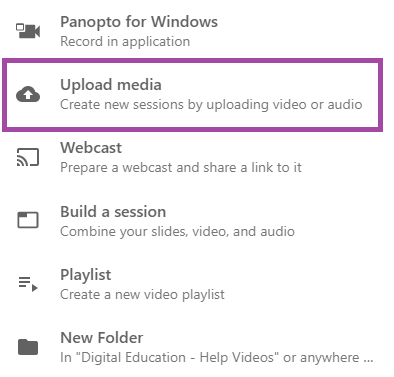
- Once you are in your dashboard of Panopto, please click the blue ‘Create’ button and then select the ‘Upload Media’ option from the popped-up drop-down list.
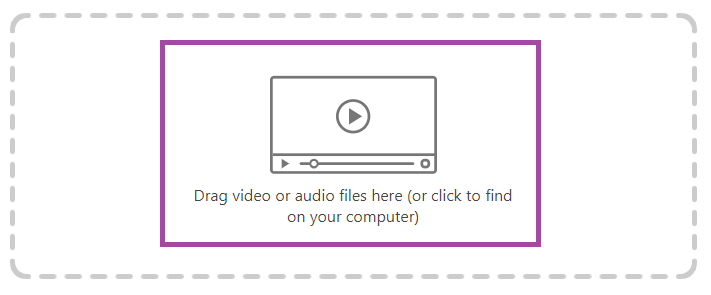
- A new window will open up where you could either drag and drop your Zoom recording or if you click on the box, then you can upload the file in the regular way by selecting it from your machine.
- One the recording has been successfully uploaded, you can then change the location of your recording within Panopto. To do this, please follow the steps below:
- Please click on the cogwheel icon next to your recording which would appear once you hover your mouse over the box.

- A new window will open up, where you would need to click on the ‘Edit’ button next to the ‘Folder’ setting in order to select another Panopto location from the drop-down list.

- Once you selected the new location, please make sure you click on the ‘Save’ button to finalise your action.

If you have accidently closed the window, you can still move your recording to another Panopto folder. To do this, please visit the following article.