Overview
Turnitin Feedback Studio can be used as part of your grading strategy within a submission point in Moodle as feedback could be provided to students using Turnitin Rubrics.
If you have not had a Turnitin Rubric yet, a new one can be created by taking the steps outlined in the following supporting material.
It is also possible to export an existing Rubric to your device in case you would like to store it outside of Moodle or share it with colleagues by e-mail. Please note that exported rubric files cannot be opened on your device, they have to be uploaded/imported back to a DLE page to access the content. Please also note, Turnitin only accepts the ‘RBC’ file extension or Excel Spreadsheets as long as they follow the correct formatting – further details are shared below.
This article outlines how to import a Rubric from your device to Turnitin Feedback Studio.
How to import a Rubric to Turnitin Feedback Studio
To import a Rubric to Turnitin Feedback Studio, please follow the steps below:
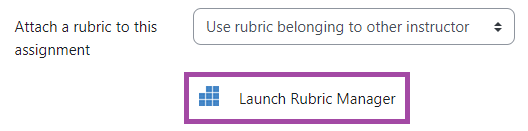
- Please sign into your Moodle account and select the module where you would like to import a Turnitin Rubric. Please note, you would need to navigate to the settings of any submission point (existing or new) to access Turnitin Rubric Manager where the upload process can be completed.
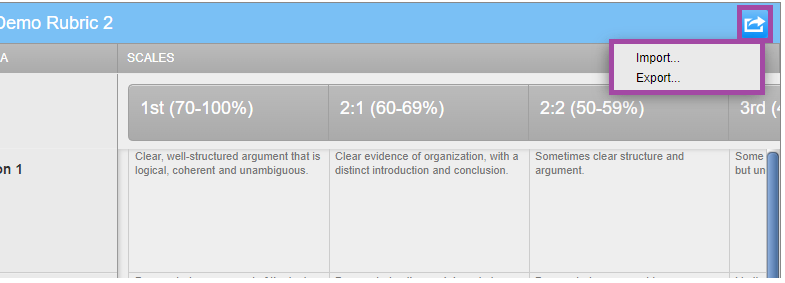
- Within the Rubric Manager, please click on the arrow at the top-right corner and select ‘Import’ from the pop-up drop-down menu.
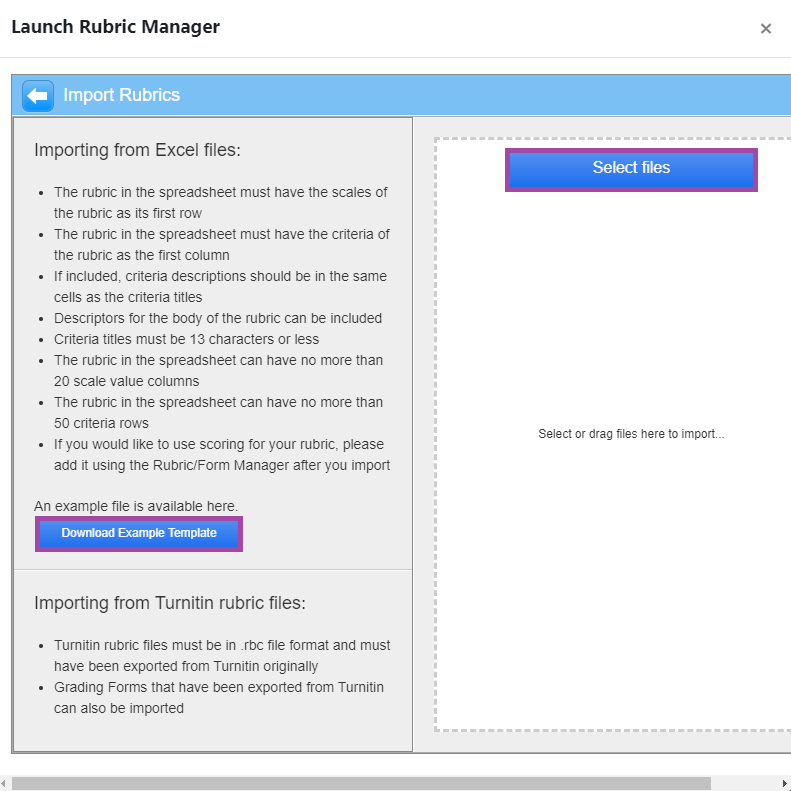
- A new window will open where you can either download the Excel template that is accepted by Turnitin to import Rubrics, so you would need to copy your rubric’s content into the template which then you can upload back to the DLE, or click on the ‘Select files’ button to select the Rubric file from your machine (‘rbc’ file or filled-out Excel spreadsheet).
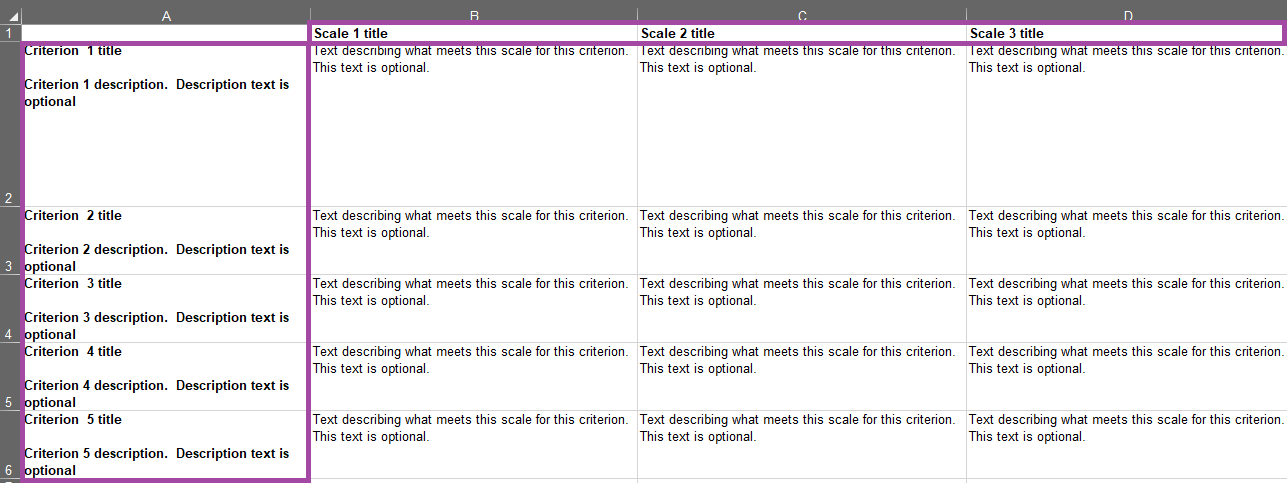
- If you wish to work on the Excel template, please ensure the layout of your rubric follows the layout as outlined in the screenshot below. Please also ensure you only save the file once the content has been filled in rather than ‘Save as’ with a new file type that may not be supported by Turnitin.
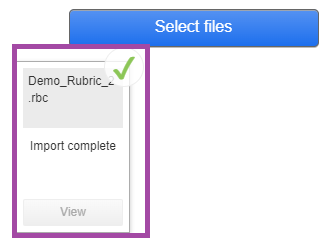
- In this case, we will upload an RBC file, but it could be a filled-out Excel template. A confirmation green checkmark will appear next to your file once uploaded indicating that the import process was successful. You can also click on the ‘View’ button to view the rubric’s content. This is a very similar layout as your students would be able to access the rubric on their end.
Score setup
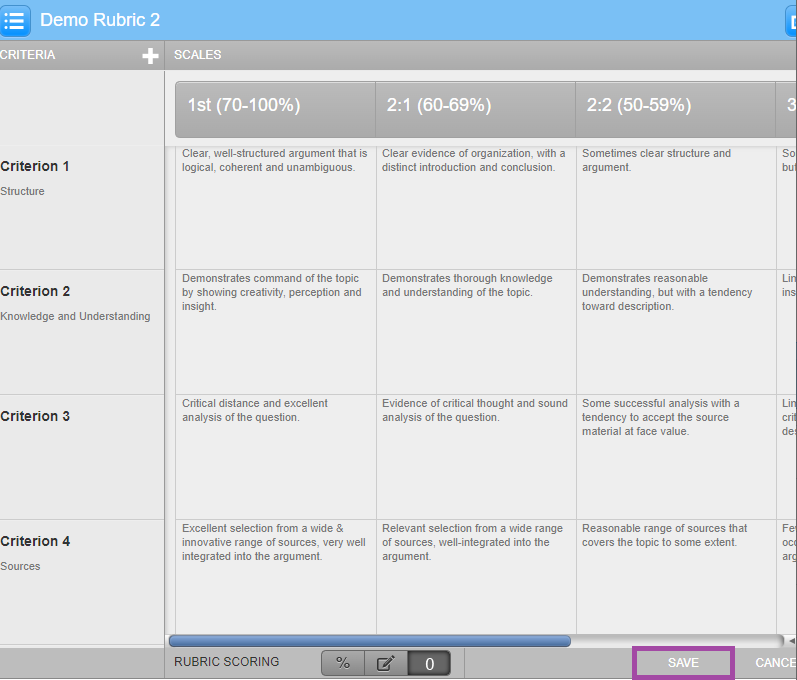
- Once the content has been loaded, it is also possible to select the scoring method from the buttons at the bottom of the screen (% or 0). In the example below, the standard rubric marking option has been selected, so we used 0. Please note, if you wish to use the %, the scoring is editable along the top next to each scale, and down the left-hand column next to each criterion, and the grading marks can be added as required.

- Once you selected a scoring method, please save the rubric using the ‘Save’ button on the bottom right of the window. Once saved, please close this overlay by clicking on the side of it.
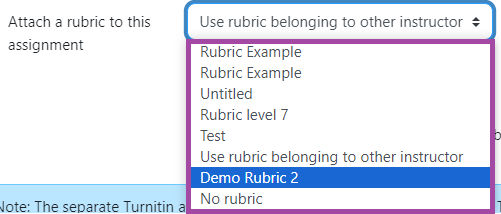
- You will be returned to the settings of the submission point. From here, the final step is to select your newly created/uploaded rubric from the drop-down list as shown below. Please also make sure you save the settings of the submission point in Moodle.