Overview
Turnitin Feedback Studio can be used as part of your grading strategy within a submission point in Moodle as feedback could be provided to students using Turnitin Rubrics.
You can either create a new one from scratch or export an existing Rubric from a DLE page that you can then import to another DLE page or share it with colleagues by e-mail, so they can complete this process. Please note that exported rubric files cannot be opened on your device, they have to be uploaded/imported back to a DLE page to access the content. Please also note, Turnitin only accepts the ‘RBC’ file extension or Excel spreadsheets for import as long as they follow the correct format.
This article outlines how to create a Rubric from scratch in Turnitin Feedback Studio.
How to set up a custom Rubric
Access the Rubric Manager
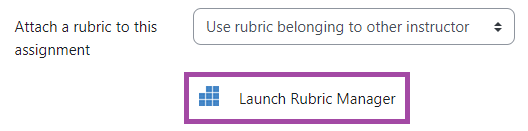
To access the Rubric Manager, so you can create your rubric in Turnitin or manage the existing ones, please navigate to the settings of an existing or new assignment/submission point in Moodle, and in the ‘Turnitin settings’ section, please click on the ‘Launch Rubric Manager’ button.
Create a new rubric in the Rubric Manager
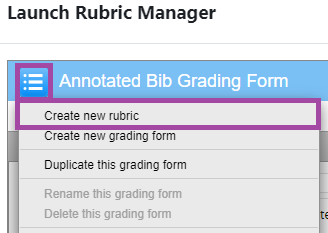
- To create a new rubric, please click on the burger icon at the top-left corner and select the first option from the pop-up drop-down menu that is called ‘Create new rubric’.
- Once you are in the rubric template, you will need to name it first. Please ensure the name will indicate the purpose of using the rubric in case you would like to share it with colleagues or wish to set up multiple rubrics in the future.
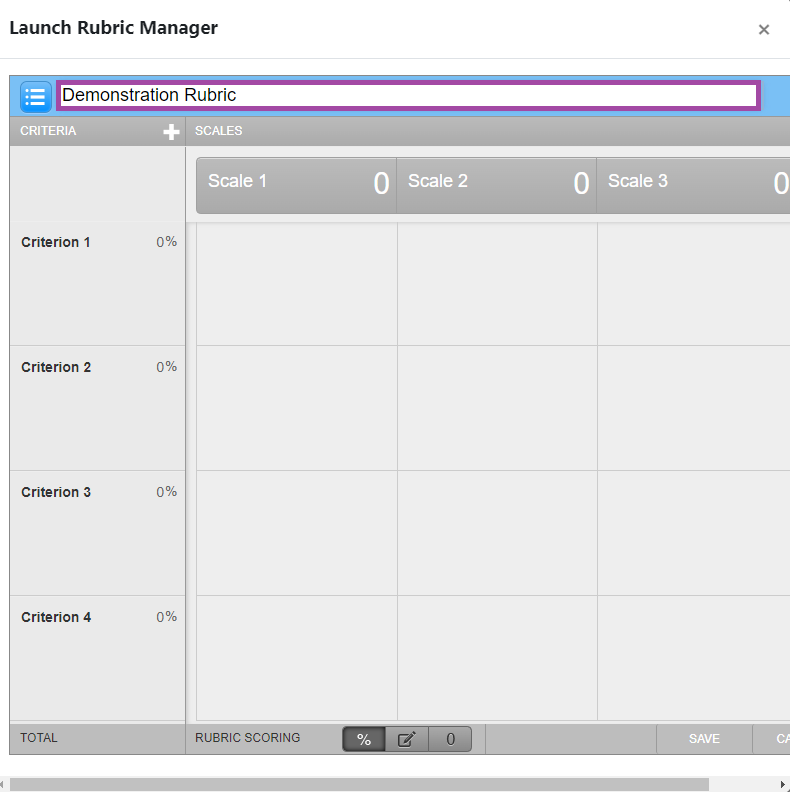
- Please fill up your rubric with content, such as the used scales and criteria. You will be able to add descriptions to each criterion and scale.
To edit the name, description, or percentage value of a criterion, click directly on the relevant field and begin typing. Please press ‘Enter’ or click anywhere outside of the text field to finish editing. You can also click the trash can icon (bottom left corner) to remove a criterion – you may need to hover your mouse over the criteria for the trash can to appear. To add extra rows of criteria, please click on the ‘+’ icon to the right of the Criteria header – you may need to hover your mouse for this icon to appear as well.
To enter the name, description, or percentage for each scale, click directly on the relevant field and begin typing. Please press ‘Enter’ or click anywhere outside of the text field to finish editing. You can also click the trash can icon (top center) to remove a scale – you may need to hover your mouse over the scale for the trash can to appear. To add extra columns of scales, please click on the ‘+’ icon to the right of the Scale header – you may need to hover your mouse for this icon to appear as well.
Please note, there is a character limit on the criterion and scale name, therefore, we recommend keeping them short and clear. If the name exceeds the character limit, we recommend using the tags ‘Criterion 1’, ‘Criterion 2’, ‘Criterion 3’, etc, and adding the actual names of the criteria as descriptions under them.
- Please also ensure you select a scoring method to be used for the rubric which can be qualitative and quantitative.
The qualitative rubric allows you to create a rubric that has no numeric scoring, so you would select ‘0’ as your scoring method.
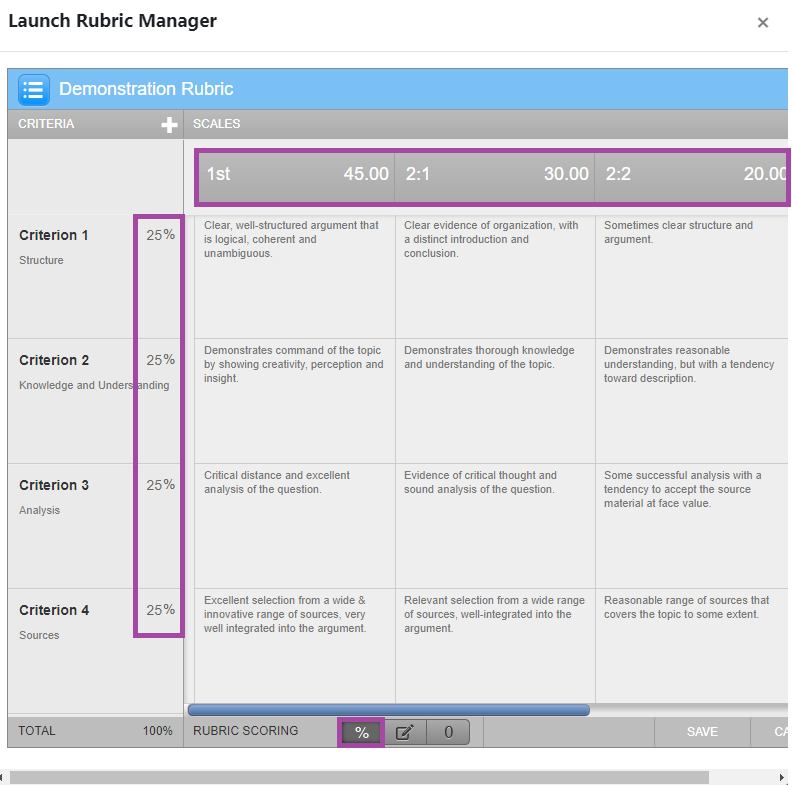
The quantitative rubric (%) allows you to enter any value directly into the rubric scales and criteria.
The quantitative custom rubric (pencil icon) also allows to add any value but in this case to each scale description rather than the main scale label. The maximum value for the custom rubric will be the sum of the highest value entered in each of the criteria rows.
Please note, we usually recommend using 0 as the grades can be more customised when marking submissions. In this case, the final grades would need to be manually calculated by the assessors but it would provide more flexibility and the opportunity of using grade ranges. However, if you wish to use a more standardised scoring method, you could use the percentage or the pencil icon. In this case, each scale and/or criterion would be an exact score and percentage from which the final grade for each submission would be automatically calculated by Turnitin – this cannot be adjusted later. Please note, with the percentage or the pencil icon, you will not be able to use grade/score ranges.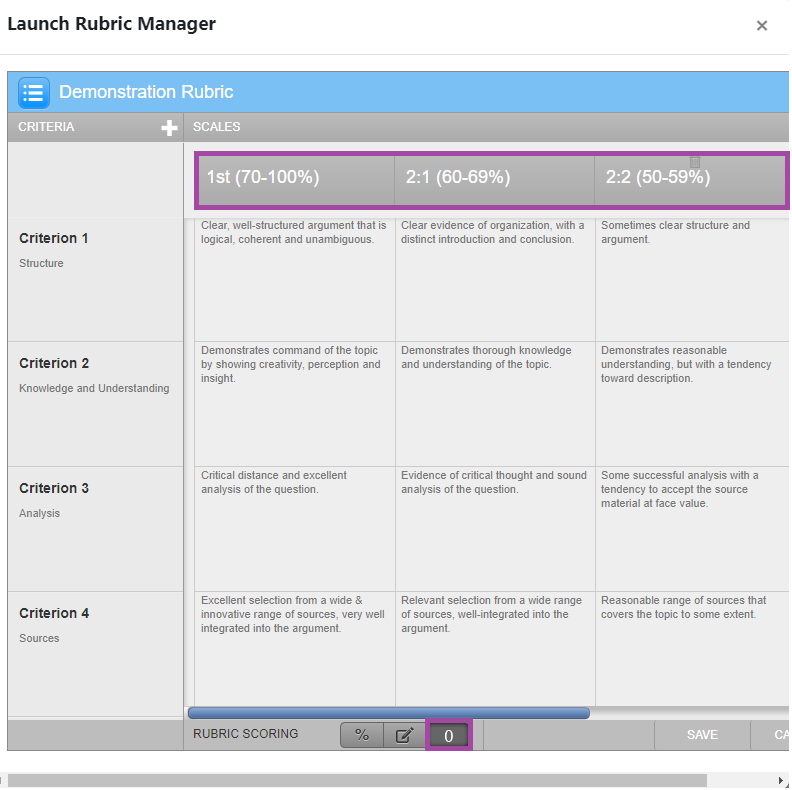
- Once you finished your rubric, please make sure you click on the ‘Save’ button to finalise the rubric. You can then click outside of the window or on the ‘X’ button (top-right corner) to close the Rubric Manager.
Attach the Rubric to the submission point/assignment
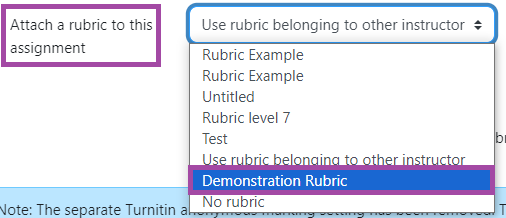
Once the rubric is created, you will need to attach it to the submission point by selecting it from the drop-down list next to the setting called ‘Attach a rubric to this assignment’. This setting is available in the ‘Turnitin settings’ section. Please ensure you save the settings of the submission point in Moodle to finalise your action (‘Save and return to course’ or ‘Save and display’).
This will ensure that you will be able to use the rubric for marking and providing feedback. Your students will be able to access the template (empty rubric without scale/criterion selected) before their submissions (as long as the submission point is visible to them) and once the marks are released, they will be able to access the exact scales and criterion that was selected for their uploaded files.
Mark the submissions using the Rubric
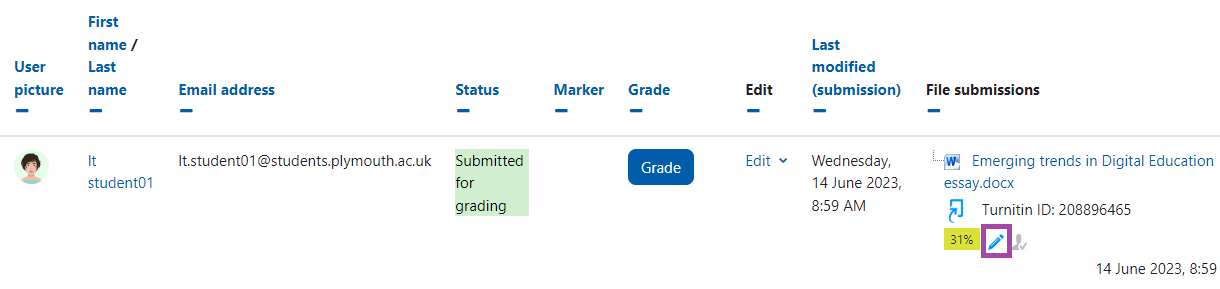
- Once the students have submitted their files, you will be able to access the submissions as usual. Clicking on the pencil icon will enable you to enter Turnitin Feedback Studio – basically to open the submissions in Turnitin.
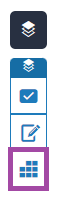
- Once you opened the submission in Turnitin, please click on the blue rubric icon to use it for marking and providing feedback. The icon is displayed as blue squares.
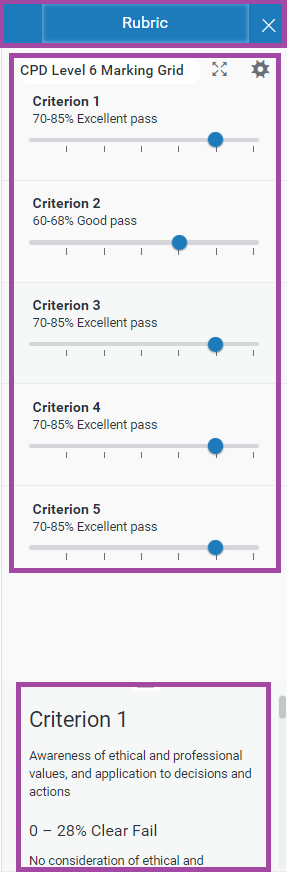
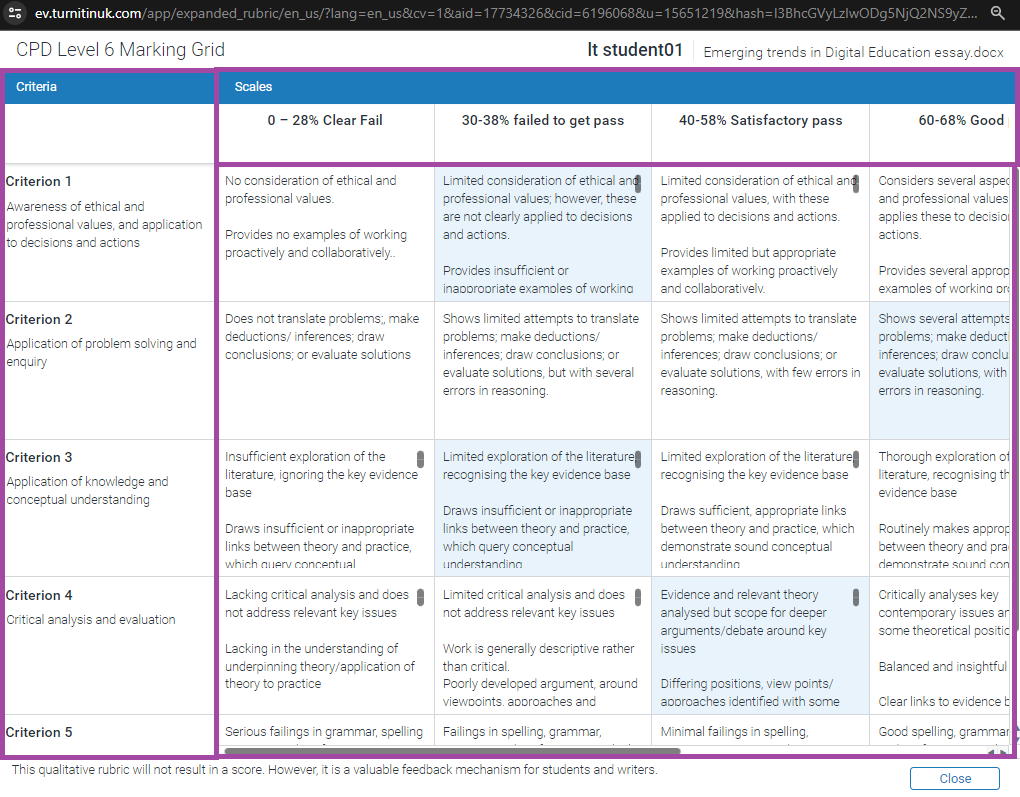
- You can also control the display of the rubric. You can either slide the sliders for each criterion and the scale descriptions will be displayed below them or expand it (crossed arrows) to open the rubric on a new page to get a similar layout as you can see when you create/edit a rubric in the Rubric Manager. You will need to close the window once the scales are selected, but you will not need to save it before closing it – it is automatic, unless it is not a qualitative rubric (0), but quantitative (% or pencil icon).