Overview
H5P enables you to quickly create rich, interactive, and adaptive content with game mechanisms as part of a formative assessment which can enhance your course as the engagement would be increased. More information about the tool can be found on the H5P support site.
In this article, we will show you how to upload an H5P object to a Moodle course.
How to upload an H5P object to a Moodle course
To upload an H5P object to a Moodle course, please follow the steps below.
- Please navigate to your Content bank and click on the ‘Upload’ button that appears in its navigation bar.
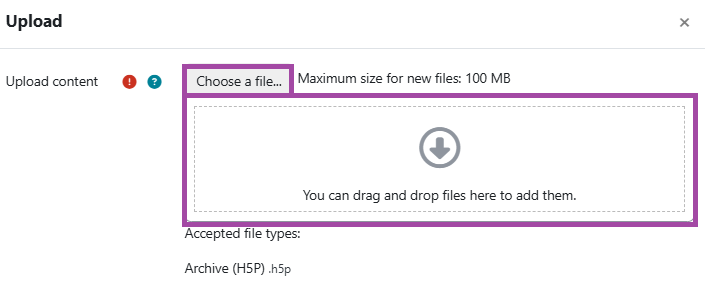
- A new page will open where you will need to click on the ‘Choose a file…’ button in order to upload a file from your machine (including OneDrive). Alternatively, you can drag and drop the file into the box. In this case, we will use the ‘Choose a file’ button.
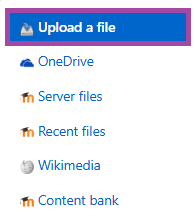
- A new window will pop up which is going to be the ‘File picker’ of the DLE. In addition to your machine (’Upload a file’ and ‘OneDrive’), you can also re-use files that you have recently accessed (’Recent files’) or the files that are currently stored in a course (’Content bank’, ‘Server files’), or on ‘Wikimedia’. In this case, we will upload a file (H5P object) from our machine.
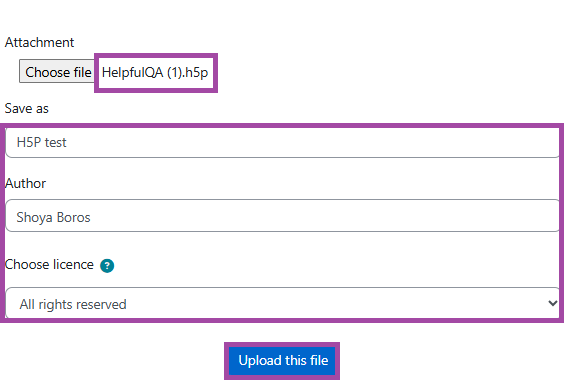
- Once the file is selected from your machine, you will need to click on the ‘Upload this file’ button. Except for your machine, the file will have an existing name that you can not modify here, however, the author, and the license type you can, based on preferences.
- Once you have selected the file, you will need to click on the ‘Save changes’ button.
- A new page will open up where you will be able to view the content of your H5P object.