Overview
Panopto can store and view 360 video files to be shared with your students
How to upload 360 media to Panopto
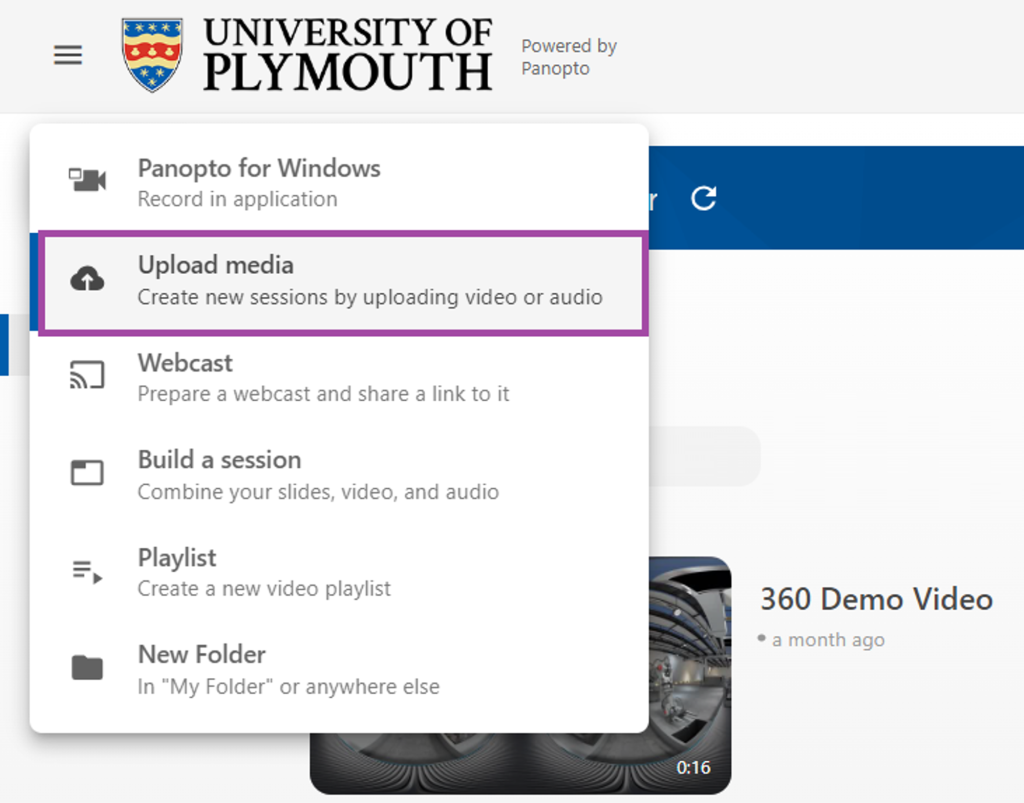
Once logged in to the Panopto, navigate to the folder you wish to add the content to and click on the ’Create’ dropdown menu, then select ’Upload media’.

Selecting a folder
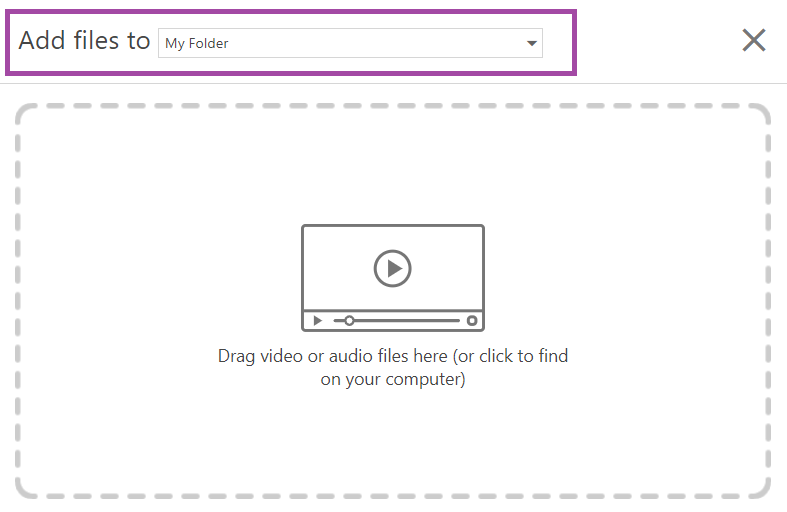
When the new page opens, select the folder you wish to upload your content to from
the drop down menu.
Selecting and uploading the 360 video to the selected folder
The 360 video file must be formatted as an equirectangular *.mp4 file. once selected, drag your file into the space displayed below, the file will then begin uploading automatically. It is also possible to do multiple files at the same time.

Once each file has been uploaded and processed a tick will be displayed next to the file.

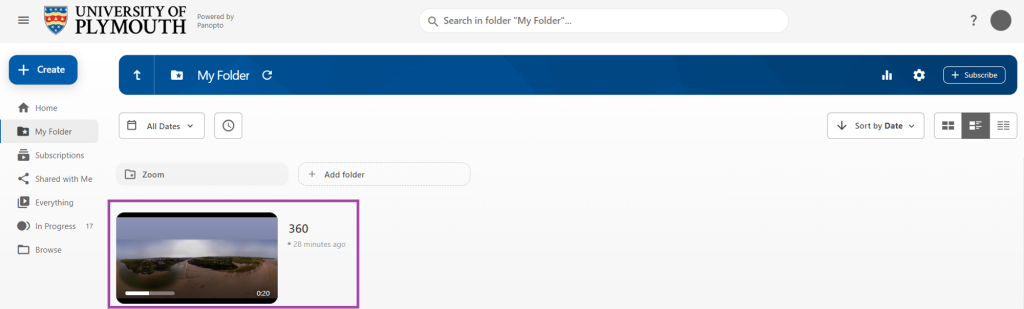
If you navigate to the folder, it will now display the content. However, you have not yet told Panopto this is a 360 video.

Enabling video files to playback in 360
Hovering over the video in the Panopto folder will provide the ‘Edit’ option.

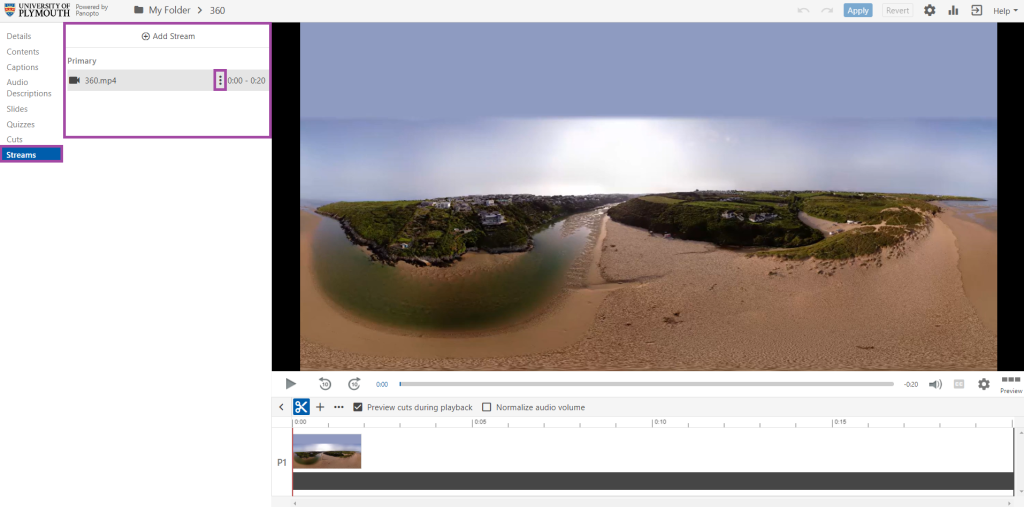
Selecting this will take you to the ‘Edit’ screen, and select ‘Streams’ on the left hand menu.
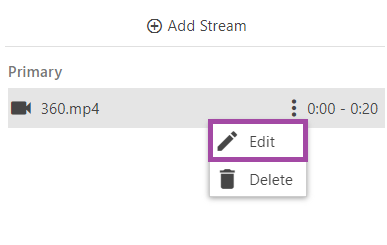
This will display the video stream for the Panopto video, hover over the video that you have uploaded and three dots will be displayed.
Select ‘Edit’ from the three dots menu.
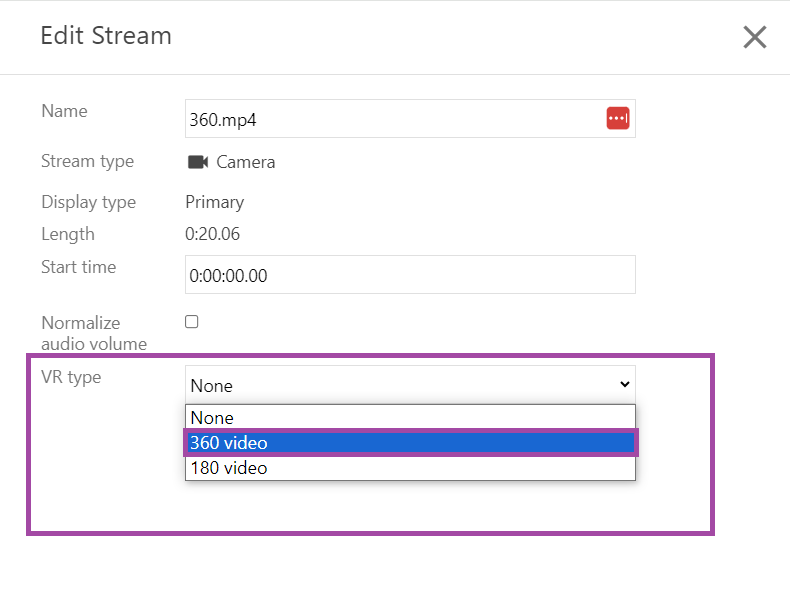
This will open a window for editing the stream. Select ‘VR Type’ as ‘360 video’ in the drop down menu followed by ‘Save’
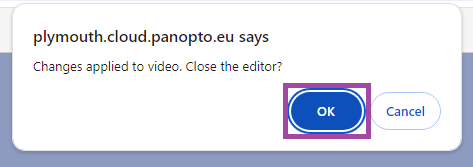
Select ‘Apply’ on the Edit page
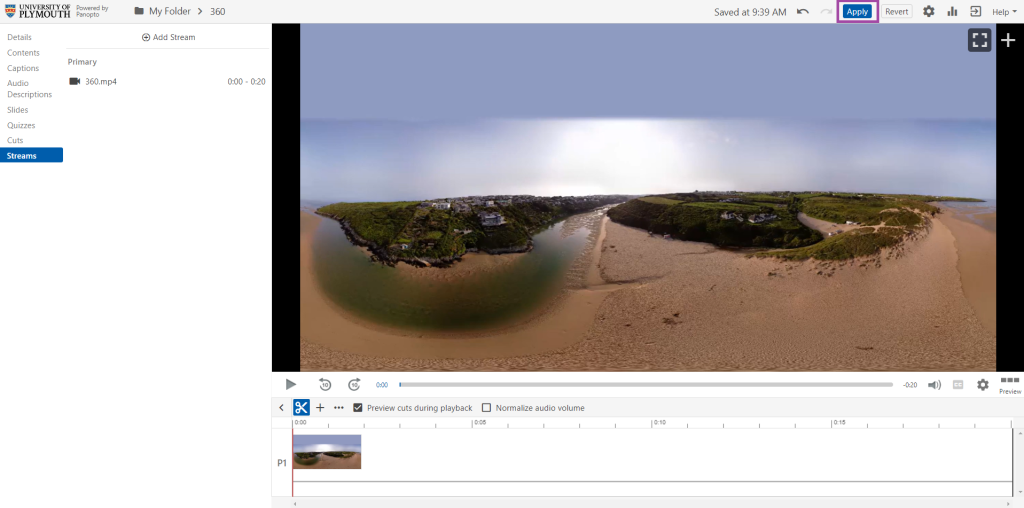
A pop up asking to apply the changes to the video and close the editor, click ‘Ok’
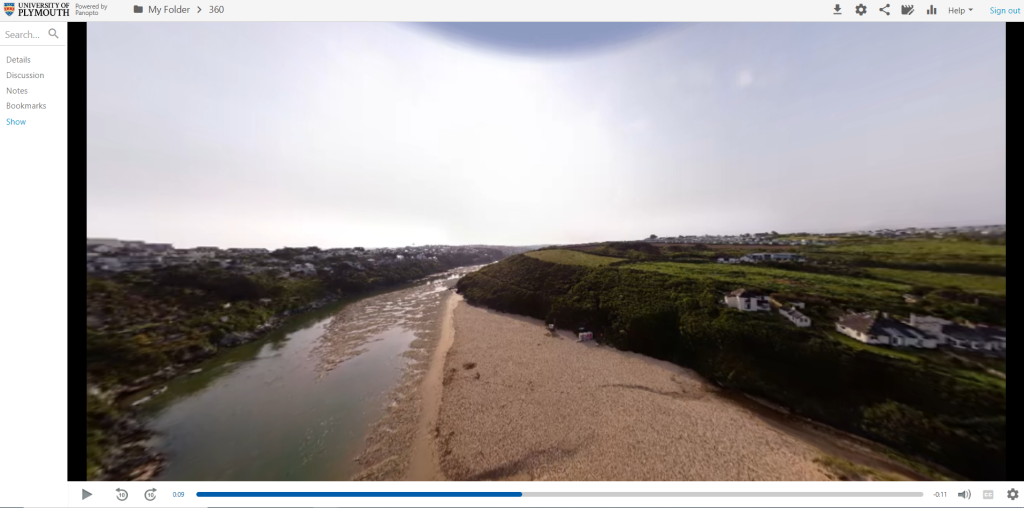
Now the video will now be displayed as a 360 video, and you can click and look around the video.

Navigating back to your folder will display the 360 video.