There will be times when you may wish to create pre-recorded content in Panopto. This works well for online teaching content and for flip teaching where you would like your students to access video content before a synchronous lecture.
Open Panopto: https://plymouth.cloud.panopto.eu
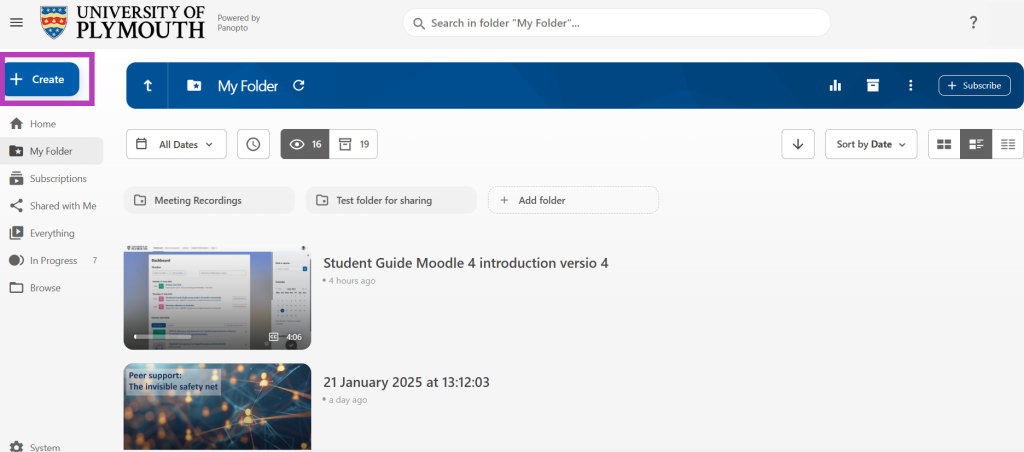
Panopto will always open from this link in your personal ‘My Folder’. You can choose to create the recording here and move it into the DLE folder you use for your teaching afterwards or create the recording directly in the Panopto folder attached to your DLE module page. It wont be visible to students until you approve it for viewing.
- Click on the ‘create’ button in the top left of Panopto
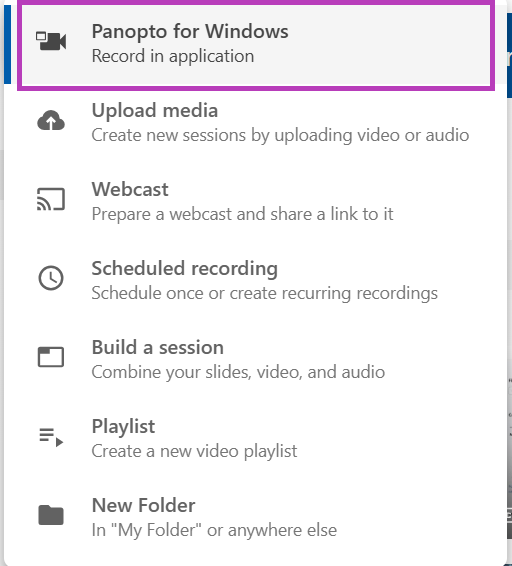
- Choose the top option Panopto for Windows if you wish to record directly into Panopto, or choose Upload Media if you wish to upload a video you have pre-recorded on your laptop.
- A pop up will ask you to confirm if you wish to ‘Open Panopto Recorder?’
- Click on Open Panopto Recorder.
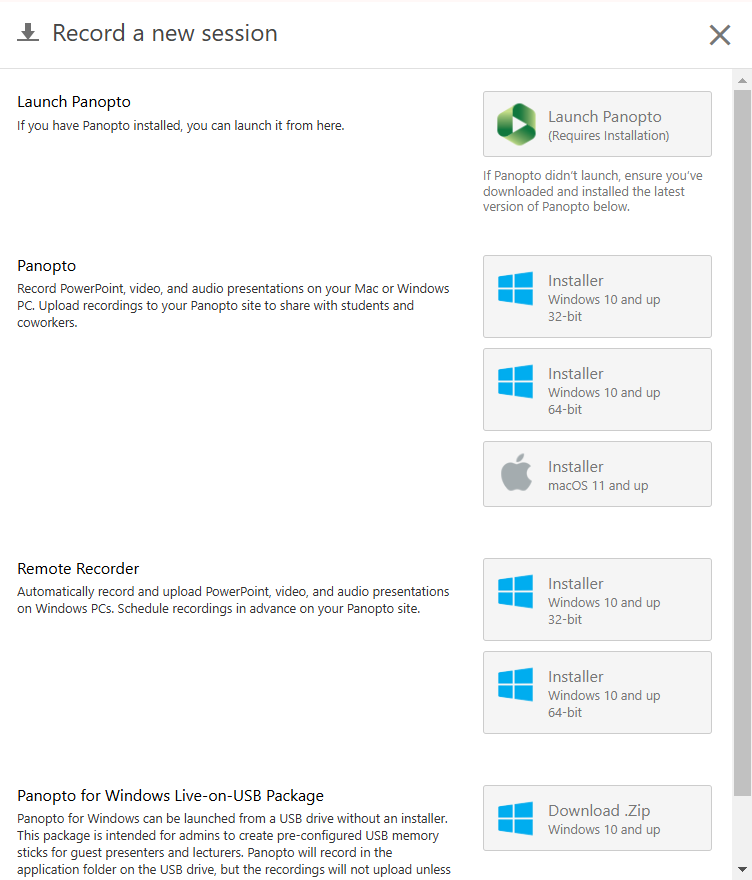
If you don’t already have the Panopto App installed the pop up window will give you some different install options to choose from. If you have difficulty with this step you will need to contact the University’s IT team for support: Staff IT Support You only need to install Panopto once.
- Panopto recorder will open
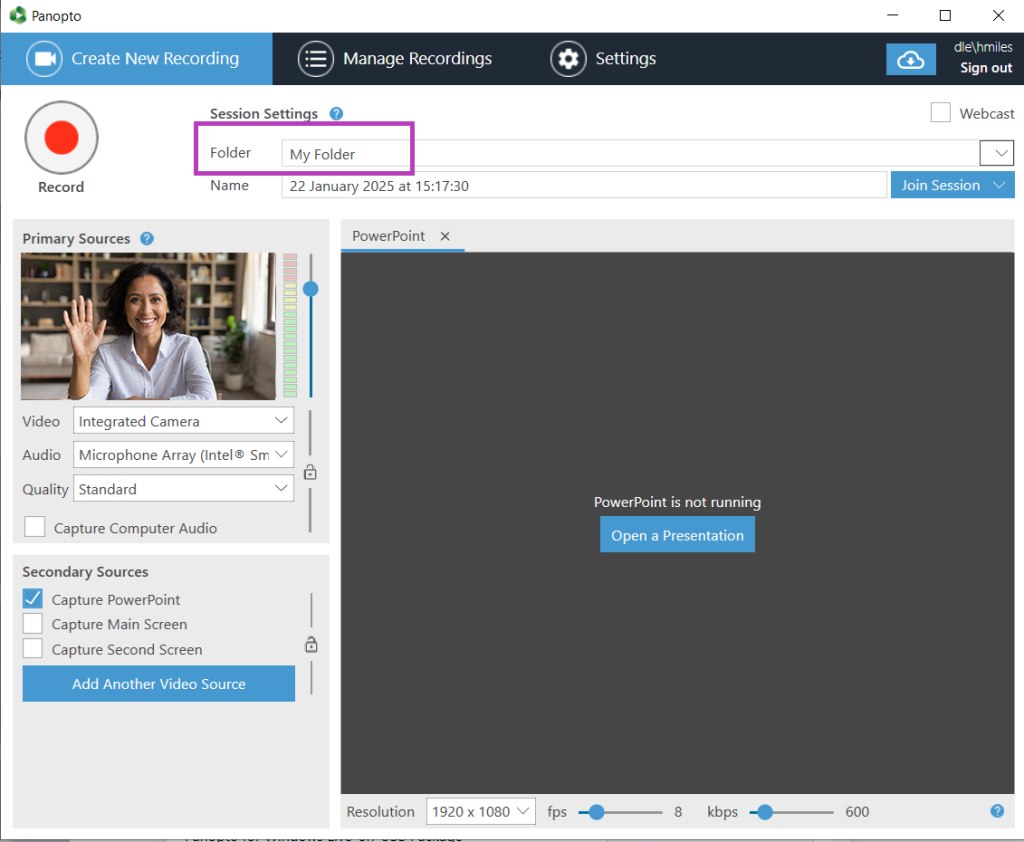
- In the ‘Folder’ drop down window select where you would like to save your recording.
You can either record into your ‘My folder’ area and move it afterwards or type in the module name you wish to add it to using the drop down arrow on the right. It wont be visible to the students until you publish it.
Primary Sources
- Selecting Video
Your primary source will be pre-selected as your video and you can change the camera selection by clicking on the arrow in the right of the video drop down menu. This will display any different cameras you may have connected to your computer.
Ensure you are well lit, without a window or strong light behind you and the video image is clear and uncluttered.
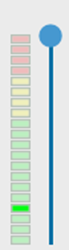
- Check Audio Levels
Ensure you can see the green audio level flickering- this indicates that audio is detected.
In the same way you can change your camera selection, and choose any other camera connected to your computer, you can also choose an alternative microphone by clicking on the arrow in the right of the audio drop down menu.
Secondary Sources
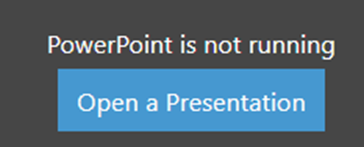
- Select ‘Capture Powerpoint’ if it is not pre-selected
- Click on the Blue Button ‘Open a Presentation’ to choose your PowerPoint presentation.
- It will ask you if you wish to begin recording after PowerPoint opens?
If you select No it will automatically open your PowerPoint slide deck.
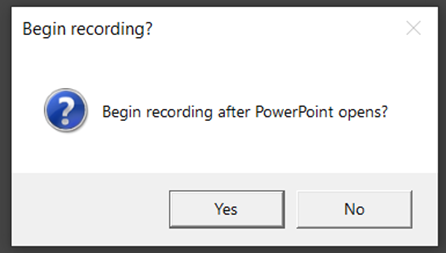
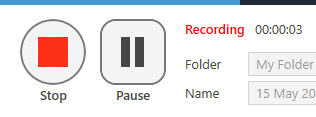
- Click on the red record button to start the recording.

- Your PowerPoint will open up and will be recorded along with your video.
- To stop recording press the red square button or alternatively F10.
- When you finish recording the ‘Manage Recordings’ folder will appear as it processes the recording.
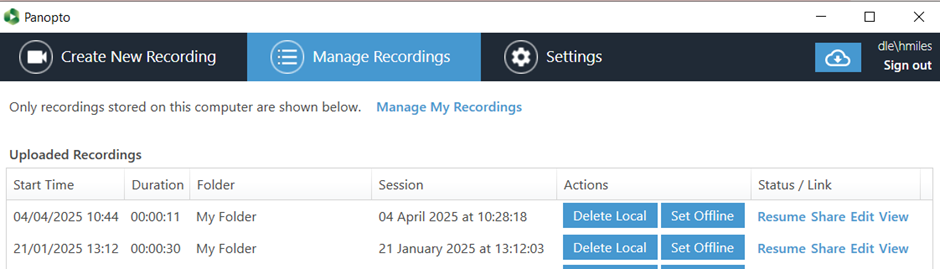
- Refresh your Panopto window and you will see your recording within your ‘My Folder’
You can then edit this recording if needed and also check and edit the accuracy of your captions.