Overview
This article explains the process of requesting and managing approvals for a form as well as the process for publishing and rejecting a form. It details the general workflow and situations when settings might be useful to use such as updating the status.
Request approval
- Select the form you want request approval for.
- You will be taken you to the ‘Status’ tab section.
- Click ‘Request approval’. Note if there is no ‘Request approval’ button and instead it says ‘Un-publish’ or ‘Publish’ then that is because it has already been approved (or skipped approval just by publishing). The ‘Request approval’ button will reappear after making an edit to the form via the ‘Fields’ tab.
- Click the drop-down list, ‘Approver’.
- Find the correct person to approve your form. If the person you want to check and approve the form is not listed, check their permissions in SparkForms. They will need to have the ‘Form Administrator’ role or higher to be listed.
- Add any comments, such as what you have changed or in particular want to be checked. Adding information here will help others to understand the status of the form in future as well as it will then show in the ‘Status History’ table for that form.
- Click the ‘Submit’ button.
- This request will be emailed to the requested approver, and will show on the ‘Status History’ table.
Approving a form
- Go to the form that needs approving.
- You will be taken you to the ‘Status’ tab section.
- Test and review the form as requested. Check the ‘Fields’ column and its contents. Check system names and any conditions. Is there any pre-population data being used, are they correct? Check the pre-population data matches. Check the distribution section. Check the workflow section and sub-sections for any errors or anything missing for the given assessment.
- Click the ‘Update status’ button.
- Click the ‘New Status’ drop-down list.
- Select ‘Approved’ if happy to approve. Else you have the option to publish or reject at this point (see further sections below about rejecting and publishing). An email will be generated to the approver and or owner of the form.
- Add any comments, such as what you have reviewed or changed. Adding information here will help others to understand the status of the form in future as well as it will then show in the ‘Status History’ table for that form.
- Click the ‘Update’ button.
- Check the ‘Status History’ table which will show the approval information you just completed.
Quickly checking the approval status from the Forms section
The approval status will show as an egg-timer as shown in the following screenshot.

Rejecting
To reject a form that has issues or is incomplete either in content or setup for example.
- Click the ‘Update status’ button.
- Click the ‘New Status’ drop-down list and select ‘Rejected’.
- Add comments and detail why the form has been rejected.
- Click the ‘Update’ button.
- The approved column icon will change to a ‘Warning sign’ as shown in the below screenshot.

Publishing
Select the form you want to publish to make it immediately available to users (such as via the groups or web distribution).
- Click the ‘Update status’ button.
- Click the ‘New Status’ drop-down list and select ‘Published’.
- Add comments and detail anything that you might have changed prior to publishing. E.g. updated a field or workflow setting.
- The form is now published, and intended users should now be able to see it.
Fake published
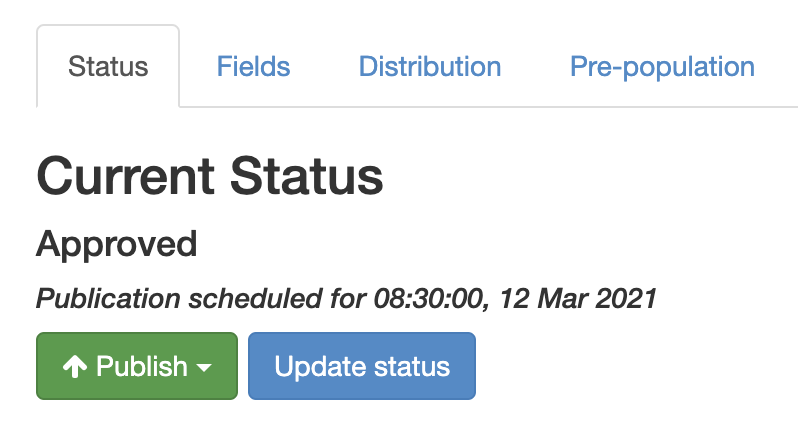
If the ‘Publish’ button is green, the form is not published but has been approved and is therefore ready to be published and made available to its users.
- To publish, click on the ‘Publish’ button and select ‘Don’t notify’.
Generally selecting ‘Don’t notify’ is the preferred selection. However the alternative option is to ‘Notify users via mobile app’ which would trigger a push notification to any user that has the iPad app installed AND push notifications enabled. So whilst the latter option is useful, bear in mind that not all users you hope to notify will actually be notified.

