Overview
The ‘Checklist’ activity allows you to create a checklist for your students to work through. The students should tick off each item on the list, as they complete it, and the resulting progress of the cohort can be monitored by the teacher. The student is also rewarded with a progress bar that shows how far through the checklist they have managed to get.
How to set up a Checklist activity in a Moodle course
To add a ‘Checklist’ activity to your course, please follow the steps below:
- Sign in to your Moodle account and select the course where you would like to add the ‘Checklist’ activity.
- Click on the ‘Edit mode’ button and then select a section where you would like it to be located.
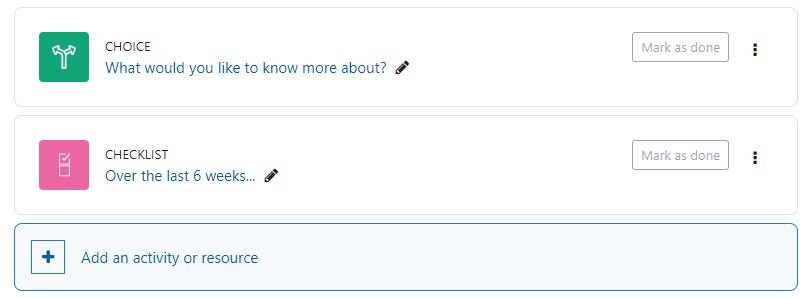
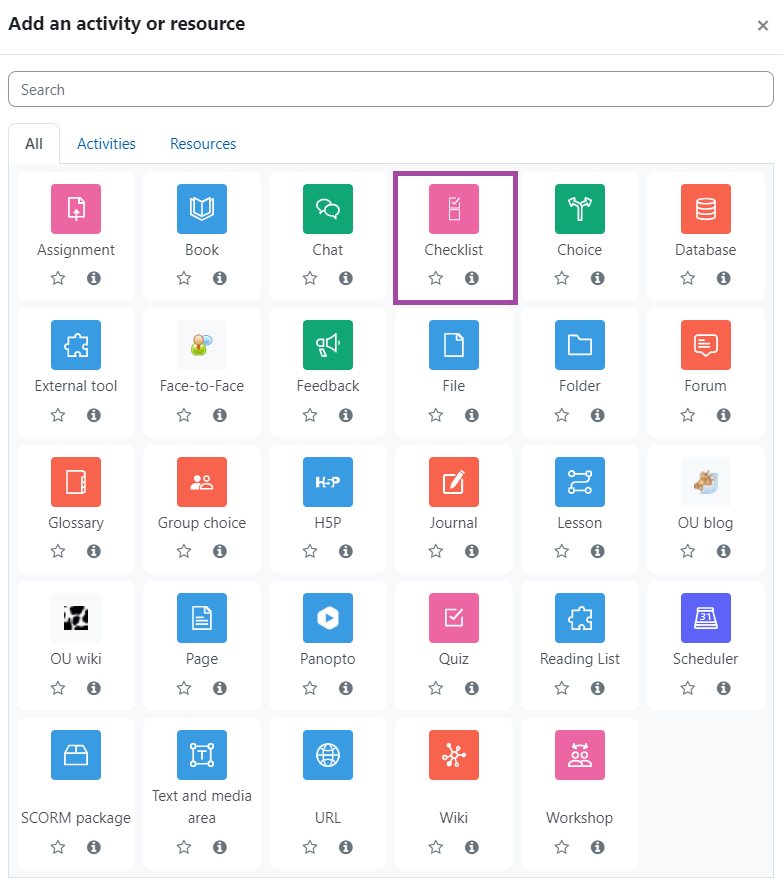
- Click on the ‘Add an activity or resource’ button and then select ‘Checklist’ from the popping-up window.
- You will be directed to the settings of the activity where you can change the following things.
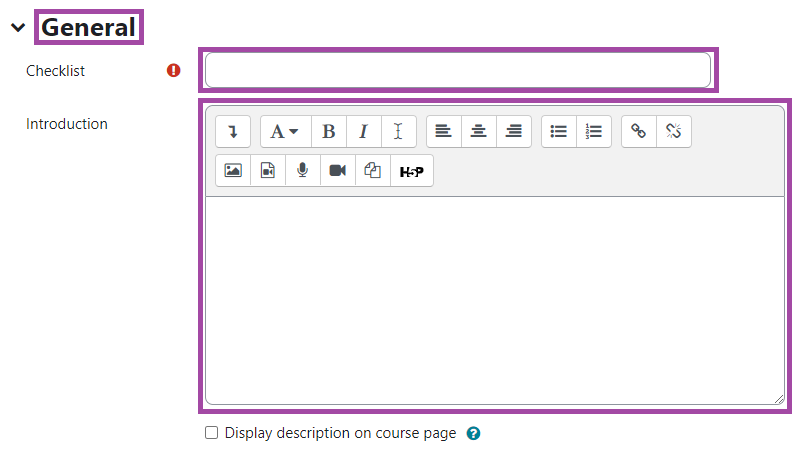
General
In the ‘General’ section, you can give a useful name and description to the activity. You can also decide whether you would like the description to be shown on the course page.
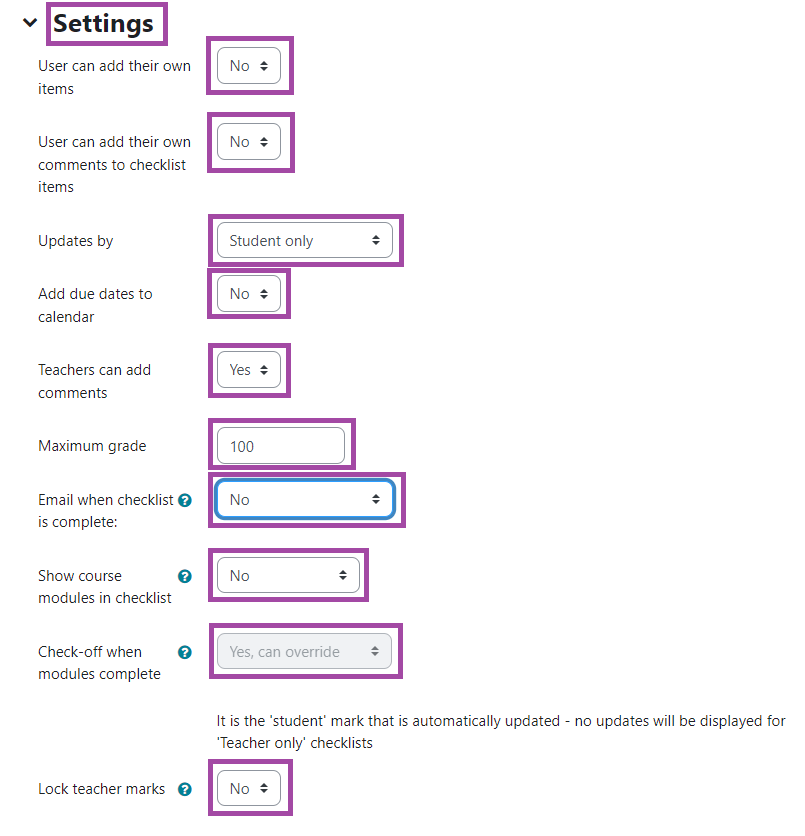
Settings
In the ‘Settings’ section, you can decide:
- whether students are allowed to add their own items, comments to checklist items and whether they can be updated by them,
- whether due dates should be added to the calendar,
- whether you, can add comments to the checklist,
- what is the maximum point the students could achieve for the checklist,
- whether e-mail notifications should be sent out when the checklist has been completed, and if yes, then who should receive them – you, the students, or both,
- whether the course module should be displayed in the checklist (including its activities and resources), and
- whether marks can be locked that were given by you which means that you would not be able to make changes on them once you clicked on the ‘Yes’ button..
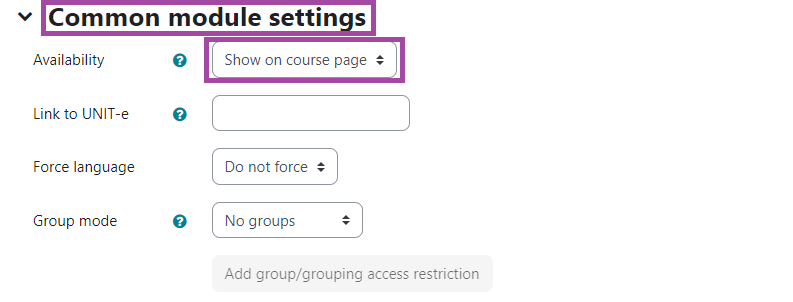
Common module settings
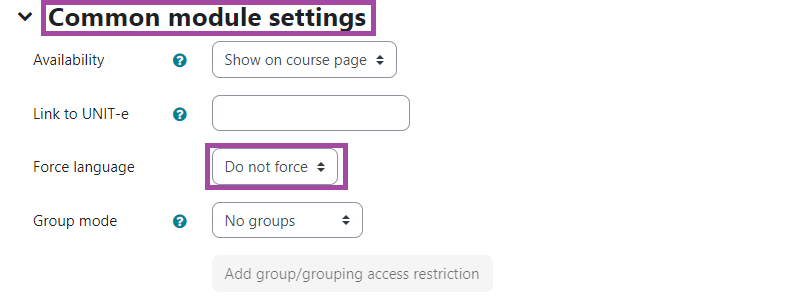
In the ‘Common module settings’ section, you can decide whether you would like the activity to be shown to the students.
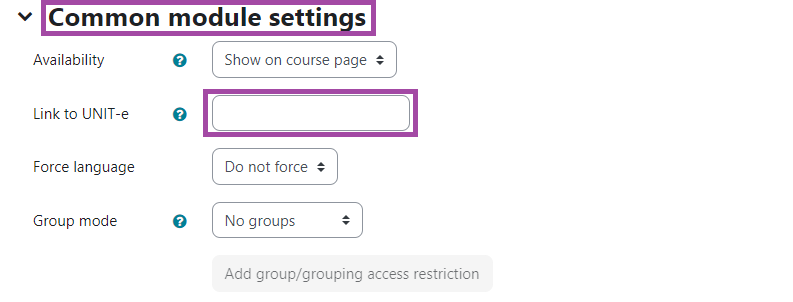
The ‘Link to UNIT-e’ setting refers to transferring the released grades to the student record system (UNIT-e), therefore, this option has to be turned off (left on default) as this activity is not part of a summative assessment.
By default, Moodle detects a user’s language from their browser setting. The ‘Force language’ can be used if you want to force a language instead.
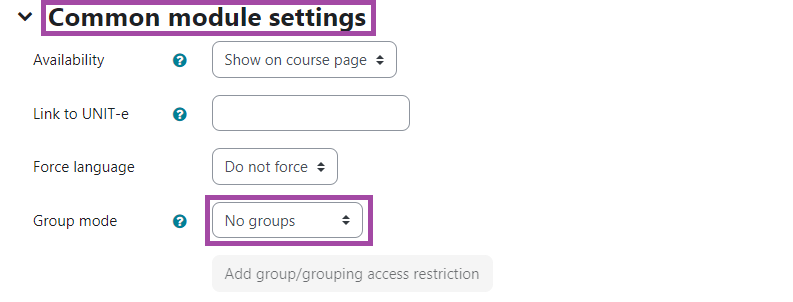
The ‘Group mode’ can be useful for you if you would like to allocate the students to different lecturers for the checklist.
Please keep in mind that in this case, we recommend using the ‘Separate group’ option from the drop-down list.
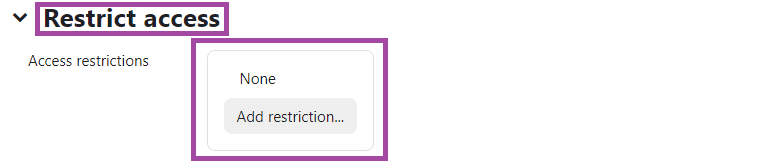
Restrict access
In the ‘Restrict access’ section, you can add restrictions in terms of accessing the checklist as a student which can be based on date, grade, group, grouping, or user profile.
How to add an item to the Checklist activity in a Moodle course
To add an item to the ‘Checklist’ activity in a Moodle course, please follow the steps below:
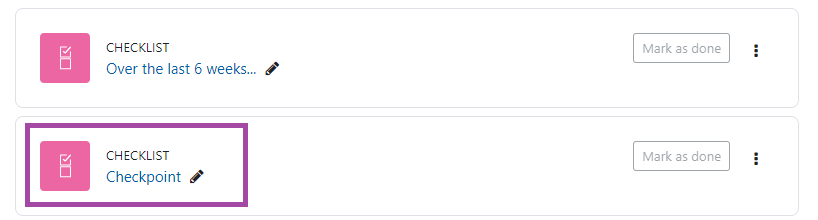
- Please open the activity on a new page by clicking on its title, which is its URL link.
- You will see a secondary menu with the following menus:
- Checklist, Settings, View Progress, Edit Checklist & More

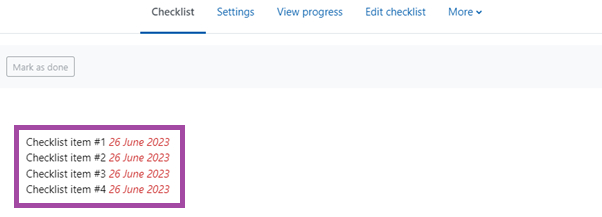
- ‘Checklist’ – this is the place where you can preview your checklist, therefore, you can look at the activity from a student perspective.
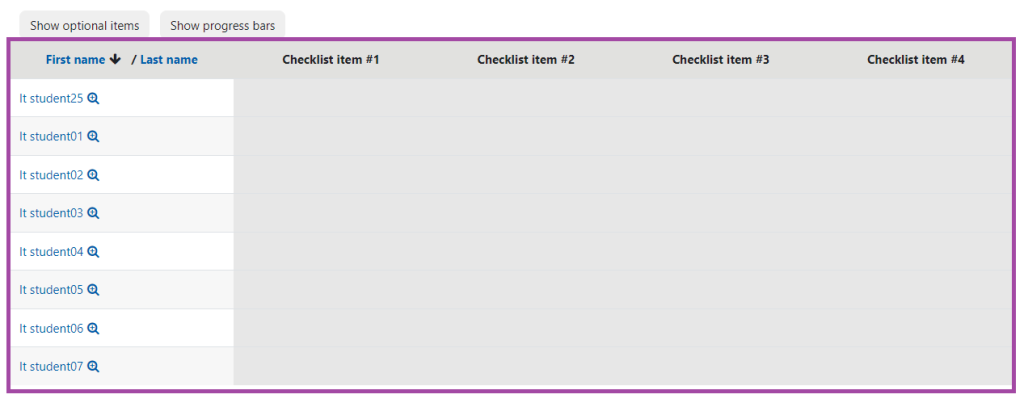
- ‘View progress’ – this is the place where you can track the progress of the students – whether they have finished the items on your checklist, how many more they need, etc.
- ‘Edit checklist’ – this is the place where you can add new items to your checklist.
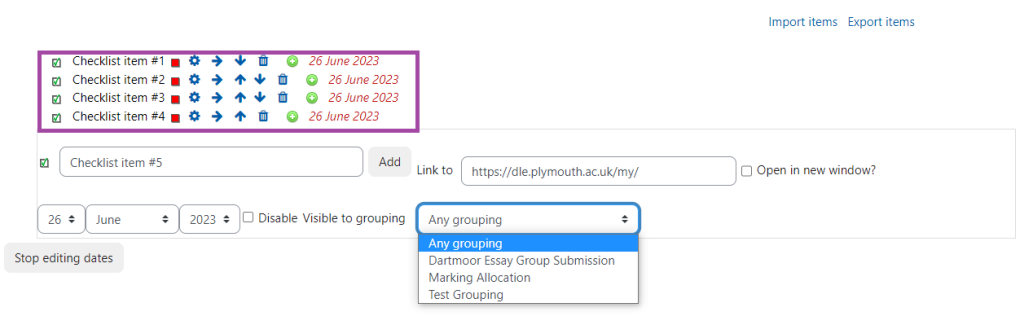
- You would need to enter a useful name for the item in the first field.
- You can also attach a resource to it by copying its URL link into the second field – if you would like to, you can tick the box next to it where it says ‘Open in new window’, so the resource would be open in a new page.
- If you click on the ‘Edit dates’ button, then you can define a due date for the item to be completed by the students as a reminder for them, however, please keep in mind that the students would still be able to tick the box after the date has been expired, therefore, it does not have an impact on the functionality.
- You also have to define whether the item should be visible to everyone or only to specific students based on the groups they are allocated to.
- Lastly, please make sure you click on the ‘Add’ button to add the item to your checklist.

- Above these settings, you have a couple of other useful buttons, such as:
- red square – with this button, you can customise the color of the text (item),
- cogwheel – with this button, you can return to the editing workspace of the item if you would like to change something on it,
- arrow – with this button, you can change the order of the items (including creating hierarchical lists),
- bin – with this button, you can remove an item from your checklist, and
- plus – with this button, you can add a new item to your checklist.