Adding files to your course
Moodle provides an easy way for tutors to present materials to their students. These materials may take the form of files such as word-processed documents or slideshow presentations. The materials can be displayed on the page either as individual items or bundled together inside folders. Most types of files can be uploaded and accessed through Moodle but the student needs to have the correct software to be able to open them. PDF files are portable and will load in the web browser, however word-processed documents are easier to update and maintain. Please consider how students will access these files.
To add files to a Moodle course, you must first ensure you have the ‘editing turned on ‘Edit mode’ turned on (top right-hand corner).
Files can be added in a couple of ways.
Firstly, you can simply drag and drop the file into the correct topic within a course.
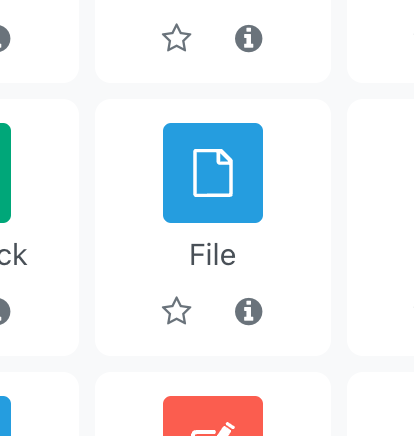
Alternatively, you can navigate to a particular topic, select ‘Add and activity or resource’, and then select File.
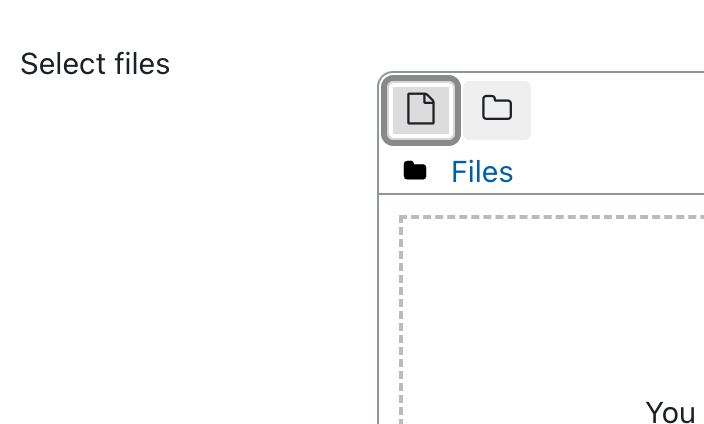
This will load a file setting page, where you can provide a file name and select the file you wish to upload. In the ‘Select files’ section you can again, simply drag and drop your file or select the ‘Add…’ button (the button which look like a document).
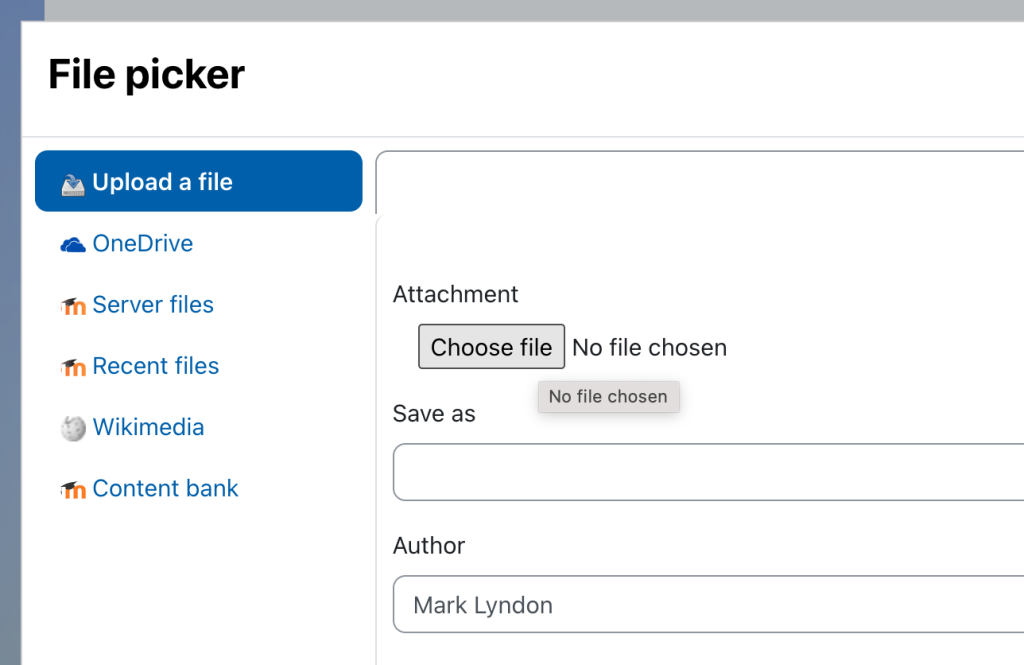
From the next screen, you can select ‘Upload a file’ and select the file you wish to upload.
Remember to keep saving your changes and soon have the file accessible from the course page.