- In the secondary menu, click Participants.
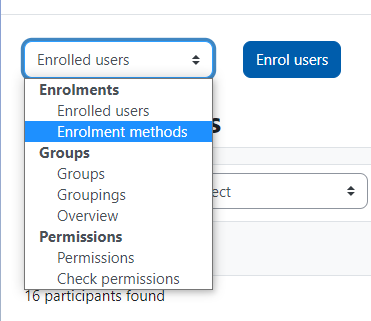
- Select Enrolment Methods from the dropdown near the top-left

- Click the Enable icon next to ‘Self enrolment’.

- Click the Edit icon.

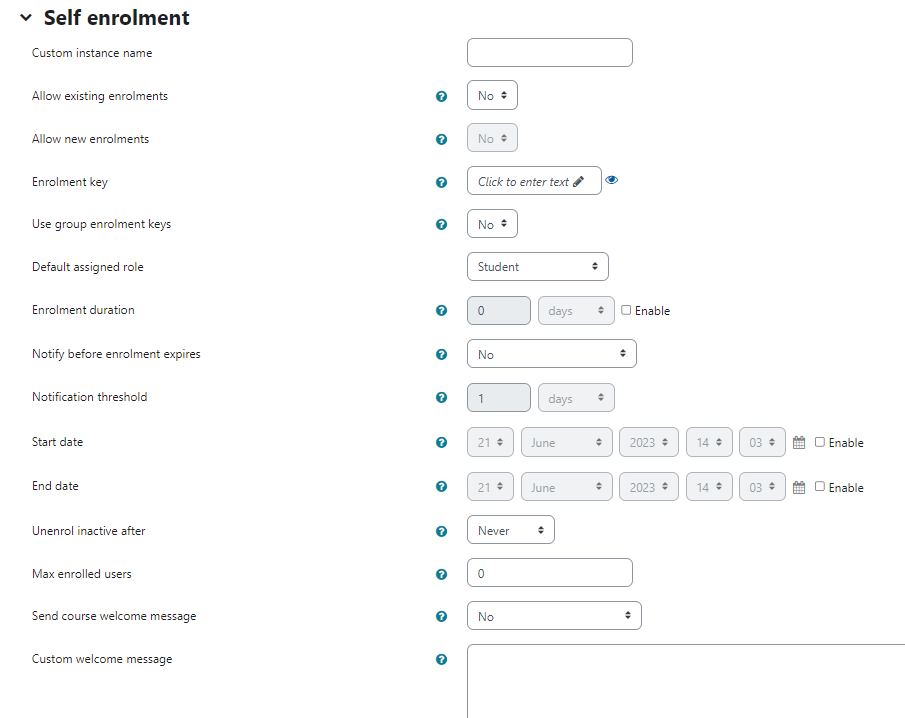
There are several settings for self enrolment. Click the help icon next to the field for
further information on what they do. Some of the key settings are outlined next.

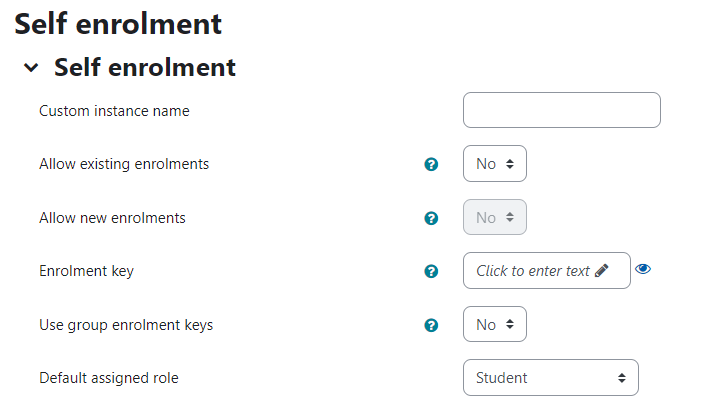
You don’t need to add a ‘Custom instance name’ if you are not adding an Enrolment
key or you only want one self enrol to all option.
Key settings
- Set ‘Allow new enrolments’ to Yes.
- Add a password to the Enrolment key field if you want to restrict access to a
specific group.
- Clicking the eye icon will display the Enrolment key.
- The ‘Default assigned role’ is set to Student, you can change this if you wish.
- Click Save changes when you have finished.

