This article outlines how to: Write QuickMarks and add them to sets, Create an new Set from existing QuickMarks, and how to both Import and Export Quickmarks form the Turnitin Feedback Studio.
How to write your own QuickMarks and add them to a set in Turnitin Feedback Studio
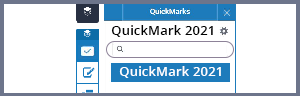
- When in Turnitin Feedback Studio, please click on the ‘QuickMarks’ icon.

- Once you are in your QuickMarks, please click on the cogwheel icon to manage your quick marks.

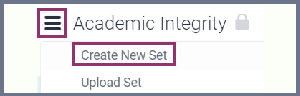
- Next, click on the burger menu, and then on the ‘Create New Set’ button.
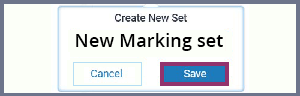
- Add a useful name for the set, and then click on the ‘Save’ button.
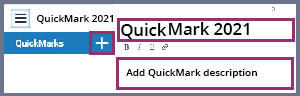
- Once it has been saved, please click the plus (+) icon and then add a title and content for the QuickMark. To save the process, please click on the ‘Save’ button.
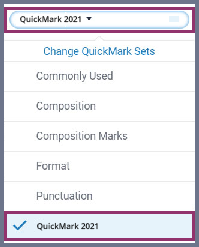
- Lastly, you will need to select this set from the following drop-down list.
This QuickMark is now ready to be dragged onto the assignment you are marking. For further information on how to upload and download sets to share QuickMarks between colleagues, please use this web link.
How ot create a new Set from existing QuickMarks in Turnitin Feedback Studio

- When in Turnitin Feedback Studio, please click on the ‘QuickMarks’ icon.

- Once you are in your QuickMarks, click on the cogwheel icon to manage your quick marks.

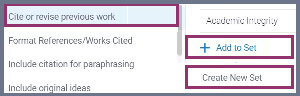
- Next, click on the existing quick mark you wish to add to your set, click on ‘+Add to Set’, and then on the ‘Create New Set’ button.
- Lastly, please add a useful name to your set and then click on the ‘Save’ button to finalize your action.
How to import/export QuickMarks from Turnitin Feedback Studio
Importing QuickMarks
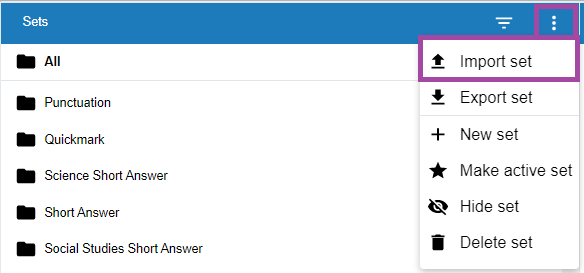
- Once in the QuickMarks manager, you will see the list of your all sets in the first column. Please click here on the three dots in the top-right corner, and then select ‘Import set’ in order to import QuickMarks to your Turnitin Feedback Studio.
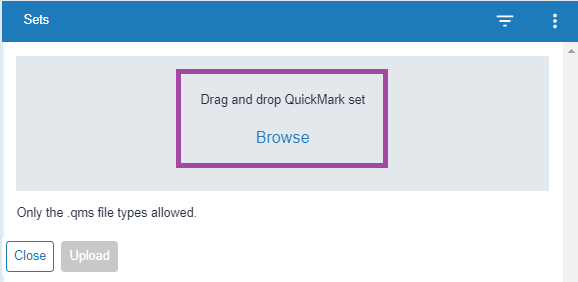
- A new page will open in the same column where you can either drag and drop, or select the file directly from your device. Please note that the allowed file extension must be ‘qms’.
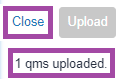
- Once the file has been uploaded, you will get a confirmation message stating ‘1 qms uploaded.’ You can now close this page by clicking on the ‘Close’ button. This will then bring you back to your set list; where you will be able to find the uploaded/imported set.
Exporting QuickMarks
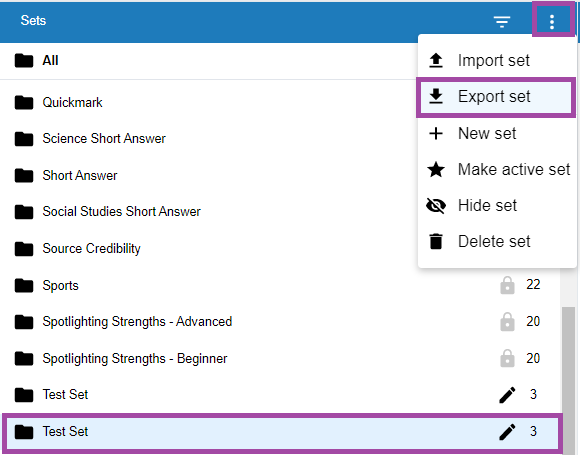
- In the QuickMarks manager, please select the set you wish to export (from the list of available sets in the first column).
- Click on the three dots in the top-right corner, and then select ‘Export set’ from the drop-down list. This will download the file to your device.