1. Home
  2. Moodle
  3. Setting up ‘self enrol’ in shared content courses and subject courses (in Moodle)

Setting up ‘self enrol’ in shared content courses and subject courses (in Moodle)

Contents
Participants tab
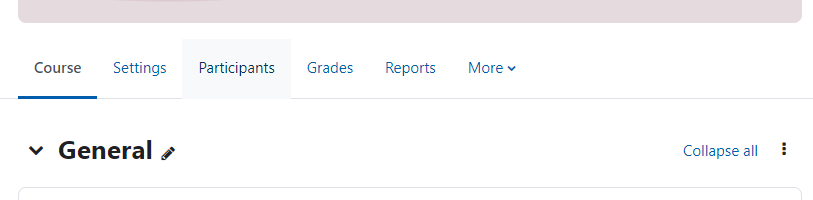
  1. In the secondary menu, click Participants.
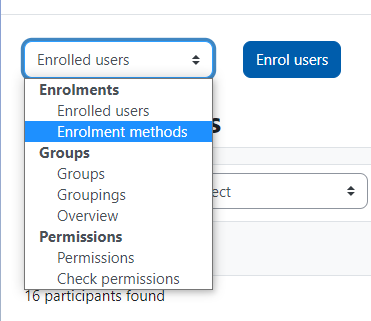
  2. Select Enrolment Methods from the dropdown near the top-left
    Enrolment methods
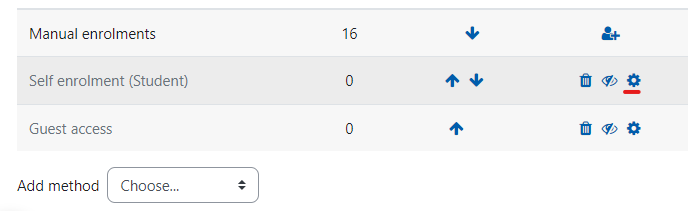
  3. Click the Enable icon next to ‘Self enrolment’.
    Enable self enrolment
  4. Click the Edit icon.
Enrolment edit

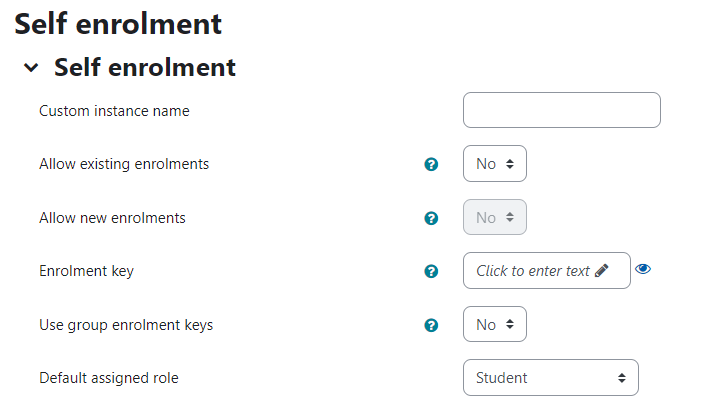
There are several settings for self enrolment. Click the help icon next to the field for
further information on what they do. Some of the key settings are outlined next.

A list of options available under the self enrolment tab

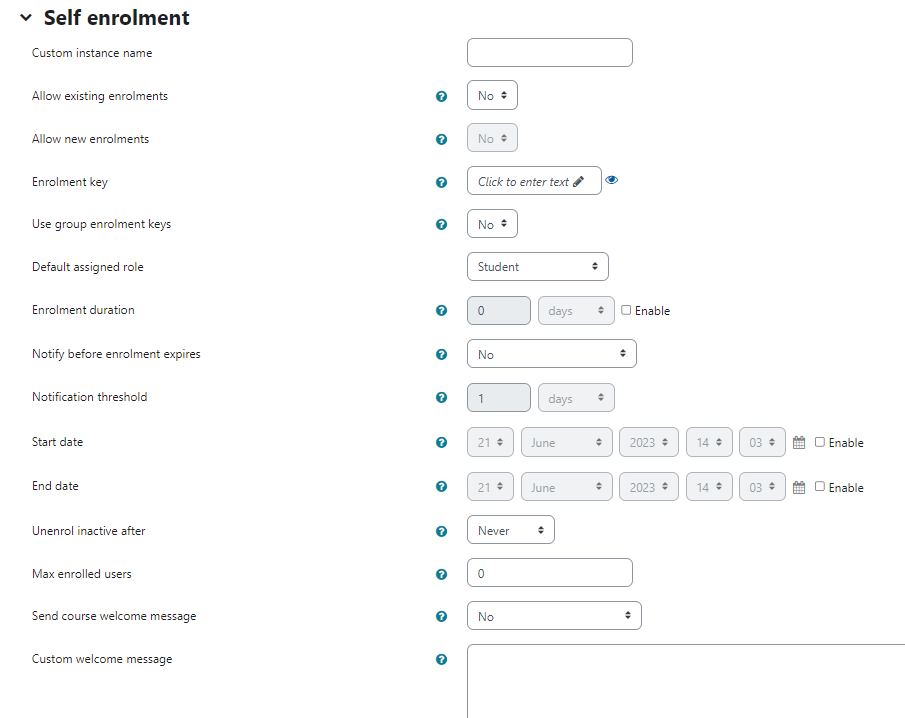
You don’t need to add a ‘Custom instance name’ if you are not adding an Enrolment
key or you only want one self enrol to all option.

You can have more than one self enrolment type on a course. E.g. you may
want to have a self enrolment for teacher access and a password and a separate
one for students with a different password. You can give each instance a separate
name.

Key settings

  1. Set ‘Allow new enrolments’ to Yes.
  2. Add a password to the Enrolment key field if you want to restrict access to a
    specific group.

You will need to send the Enrolment key to anyone you wish to enrol.

  1. Clicking the eye icon will display the Enrolment key.
  2. The ‘Default assigned role’ is set to Student, you can change this if you wish.
  3. Click Save changes when you have finished.
Self enrolment options focussed.
Updated on June 21, 2023
Was this article helpful?

Related Articles

Still need support?
Can't find the answer you're looking for? Don't worry we're here to help!
Contact Digital Education