Overview
Changing your course image in the DLE (Moodle) can help personalise your course and make it more visually appealing. It is helpful when standardising courses or easily identifying different cohorts at a glance.
Selecting the course image for your course
To select the appropriate course image for your course, please follow the steps below.
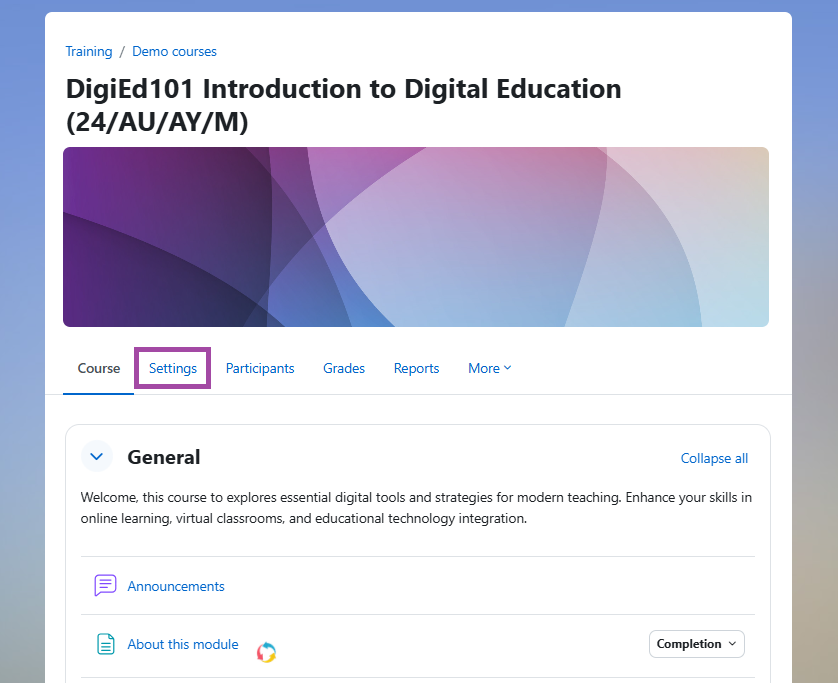
- Please navigate to your course page and click on the ‘Settings’ menu from the secondary navigation bar.
- Once you are in the settings, please scroll down to the ‘Description’ section and the ‘Course image’ within this section.
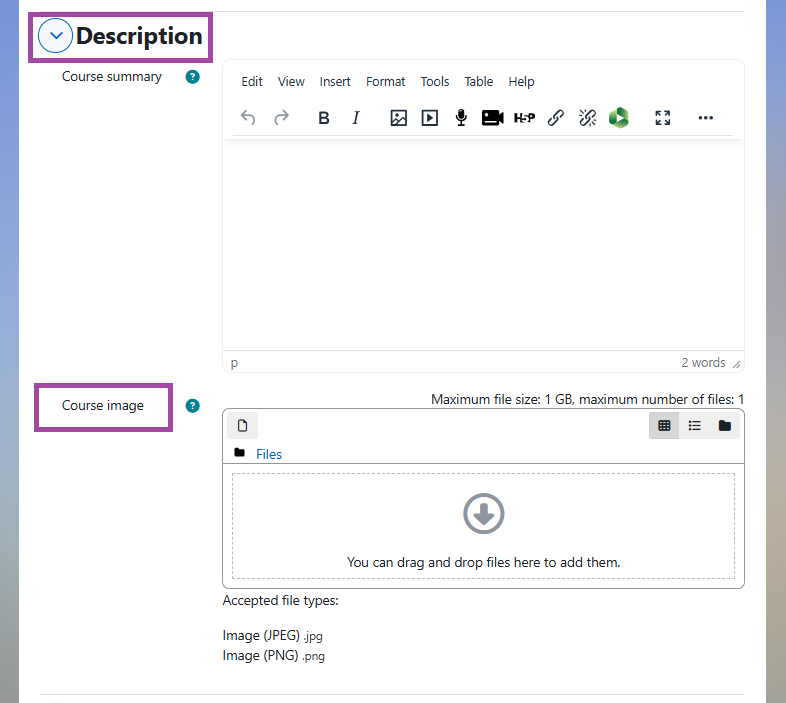
- Within the ‘Course image’ you will be able to drag and drop an image into this section, please not that this only accepts JPG and PNG file types. We recommend that your image is no larger that 1200px in width and the height of the image will be cropped to around 200px,
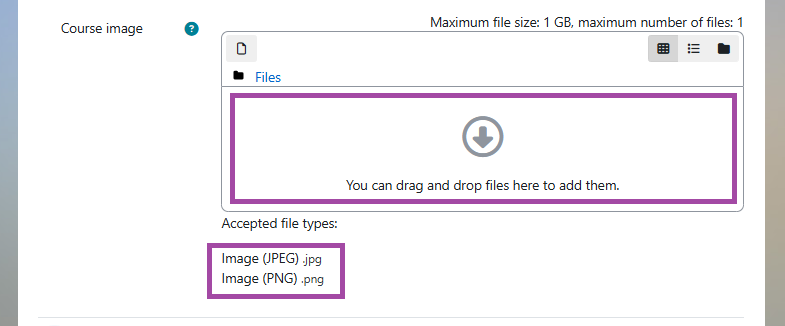
If your file is in a different format (or example a JPEG not JPG) please see the section below for information on how to reduce size and convert image files.
- Once your file has been uploaded into the ‘Course image’ you can navigate to the bottom of the page and click ‘Save and display’. If you need to change the image, you can click on the uploaded file and it will give options to ‘Download’ or ‘Delete’ the current course image.
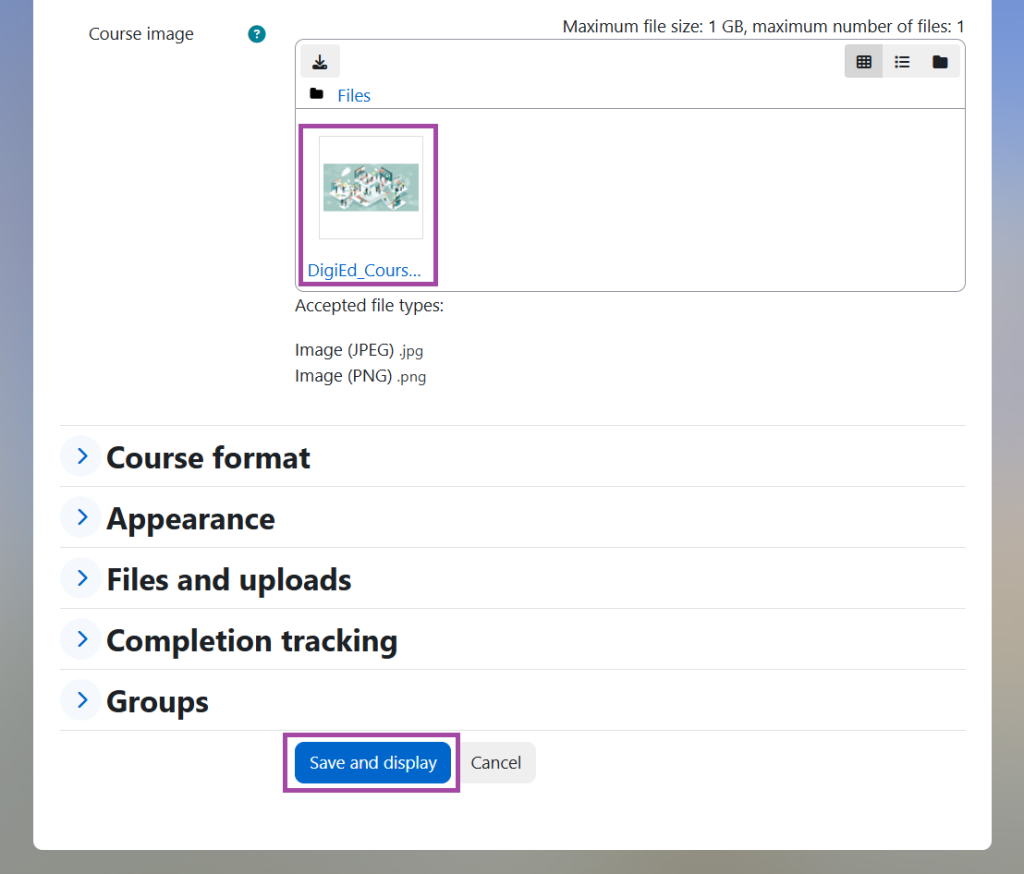
- The image will now be displayed on your programme or course homepage.

Converting and reducing images for the Course image, using Microsoft Photos
There are various websites where you can get royalty free images for your course image, including; Adobe Stock, Pixabay or Pexels. However these images are usually in a large format when downloaded. To make them a suitable size and file format for the DLE (Moodle) we can use Microsoft Photos software installed on your PC.
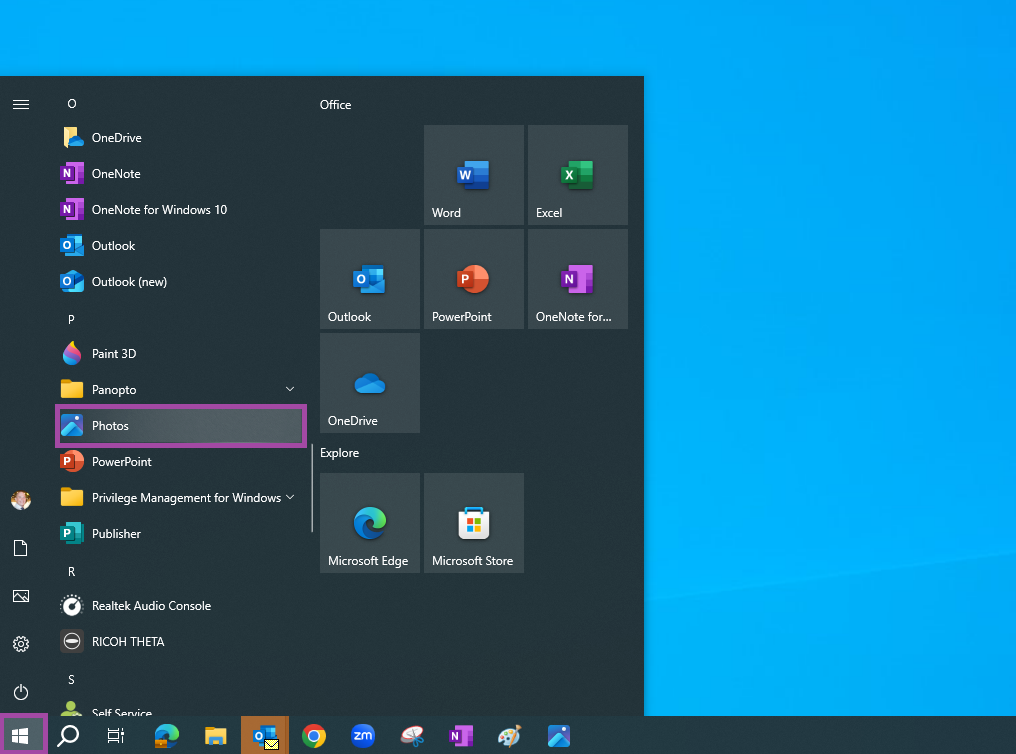
- Once you have downloaded your desired picture, you can open it in Microsoft Photos. To open Microsoft Photos, click on the Windows icon in your taskbar, and navigate to Microsoft Photos.
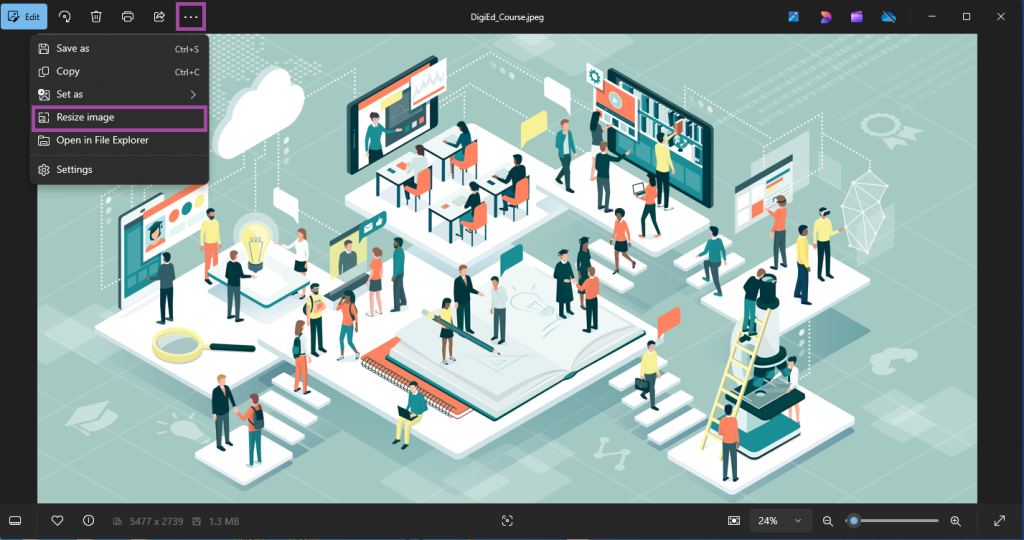
- After opening the image navigate to the three dots at the top of the screen and click on this. From the drop-down menu select ‘Resize image’.
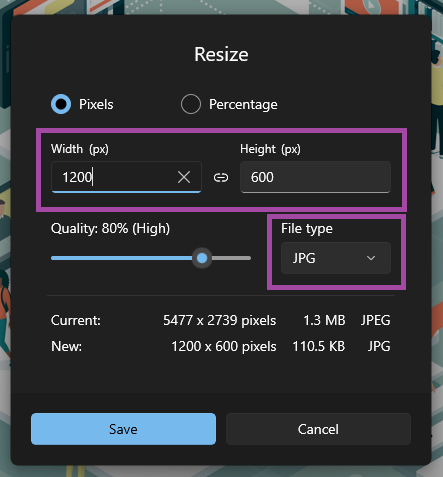
- This will open a popup window that will allow you to resize the image. We recommend you set the maximum pixels to 1200px and ensure that the file format is *.jpg or *.png. You can also see the difference with the original file size and the new file from this screen.
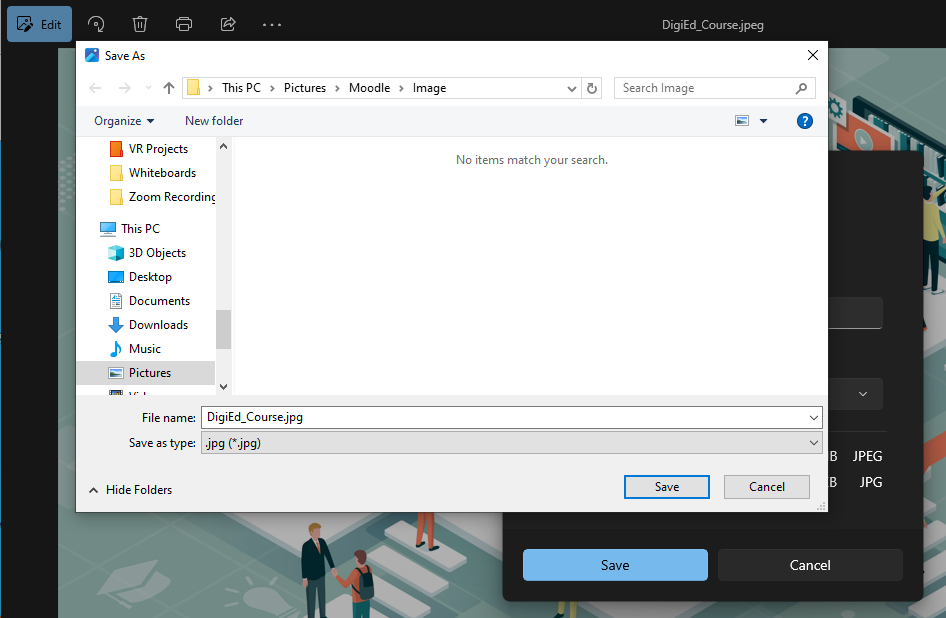
- Click ‘Save’ and this will ask the location that you want to save your resized image.
- You will now be able to use this image as a ‘Course image’ within the DLE.