Overview
Moodle allows you to use various resources and activities to build your course content which you may wish to connect as they often build on each other.
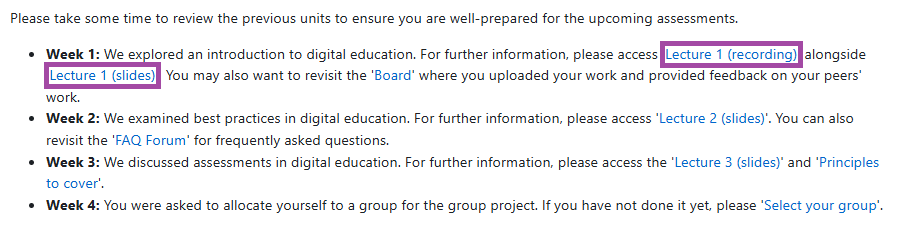
For example, you might want to share assessment information with your students via a ‘Page’ resource’s text box and link previous lecture recordings and slides within this text. This helps students access all the relevant materials in one place. In such cases, you can connect resources and activities using the auto-linking method. Simply type the full name of the material you want to link and Moodle will automatically turn it into a clickable link that directs students to that resource or activity.
If you wish to automatically link existing resources or activities by using their names, please follow the steps below.
Enable auto-linking via Filters
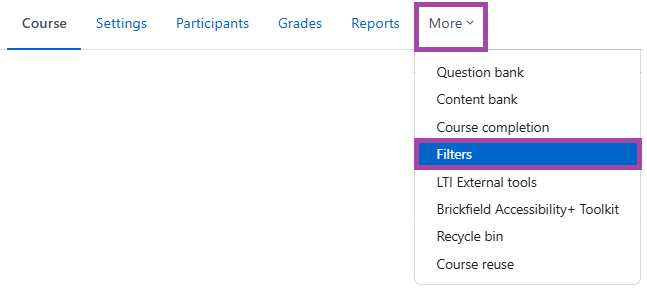
- Please navigate to the desired course homepage, select ‘More’ from the secondary navigation bar and then choose the ‘Filters’ option from the drop-down list.
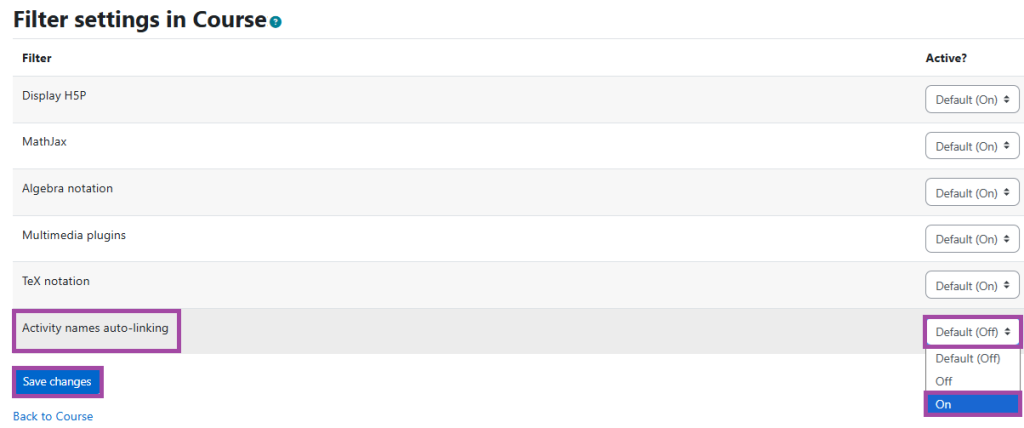
- On the following page, please locate ‘Activity names auto-linking’ and set it to ‘On’. To finalise your action, please click on the ‘Save changes’ button.
Add auto-linked names
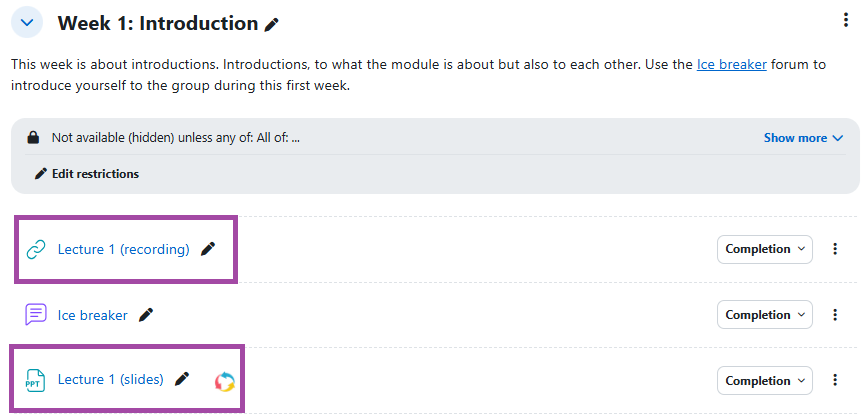
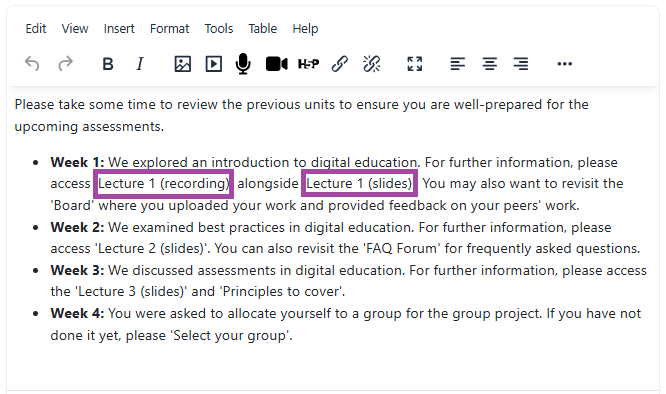
- Please ensure the resource or activity you want to link already exists within your course content and note its exact full name as it appears on your course page. In this instance, we will use ‘Lecture 1 (recording’) and ‘Lecture 1 (slides)’ within week 1.
- Next, please navigate to the text box where you want to insert the links. In this example, we will use a ‘Page’ resource. Within the text box, please enter the full and exact name(s) of the material(s) you want to link. Please note the text doesn’t look any different in edit view initially until you have saved it.
- Once completed, please save the changes. Moodle will automatically detect these names and convert them into clickable links that take students directly to these materials. Please also preview the content and test the links to ensure they work correctly.