Overview
The Moodle Board activity provides an interactive, digital “post-it note” style tool that allows learners to share ideas quickly and visually. Staff with the ‘Teacher’ permission can create a set of columns (for example, categories, stages, or themes), and students add contributions under each column. These contributions can be short text notes, web links, images, embedded videos or even uploaded pdf files. With features such as commenting, starring, and the ability to move posts between columns, the activity supports a wide range of learning scenarios, from brainstorming and icebreakers to feedback walls and reflective tasks.
How to set up the Board activity in a Moodle course
To add the ‘Board’ activity to your course, please follow the steps below:
- Sign in to your Moodle account and select the course where you would like to add the ‘Board’ activity.
- Click on the ‘Edit mode’ button and then select a section where you would like it to be located.
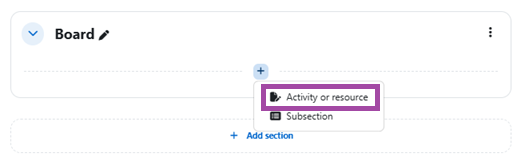
- Click on the ‘Add an activity or resource’ button and then select ‘Board’ from the popping-up window.
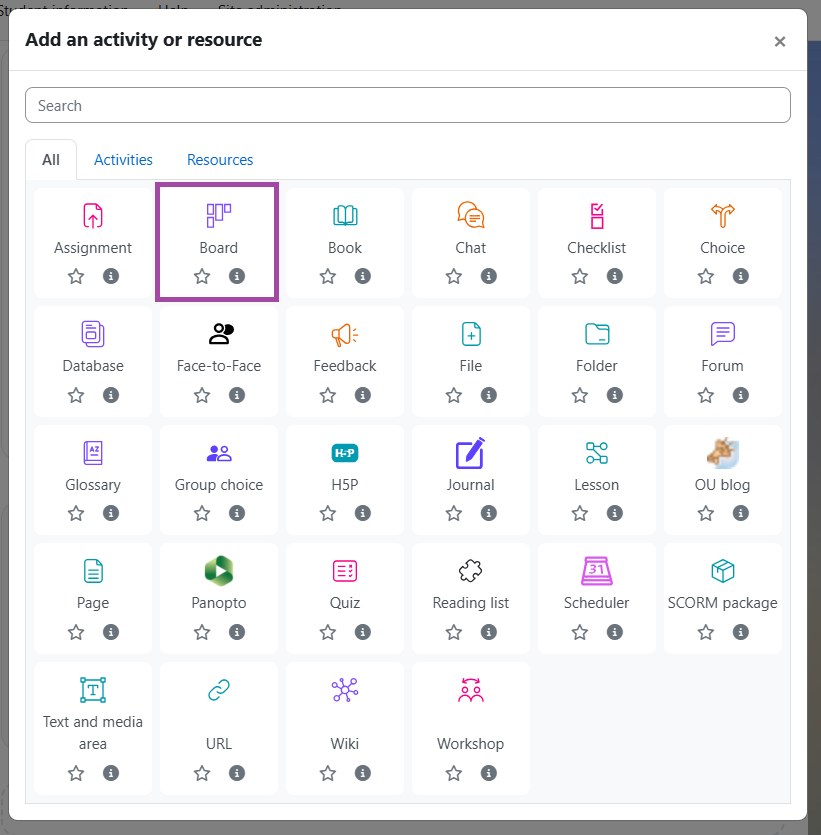
- You will be directed to the settings of the ‘Board’ activity.
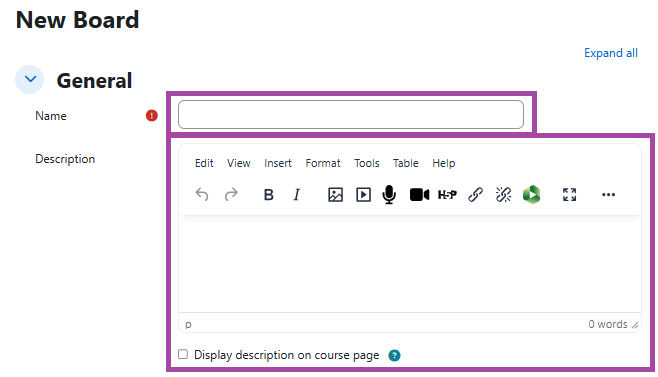
General
In the ‘General’ section, you can give a useful name and description to the board activity. You can also decide whether you would like the description to be shown on the course page.
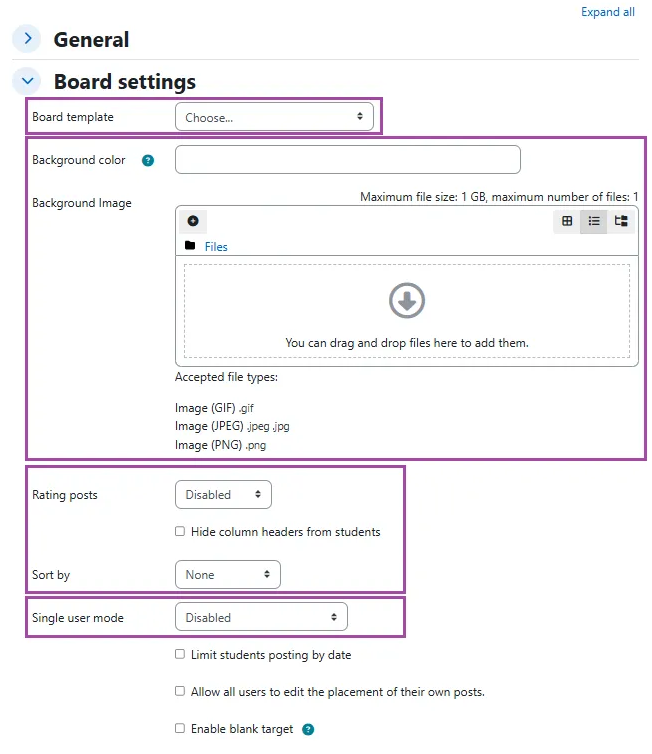
Board Settings
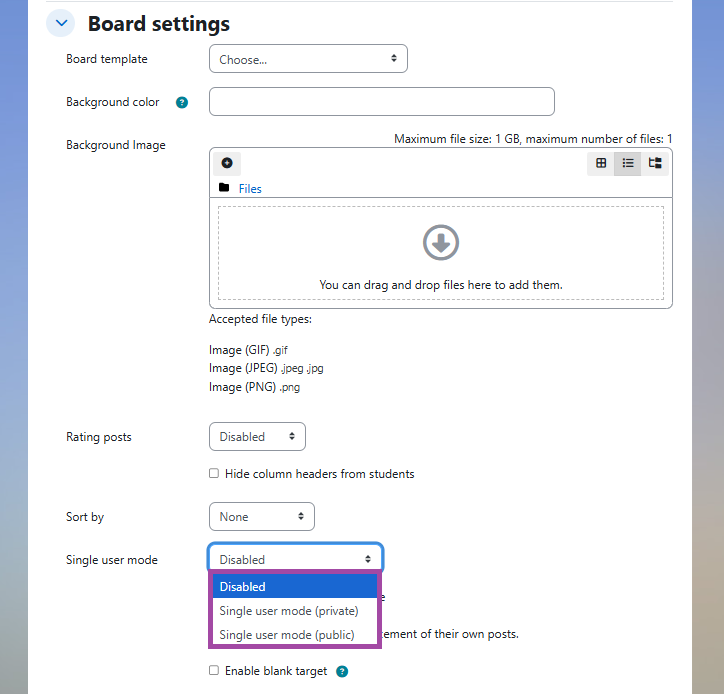
In the ‘Board settings’ you can decide:
- A background colour or image of the board.
- Whether posts can be rated, and if so by Teachers / Students / All
- Sort by, either the created date or rating.
- Whether the board is being created as a collaborative tool or for a single user. The single user boards can be either public or private.
Setting up your board
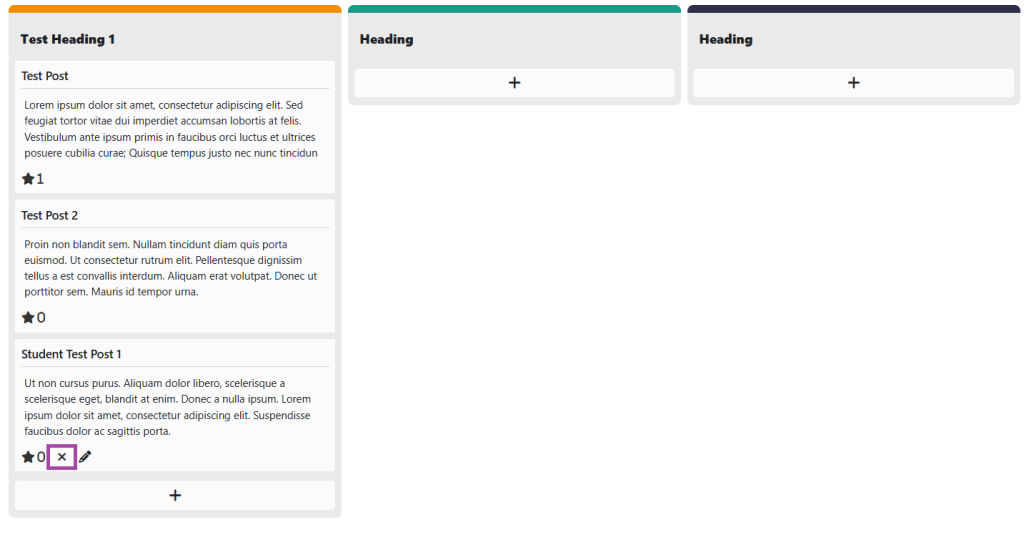
Once the settings are saved, your Board will appear as a blank canvas with the default three columns.
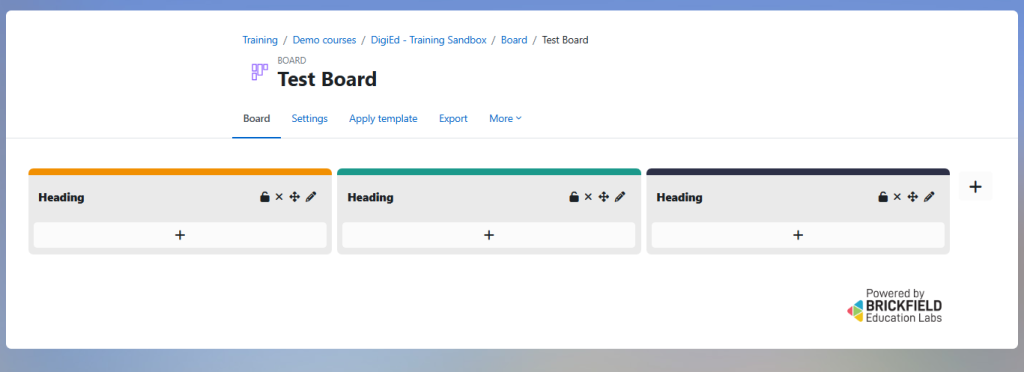
Each column can be deleted by the cross icon or the heading can be editing by the pencil icon. Only ‘teachers’ on the course will be able to edit the headings of the columns. Also, you can add an additional column by click the cross on the right hand side of the boards.

Adding content to your board
Once your columns are set up, learners (and teachers) can begin adding contributions. Each note can include text, links, images, videos, or pdf files.
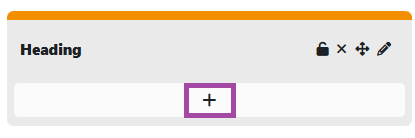
Adding a new post
- Click the plus button under the column where you want to add content.
- Enter your contribution in the text box. You will be asked for a post title and text note (content), additionally you can add a
- Web link – paste in a URL.
- Image – upload from your device
- File upload – attach PDFs documents from your device.
- Video – embed from a service like YouTube.
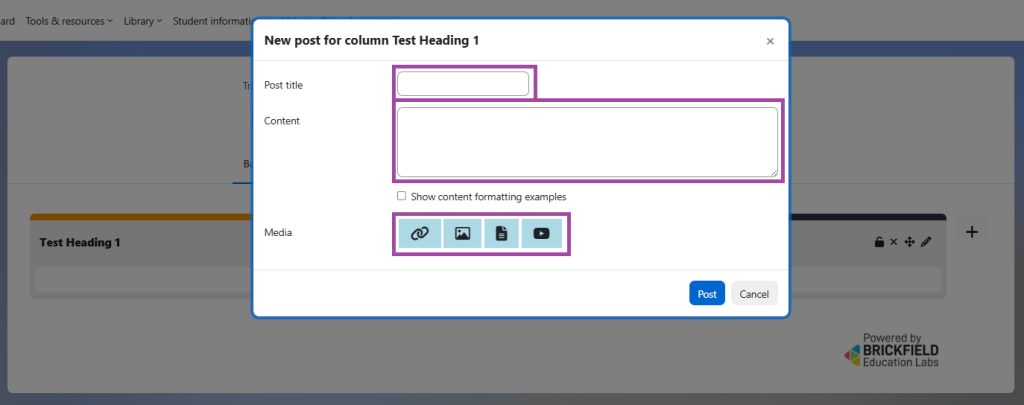
- Click post to publish your post.
Interacting with posts
- Move: Drag and drop posts between columns (teachers only, unless enabled).
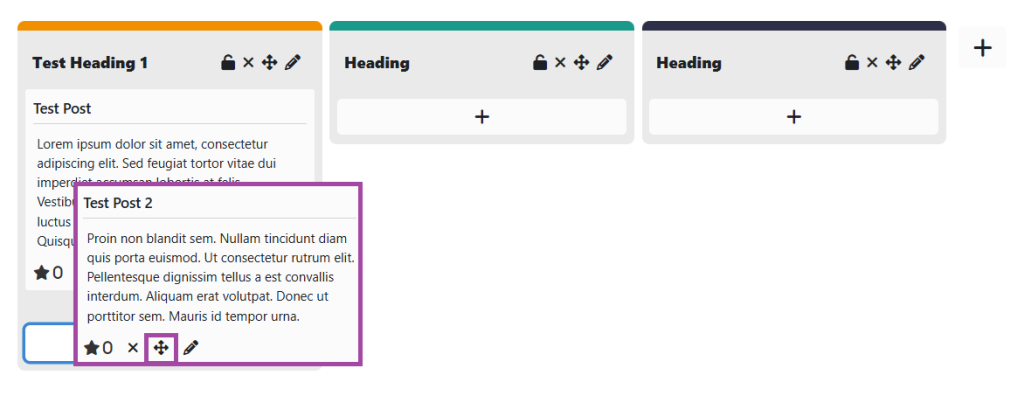
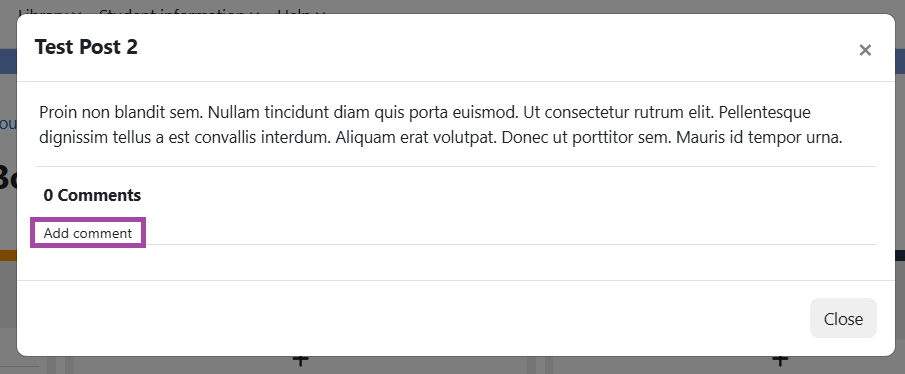
- Comment: Open the post and click ‘Add comment’ to add feedback or discussion – you can also add emojis within comments.
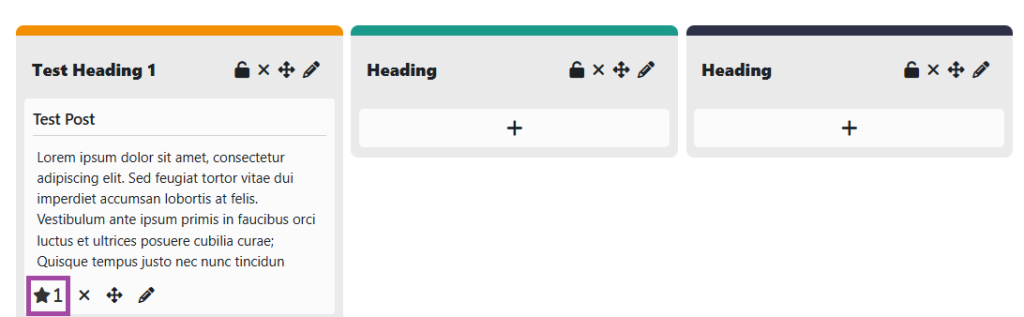
- Rate: If ratings are enabled in the settings, users can upvote or rate each other’s posts.
Editing or deleting posts
- Learners can edit or delete their own contributions, whether a post or comment
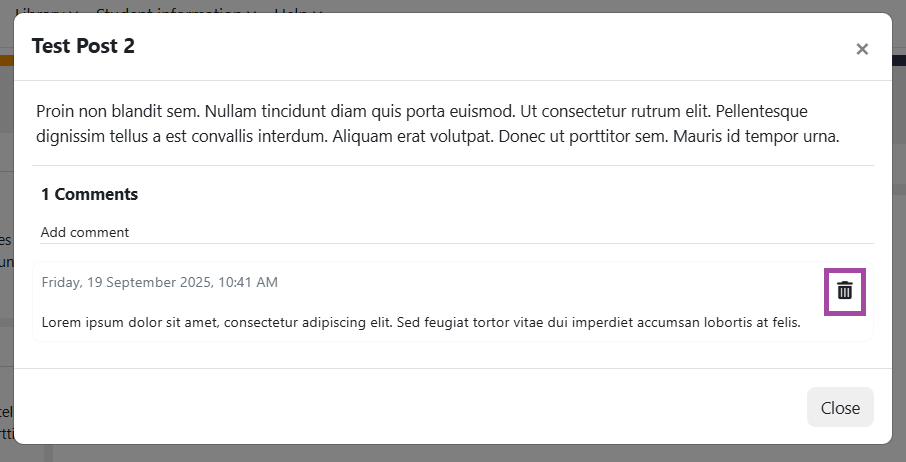
- Teachers can edit or remove any post or comment if needed.
Setting up Single user boards
The Board activity can also be set up so that each learner has their own individual board. This is useful for activities such as reflective journals, portfolios of ideas, or personal feedback spaces.
These boards can be set up as either:
- ‘Single user mode (public)’ – each learner sees and contributes to their own board, but can also view the boards of their peers.
- ‘Single user mode (private)’ – each learner sees only their own board. Teachers can view all boards.
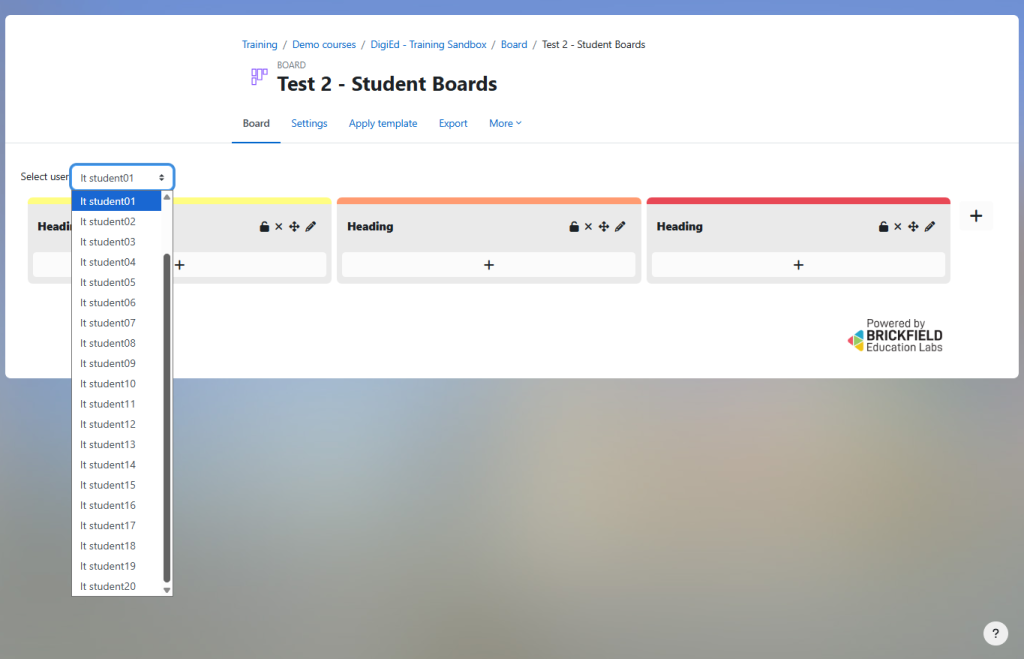
To set up the single user boards in the settings select either ‘Single user mode (private)’ or ‘Single user mode (public)’ in the ‘Single user mode’ section.
The view of ‘Single user mode (public), which is the same as the permissions for teachers with private boards.