How to set up a database for image collection
To add a ‘database’ activity to your Moodle course, please follow the steps below:
- Sign in to your Moodle account and select the course where you would like to add a ‘Database’ activity.
- Click on the ‘Edit mode’ button and then select a section where you would like it to be located.
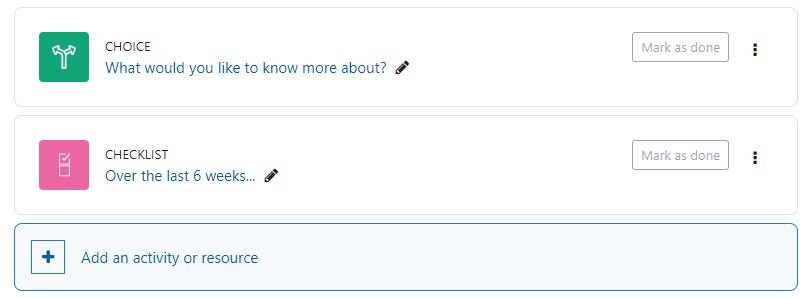
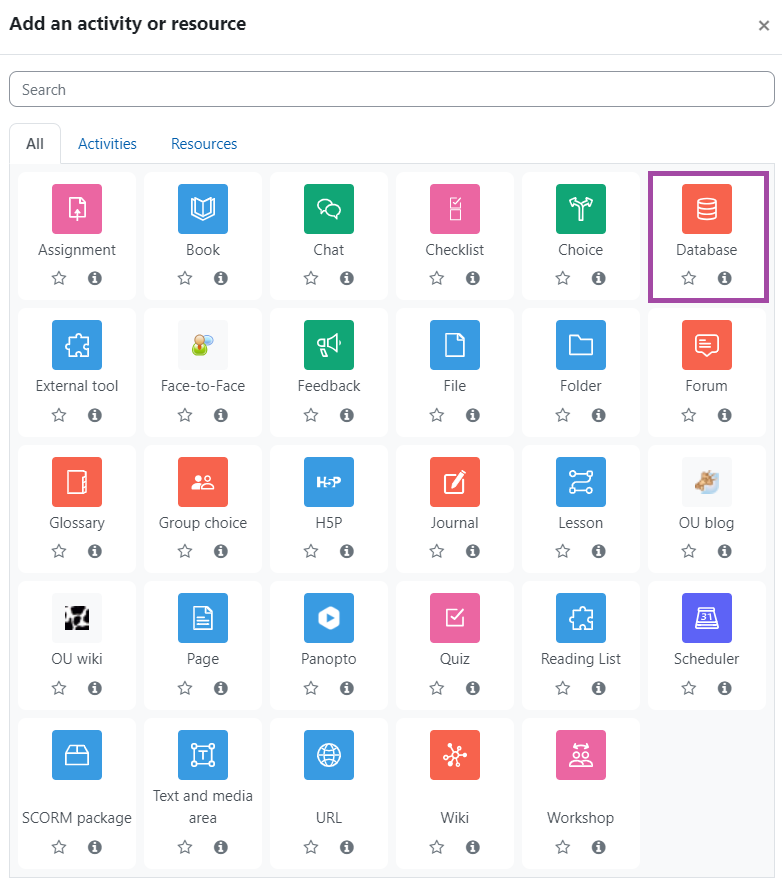
- Click on the ‘Add an activity or resource’ button and then choose ‘Database’ from the popping-up window.
- A new page will be shown where you can customise the settings of this particular activity.
How to set up a Database activity to your Moodle course
In terms of the setup of a Moodle ‘Database’ activity, please follow the steps below.
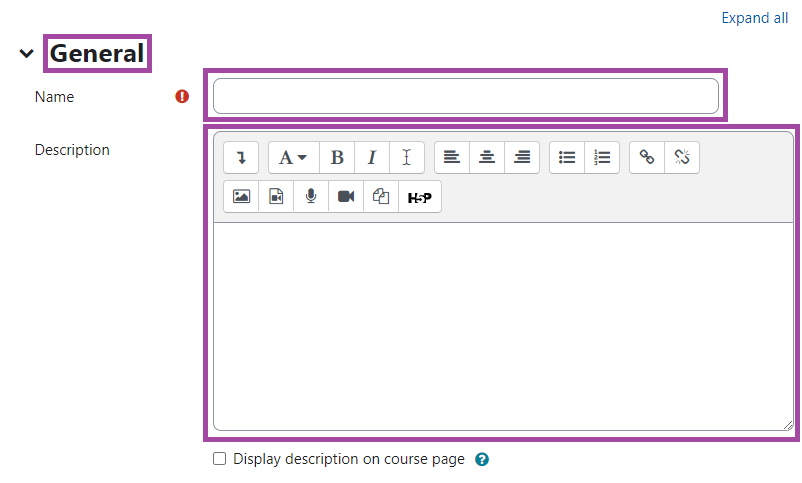
General
In the ‘General’ section, you can give a useful name and description to the activity. You can also choose whether you would like the description to be shown on the course page or not.
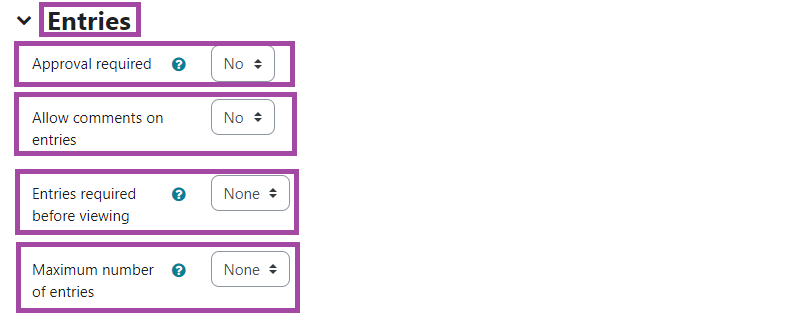
Entries
In the entries section you can select whether approval is required, comments allowed on entries, that students are required submit entries before viewing rights and the maximum number of entries allowed. We recommend leaving all of the settings as default.
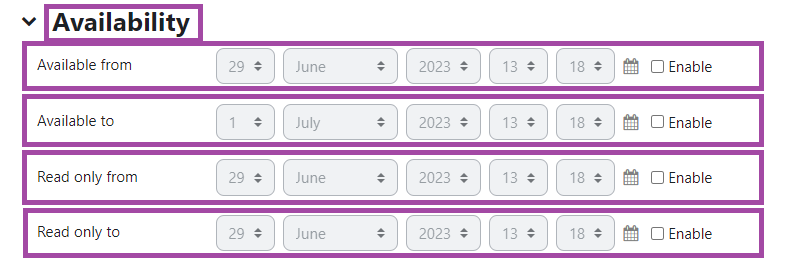
Availability
Select availability if you want your database to be available for a limited time.
Ratings
It is possible to rate database records within Moodle. These ratings are then aggregated to produce a grade for that activity for the student being rated. For example a student’s image posts may be rated by their fellow students with those ratings being averaged and that grade then contributing to the students overall course grade. You can choose whether ratings can be submitted by students and/or by teachers. Recommendations are to leave as default.

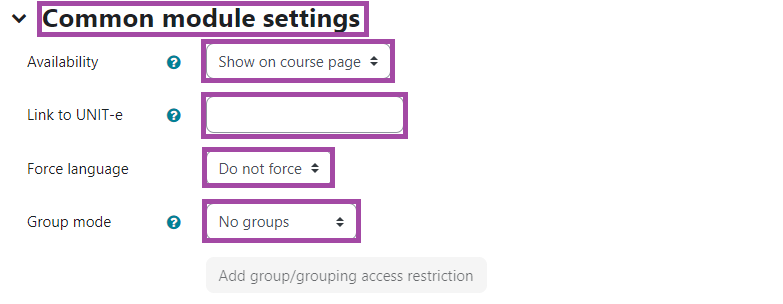
Common Module Settings
In the ‘Common module settings’ section, you can decide whether you would like the activity to be shown or hidden from the students.
The ‘Link to UNIT-e’ setting refers to transferring the released grades to the student record system, therefore, this option should be left off as default as ‘Databases’ are not used for summative assessments.
By default, Moodle detects a user’s language from their browser setting. The ‘Force language’ can be used if you want to force a language instead.
The ‘Group mode’ can be useful for you if you would like to allocate the students to different groups, so you can send out group notifications.
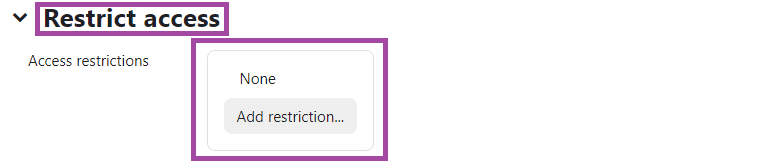
Restrict access
In the ‘Restrict Access’ section, you can add restrictions in terms of accessing the activity as a student which can be based on date, grade, group, grouping, or user profile, however, we recommend leaving this option on default.
Click Save and display return to course
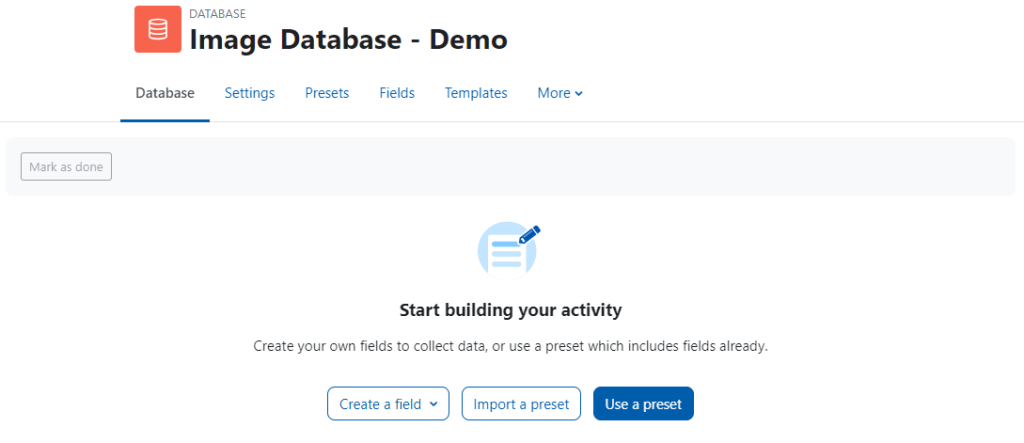
Start building the Image Collection
When opening up the Database Activity you can now set up the fields required for the image collection. You will be greeted with the following screen.
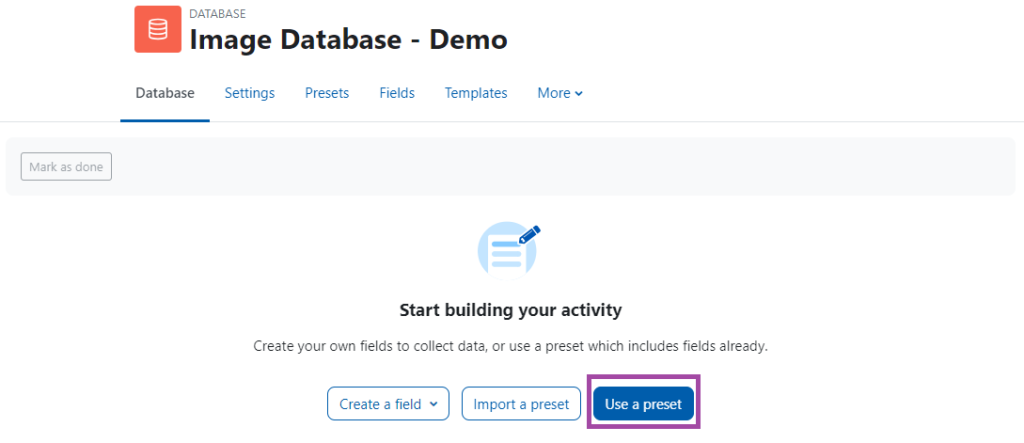
- In lower area, click on ‘Use a preset’ to get started.
- Then select ‘Image gallery’ from the preset choices and click ‘Use this preset’ in the bottom right hand corner.
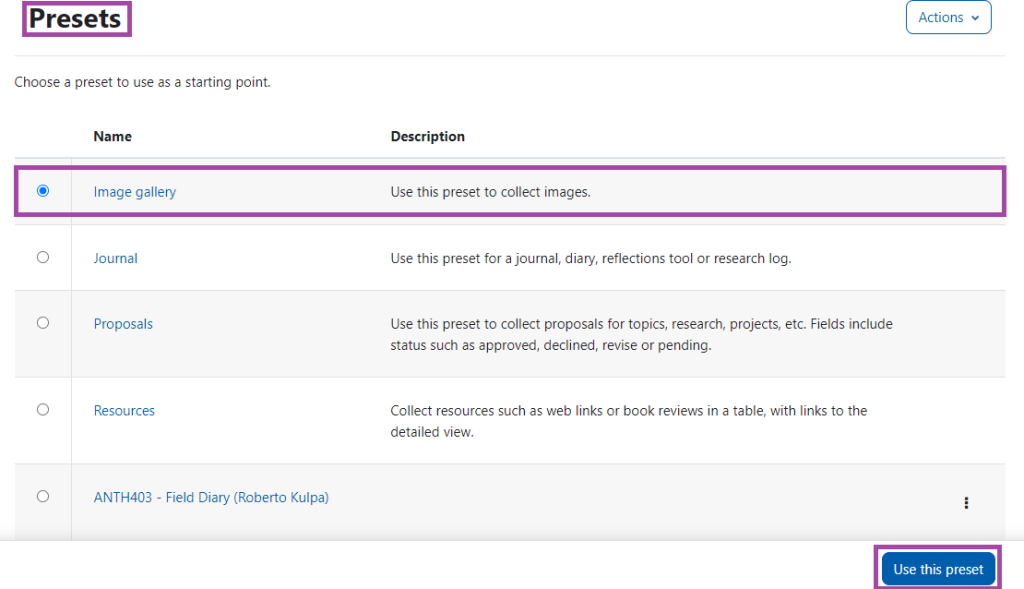
- This will creates an image database with 3 fields: ‘image’, ‘title’ and ‘description’ and the default sort field.

Students: ‘how to add images’ to Collection
- Click on the Image Database activity

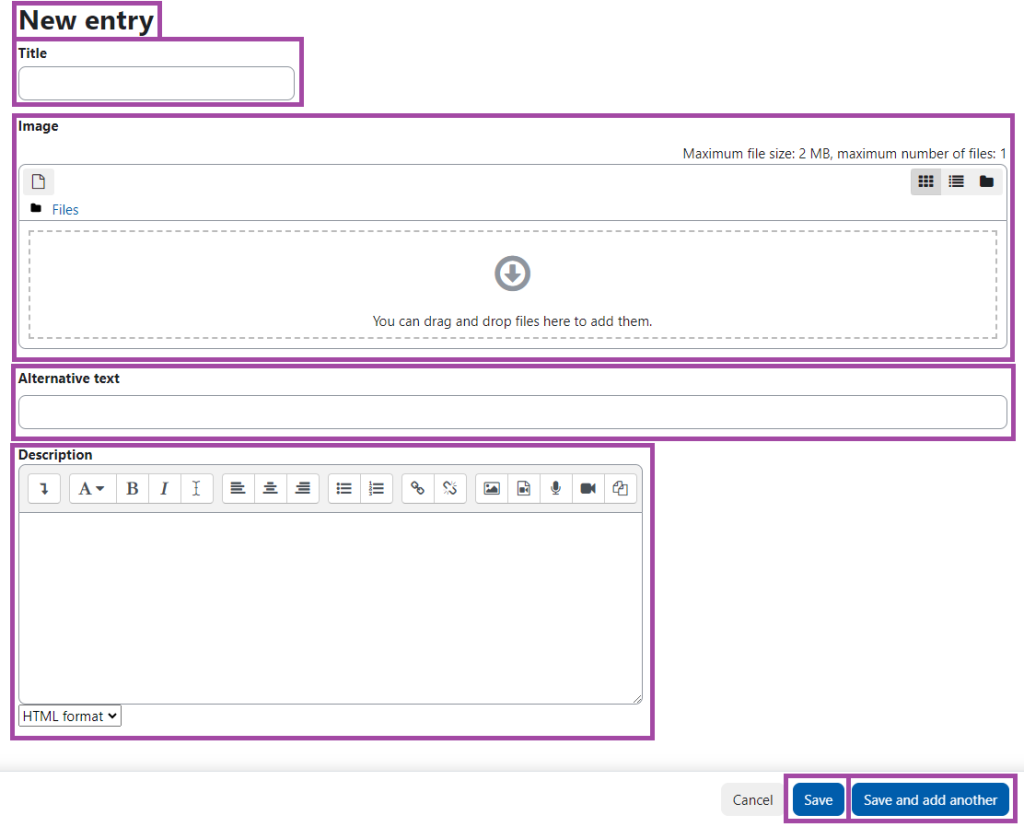
To add image: Click on ‘Add entry’

- Provide a title and a description, alternative text will help those using a screen reader to view your image.
- You can either click on the image box to upload images or drag and drop images to the box itself.
- If on mobile, you will have to click the ‘add file’ icon and find/select image from your phones image gallery.
- Click ‘Save’ or ‘Save and add another’ if you have more images to add.
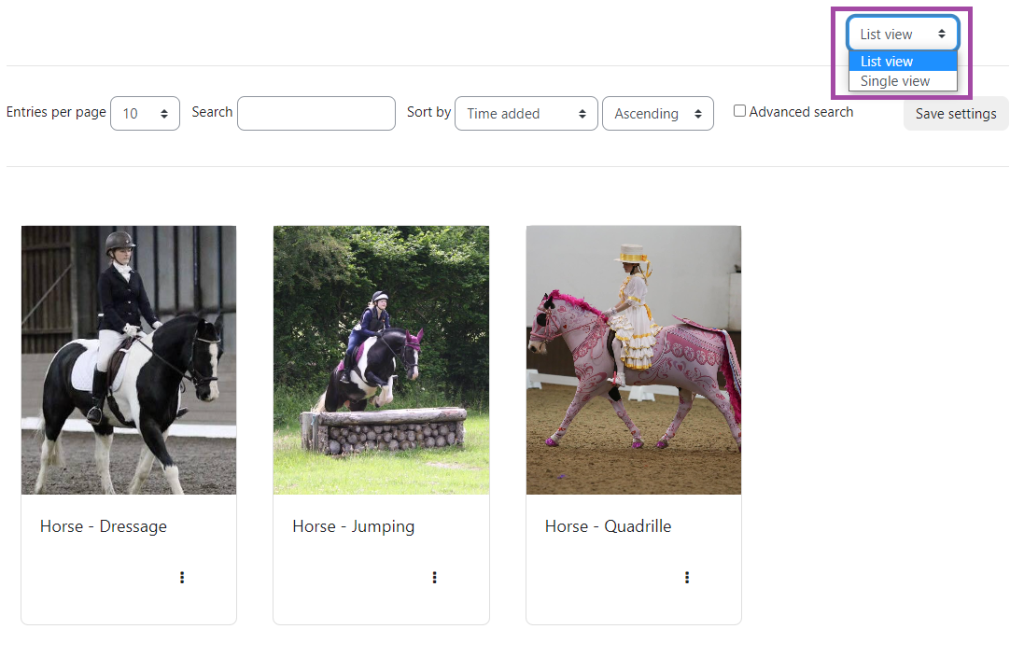
- To see all images, click on View List and choose how to filter images
- To view one image. click on view single and navigate through images as required.