Why it matters
Headings are an essential element in creating accessible online materials and are one of the best accessibility strategies available. Common accessibility mistakes are making text bold or larger when a heading is required.
Having headings make it easier for those using assistive technologies such as screen readers to navigate the document.
It enables the user to get a sense of the page’s organisation and guide them around the page.
It is essential to order headers properly and do not skip headers, (H1 followed by H2.) They should always appear in decreasing order of importance.
Creating a great place to learn. Reducing barriers and creating a platform for all.
Adding headings to a document
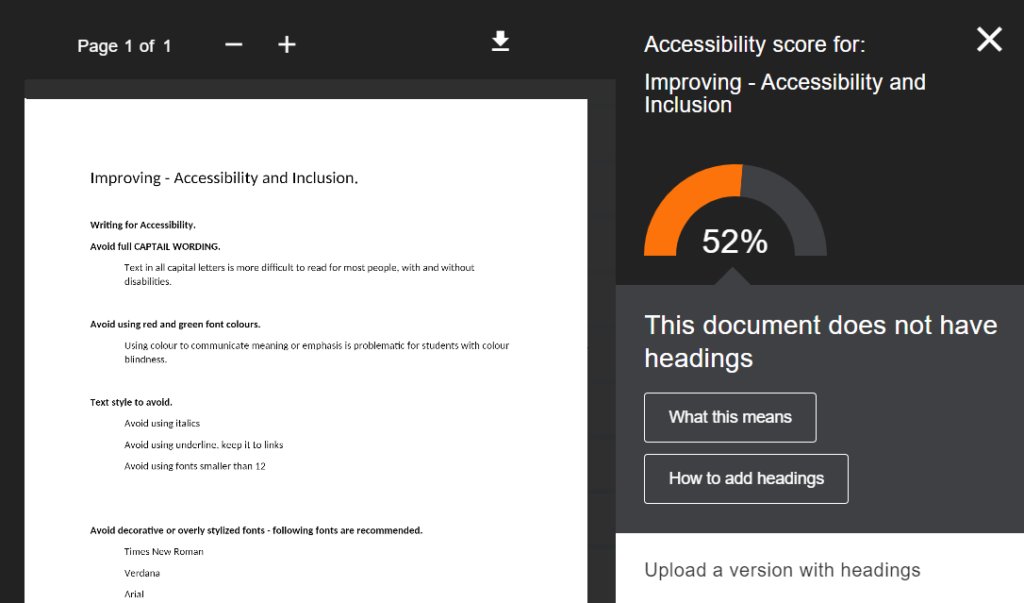
Ally reports can give a warning of, ’This document does not have headings.’
Sometimes you will find documents use font size or bold text, instead of headings.
If this is the case you have options;
- Find the original Word document and amend it;
- You can download the PDF, but you will need to convert it back to a Word document to add the headers.
Using Headers to organise the structure in a Word document
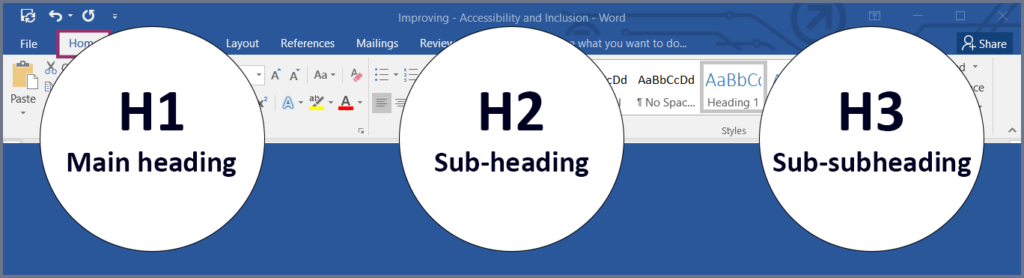
Heading 1. Main heading.
Heading 2. Sub-heading.
Heading 3. Sub-subheading.
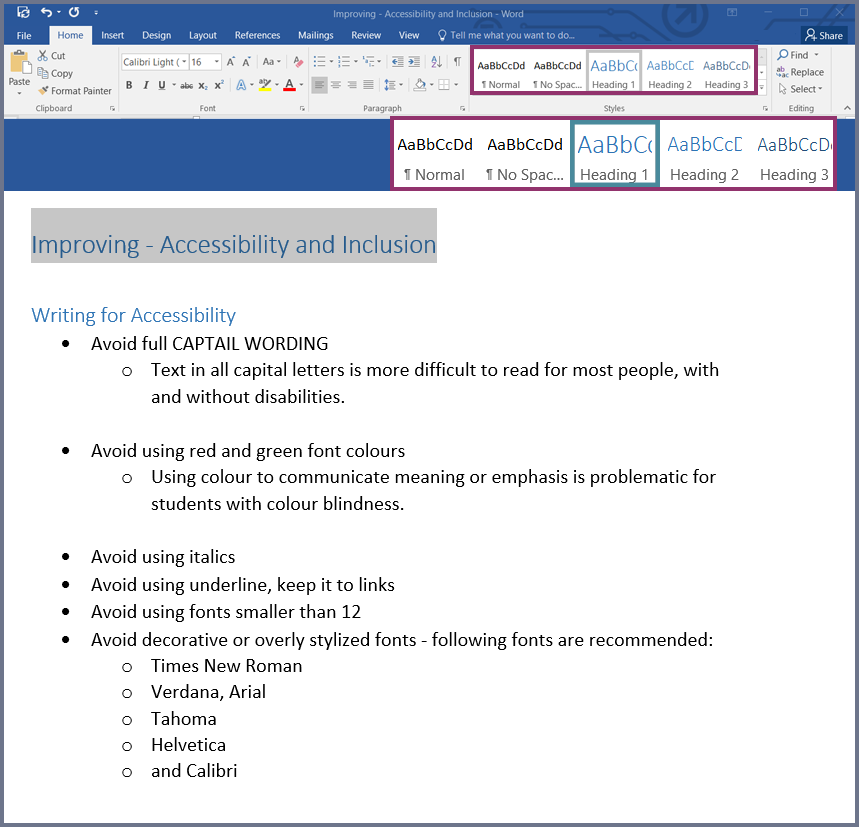
Within the Microsoft Word document, on the ribbon menu, click the ‘Home’ button.
The heading styles box is visible as ‘styles’.

For Header 1, highlight the text and select Header 1 from the style’s area. Continue through the document adding subheadings.
There should only be one Heading 1 but there can be multiple versions of the other headings.
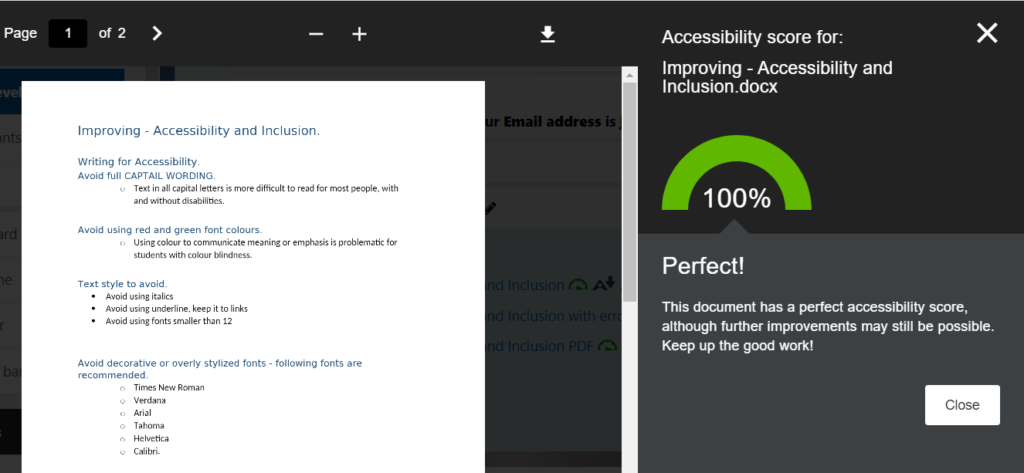
Upload the document with the same file name.
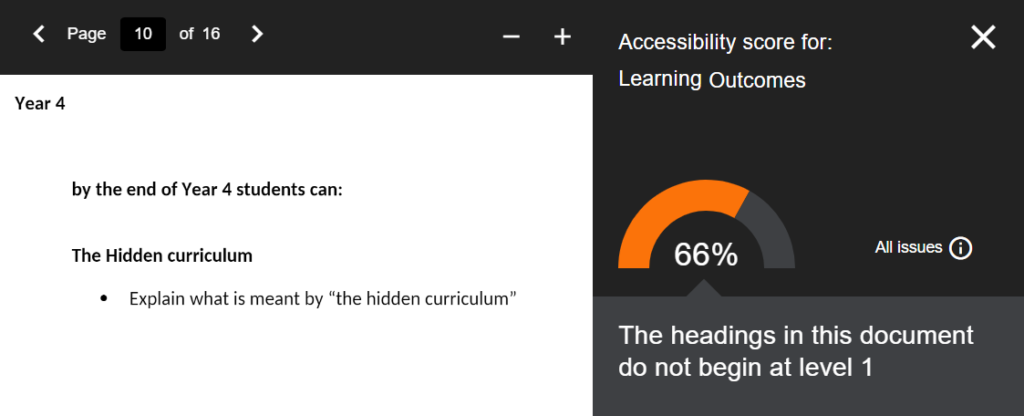
Fixing error: The headings in this document do not begin at level 1
- Ally reports can give a warning of, ‘The headings in this document do not begin at level 1’. This means within the document you may find a header 2 or 3, higher than header 1.
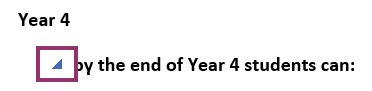
- In this example, the document had no headers, apart from a single H3 which was on the line, ‘by the end of Year 4 students can:’.
- To check for this type of error you may have to click on each line of the document, to find the header, clicking on the line will show the style used.
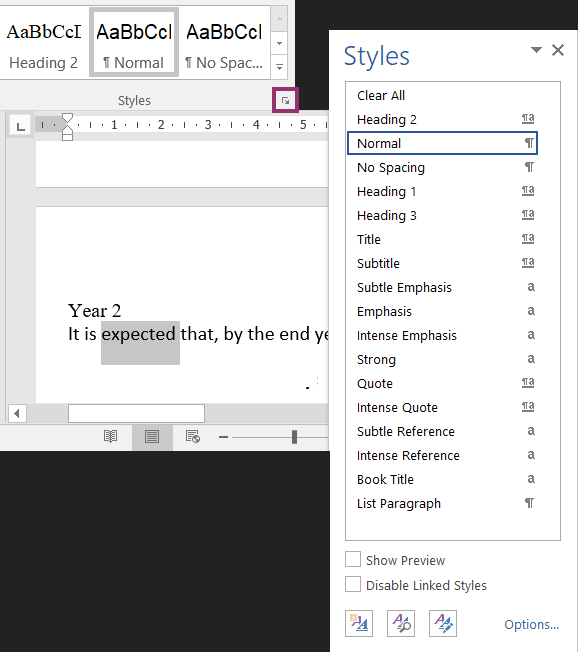
Editing ‘heading styles’
To further edit and explore ‘heading styles’ click on the style expand icon, which will provide a popup box, where you can highlight the word or sentence and choose the style.
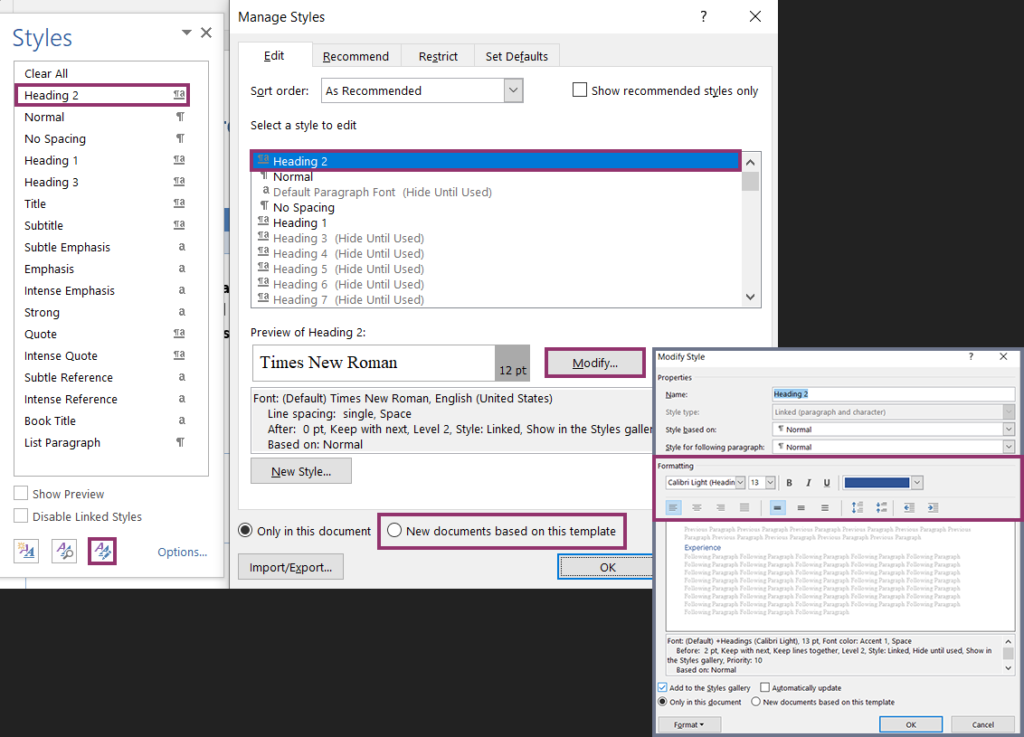
Editing styling
You can change font type, text size or text colour of the style.
- At the bottom, click manage styles. Choose whichever header you wish to edit and click modify.
or
You can also modify headings by clicking on the drop down arrow next to the style which will open up the modify window. Click OK.
- If you want the changes to carry to all your Word documents, select ‘New documents based on this Template’.
Click OK.
- You can also design your own category of heading style by selecting: New Style
